We’re having a house built next year and it’ll have ethernet ports all over. I’ve already started gathering equipment and setting up a network rack cabinet (from Amazon), so I can start playing around with the stuff in our current house over the winter. The rack will do the job fine, but it’s not super high quality. Since the components usually only mount to the front rails, the heavy equipment can sag quite a bit in the rear. I cut and stained a couple of pieces of scrap wood.
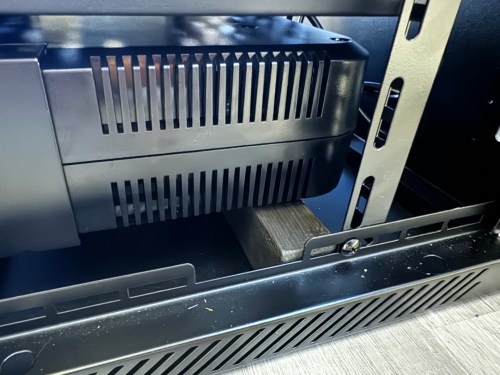
The UPS is the heaviest piece of gear, so it’s mounted at the bottom of the rack. I used a couple of pieces of VHB tape to stick the support beam to the rack floor. The rear of the UPS simply rests on that piece of wood.
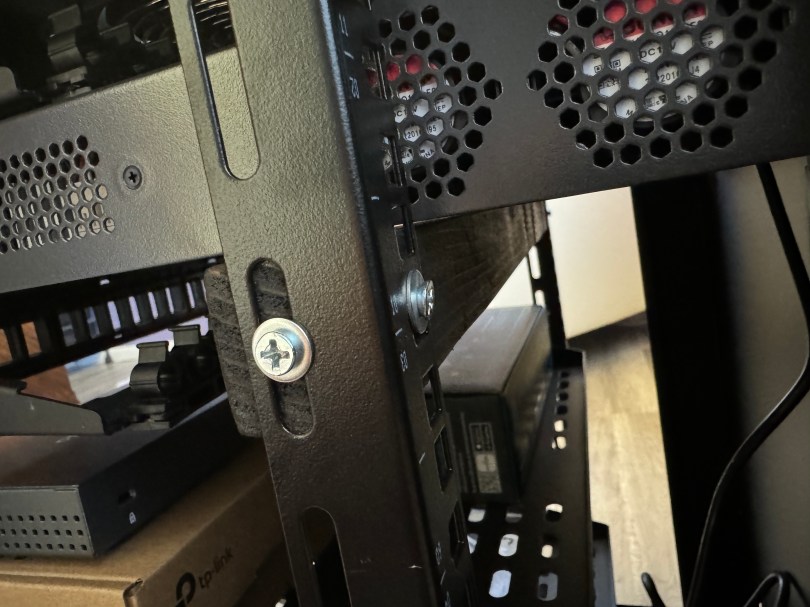
The other support piece mounts to the rear rails with washers and screws, propping up the back end of the switch.
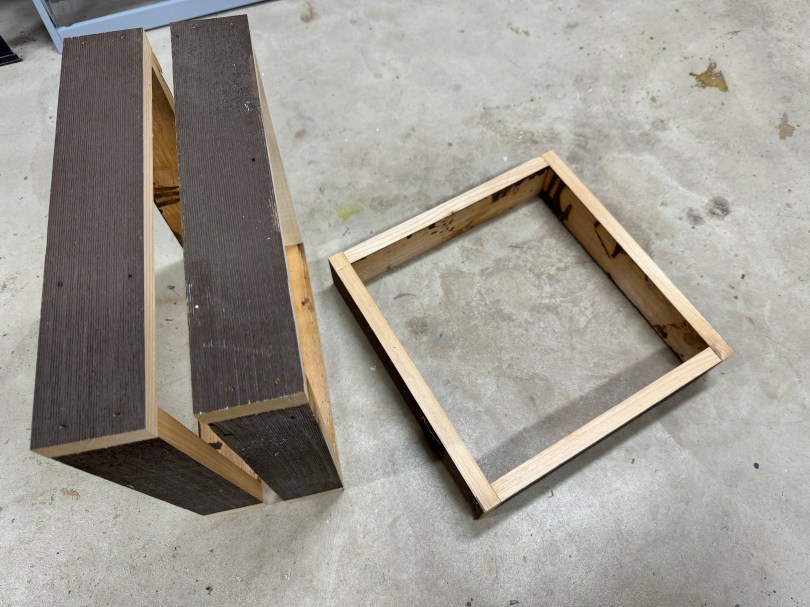
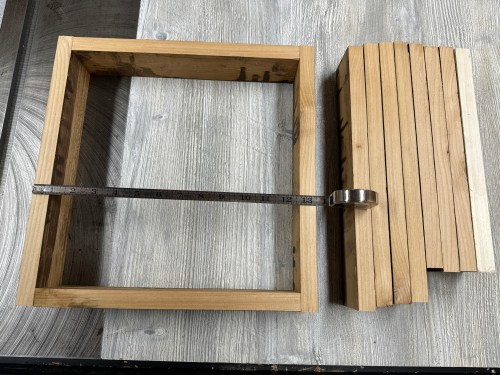
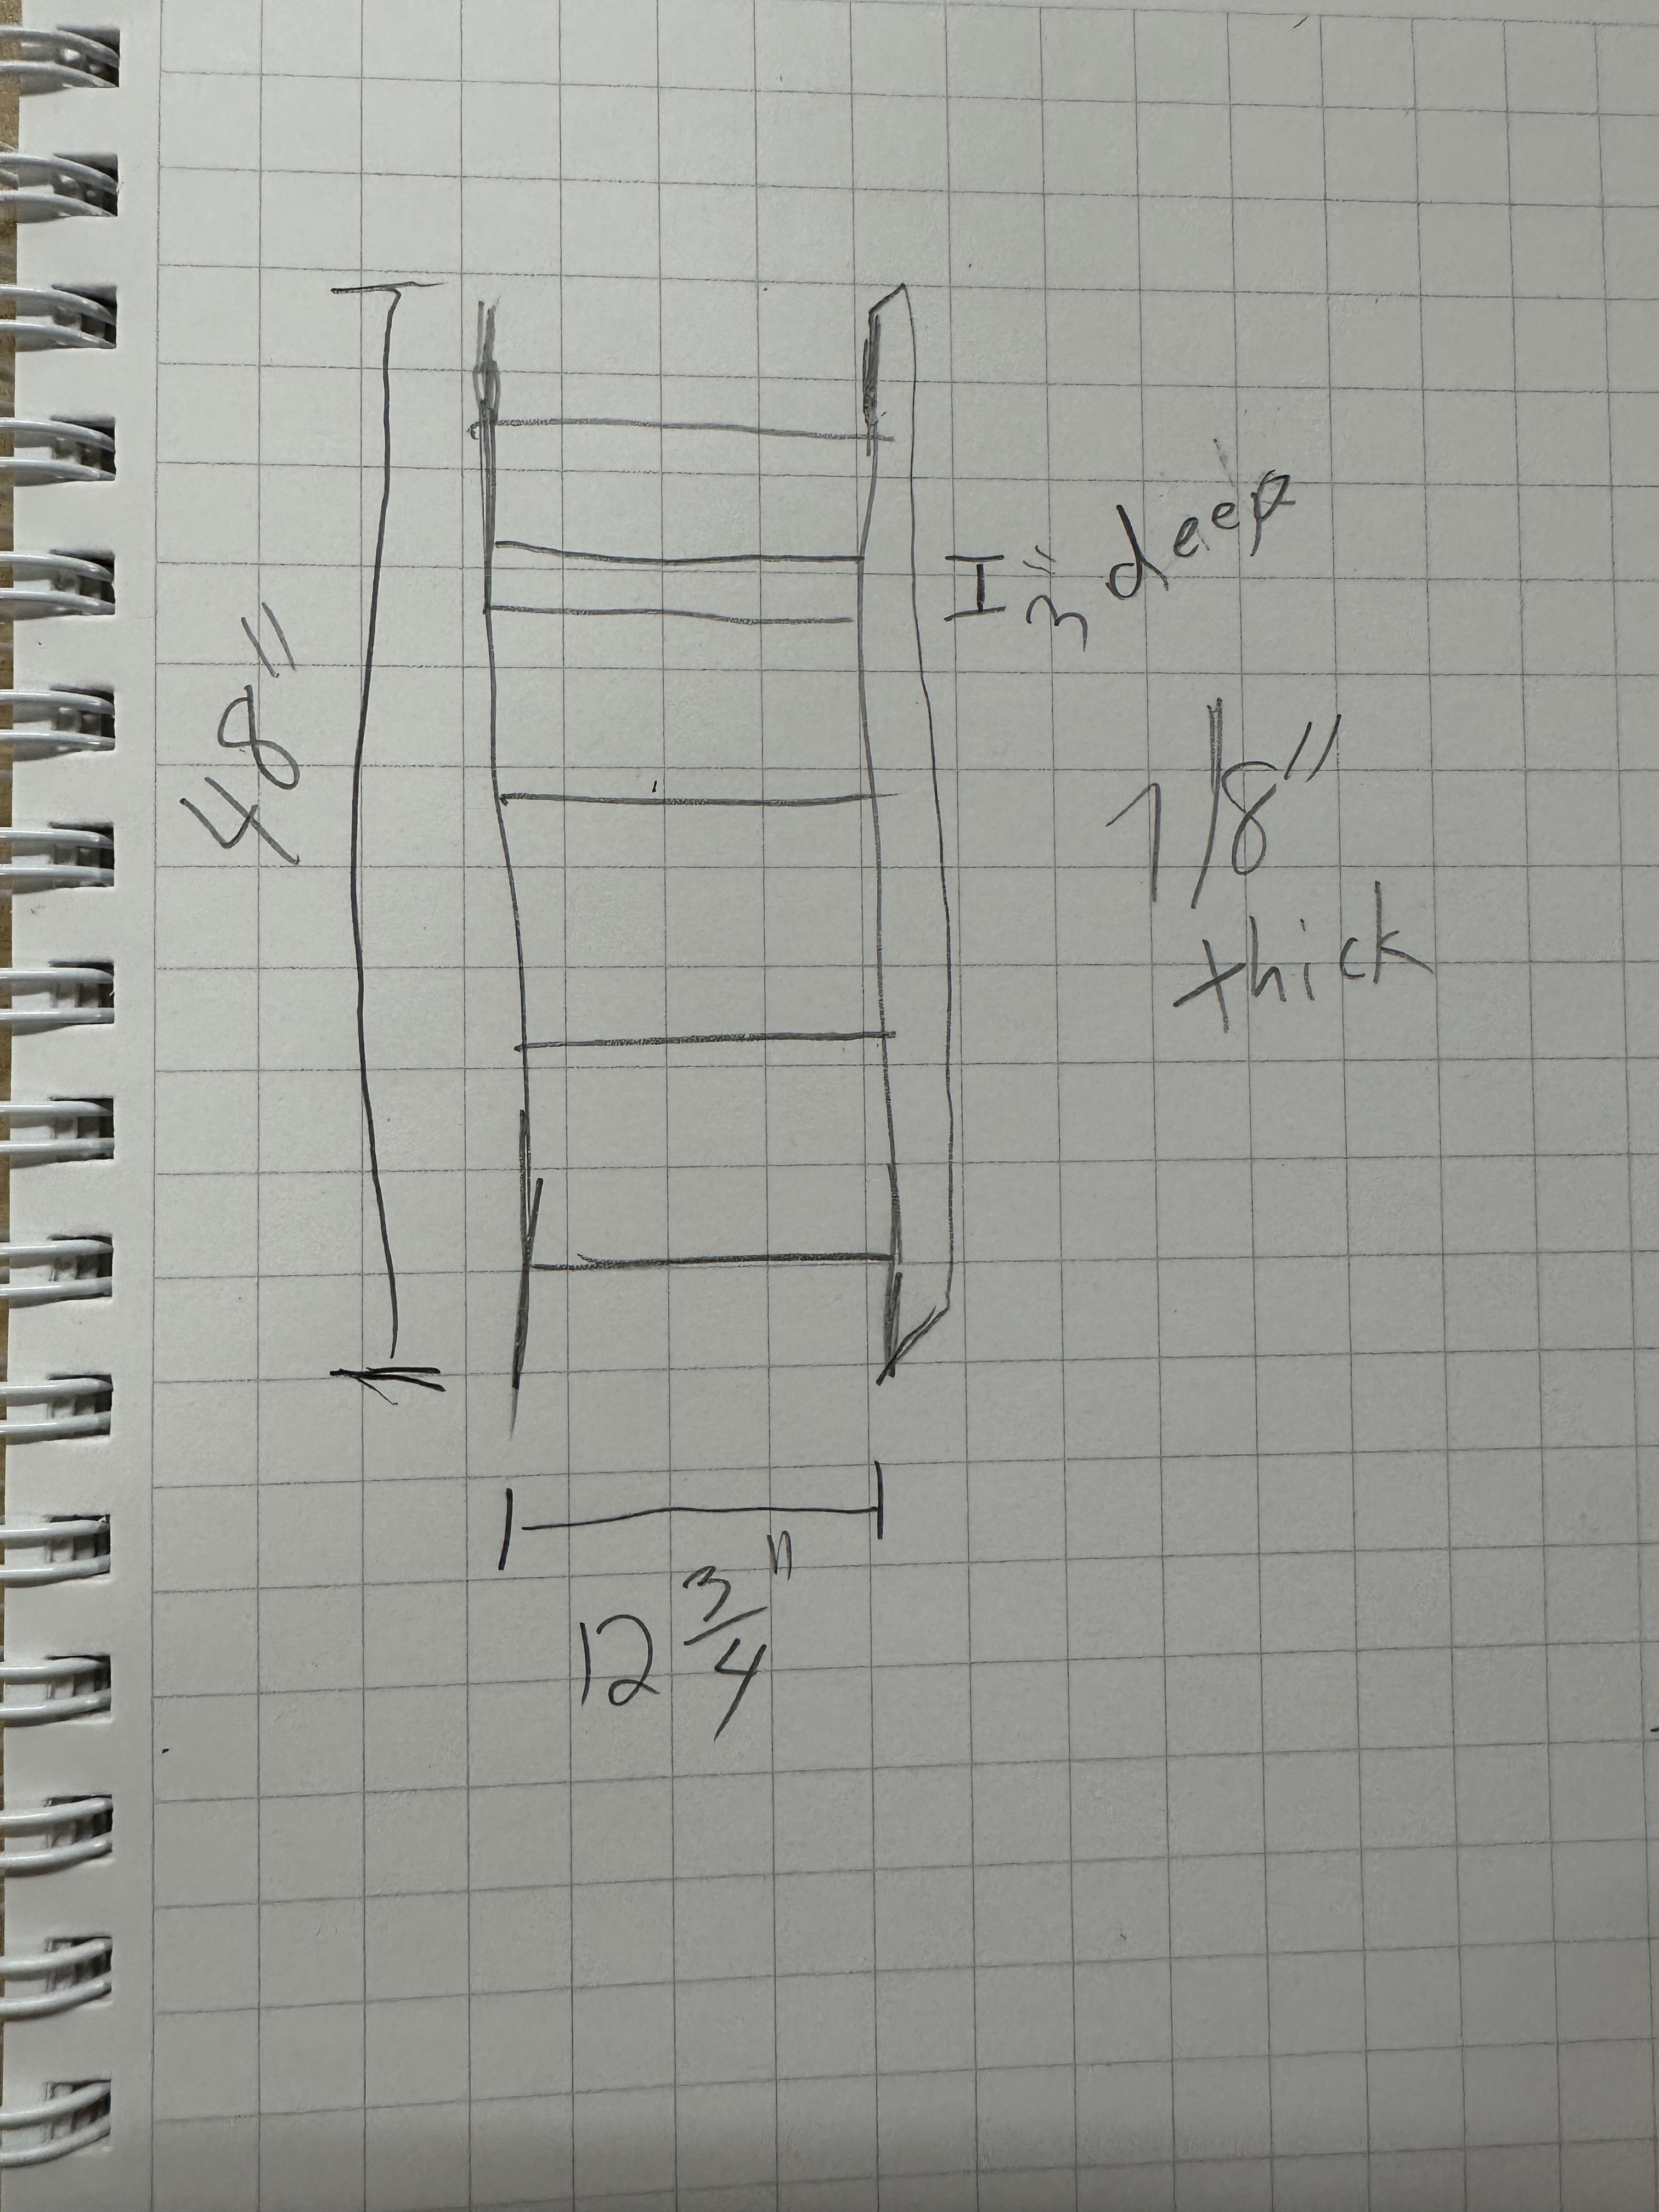
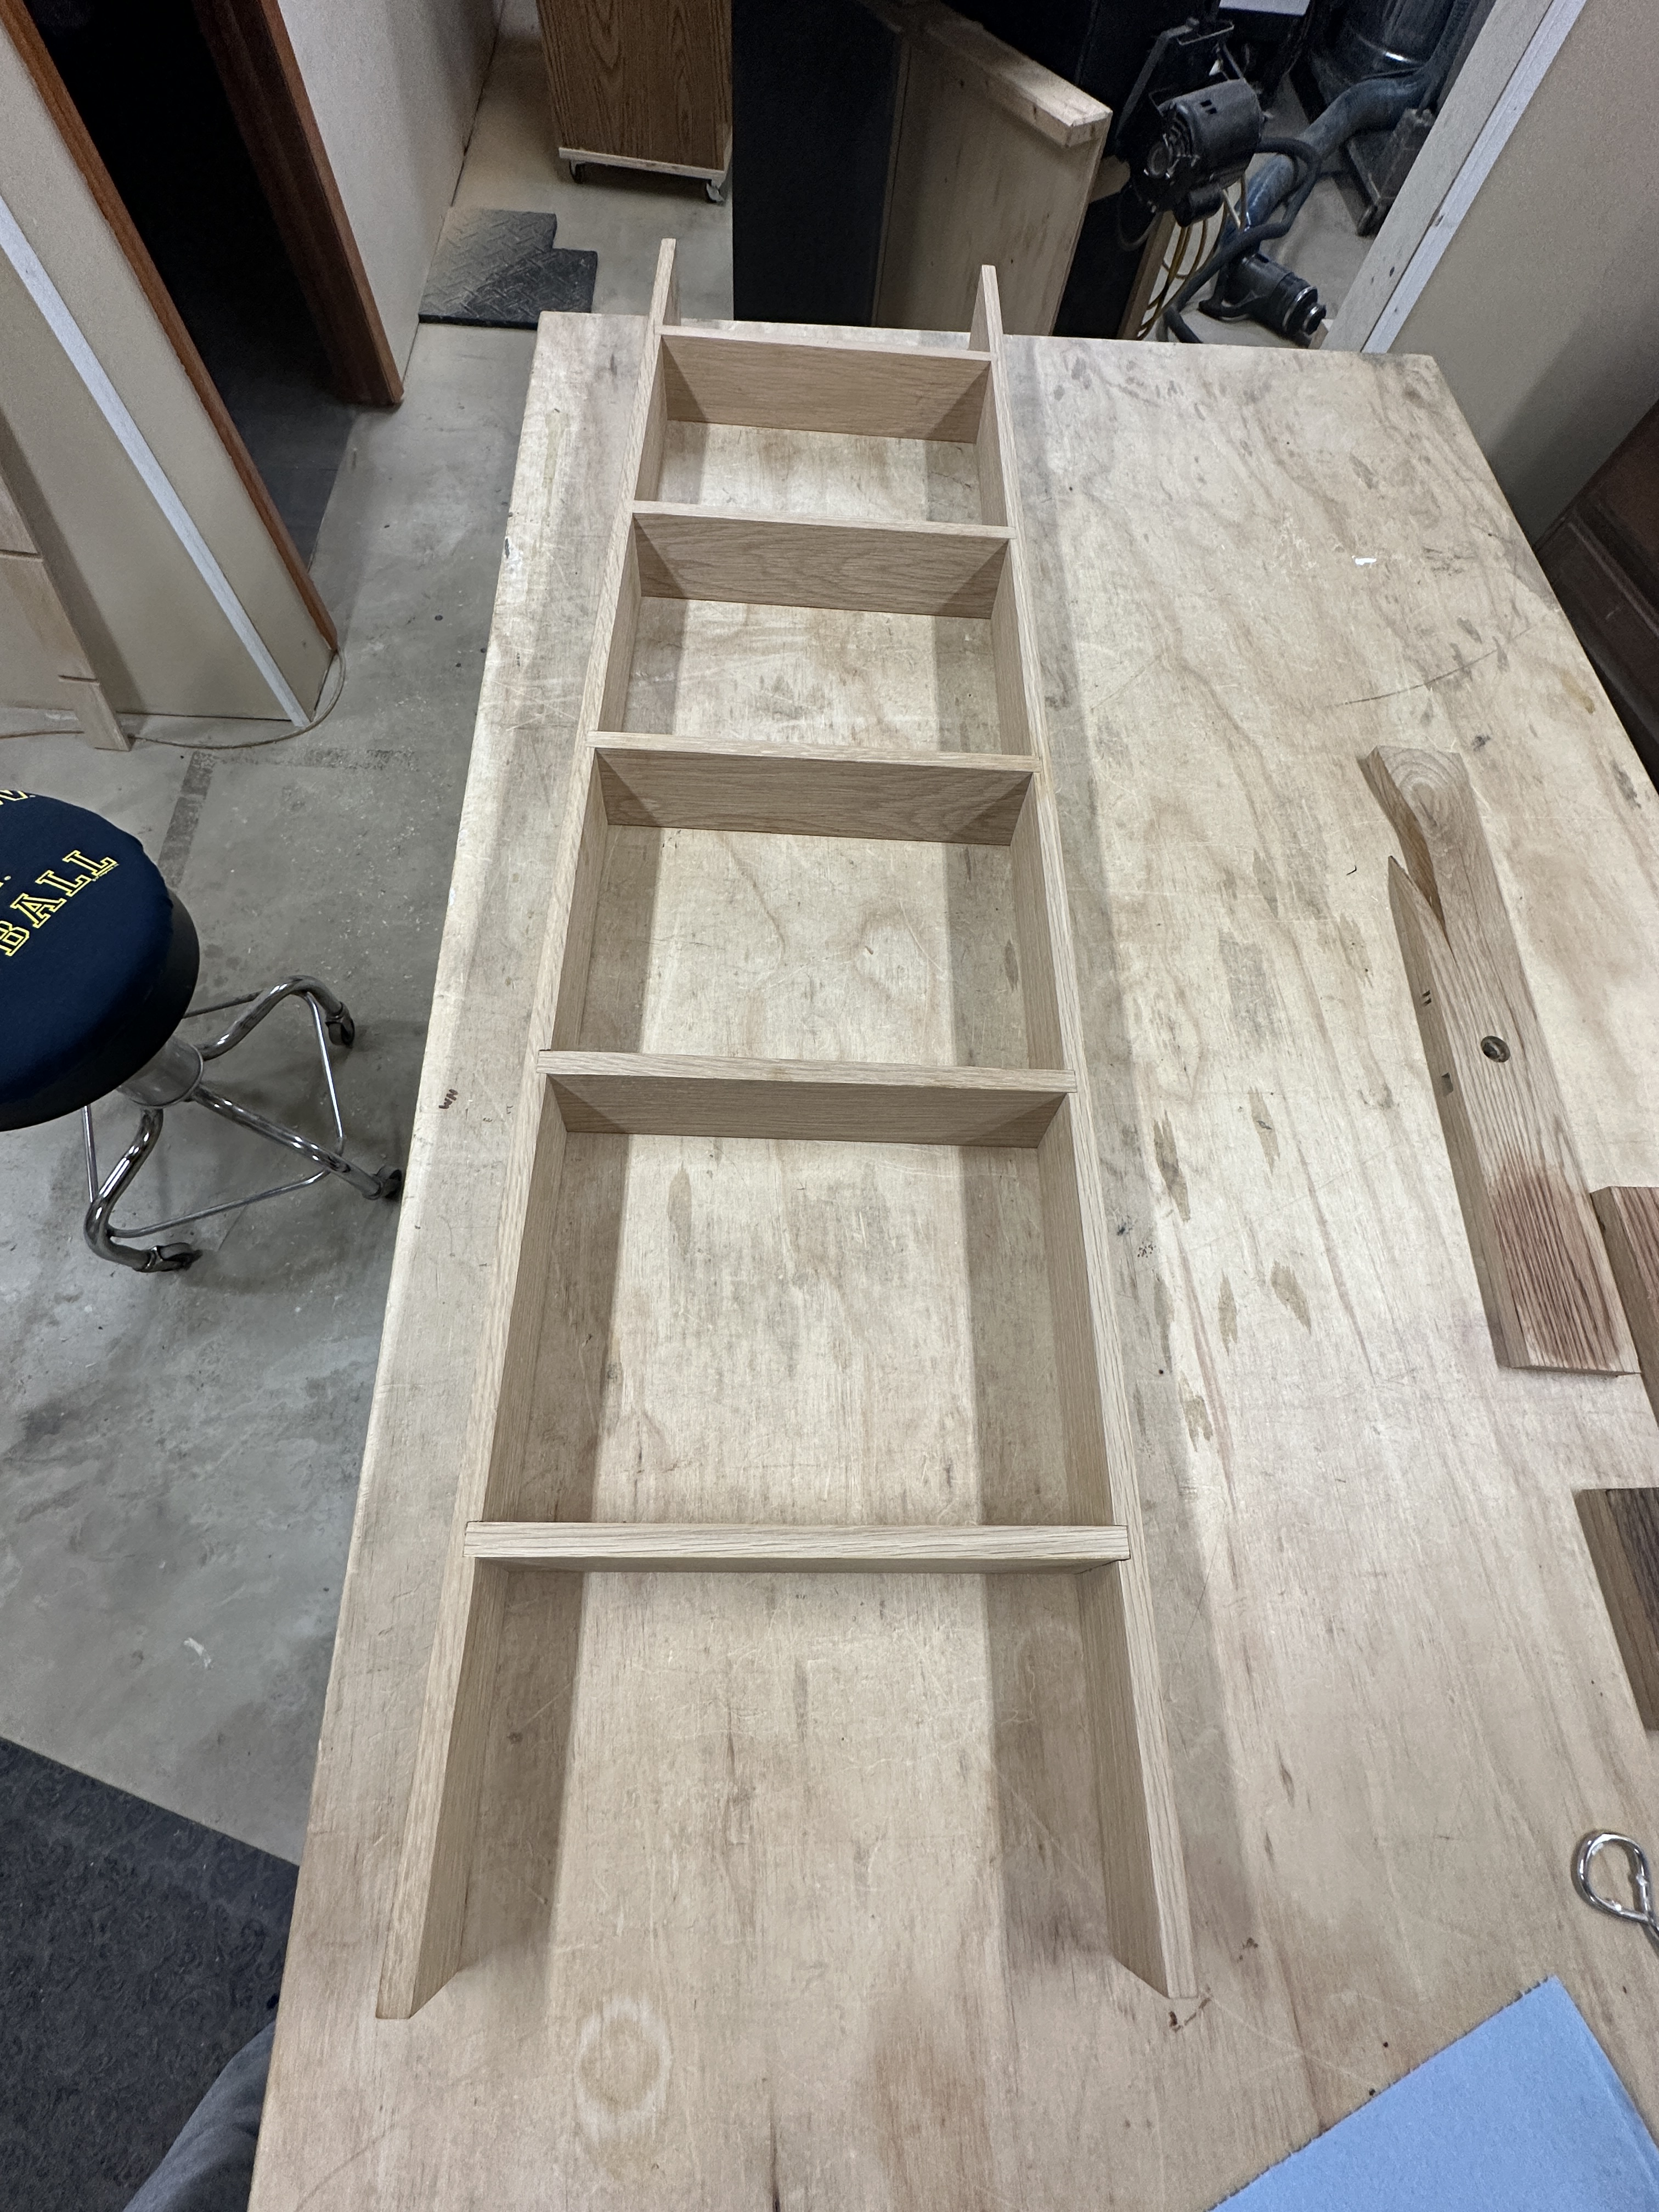
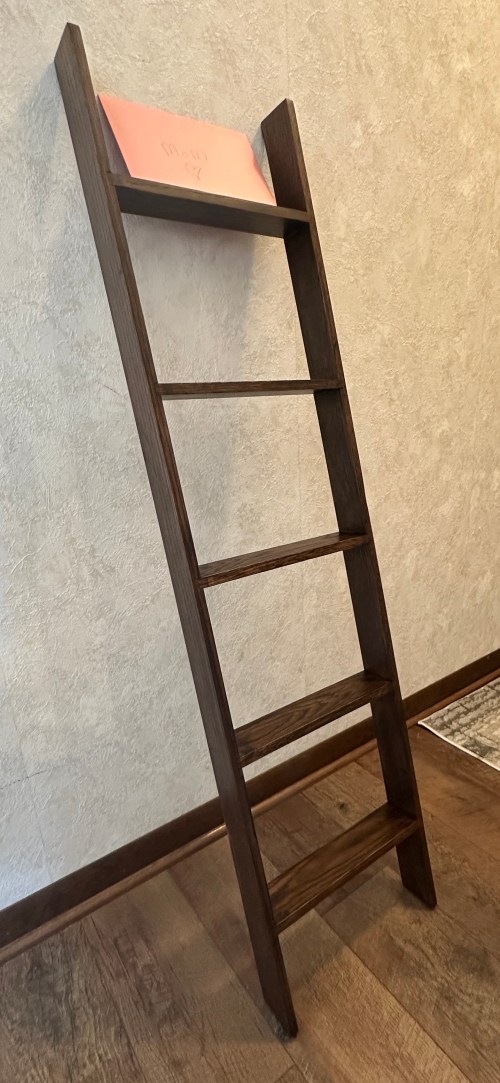
So I whipped one up for Mother’s Day. Very similar process and dimensions. I used pieces of old oak flooring and stained it.
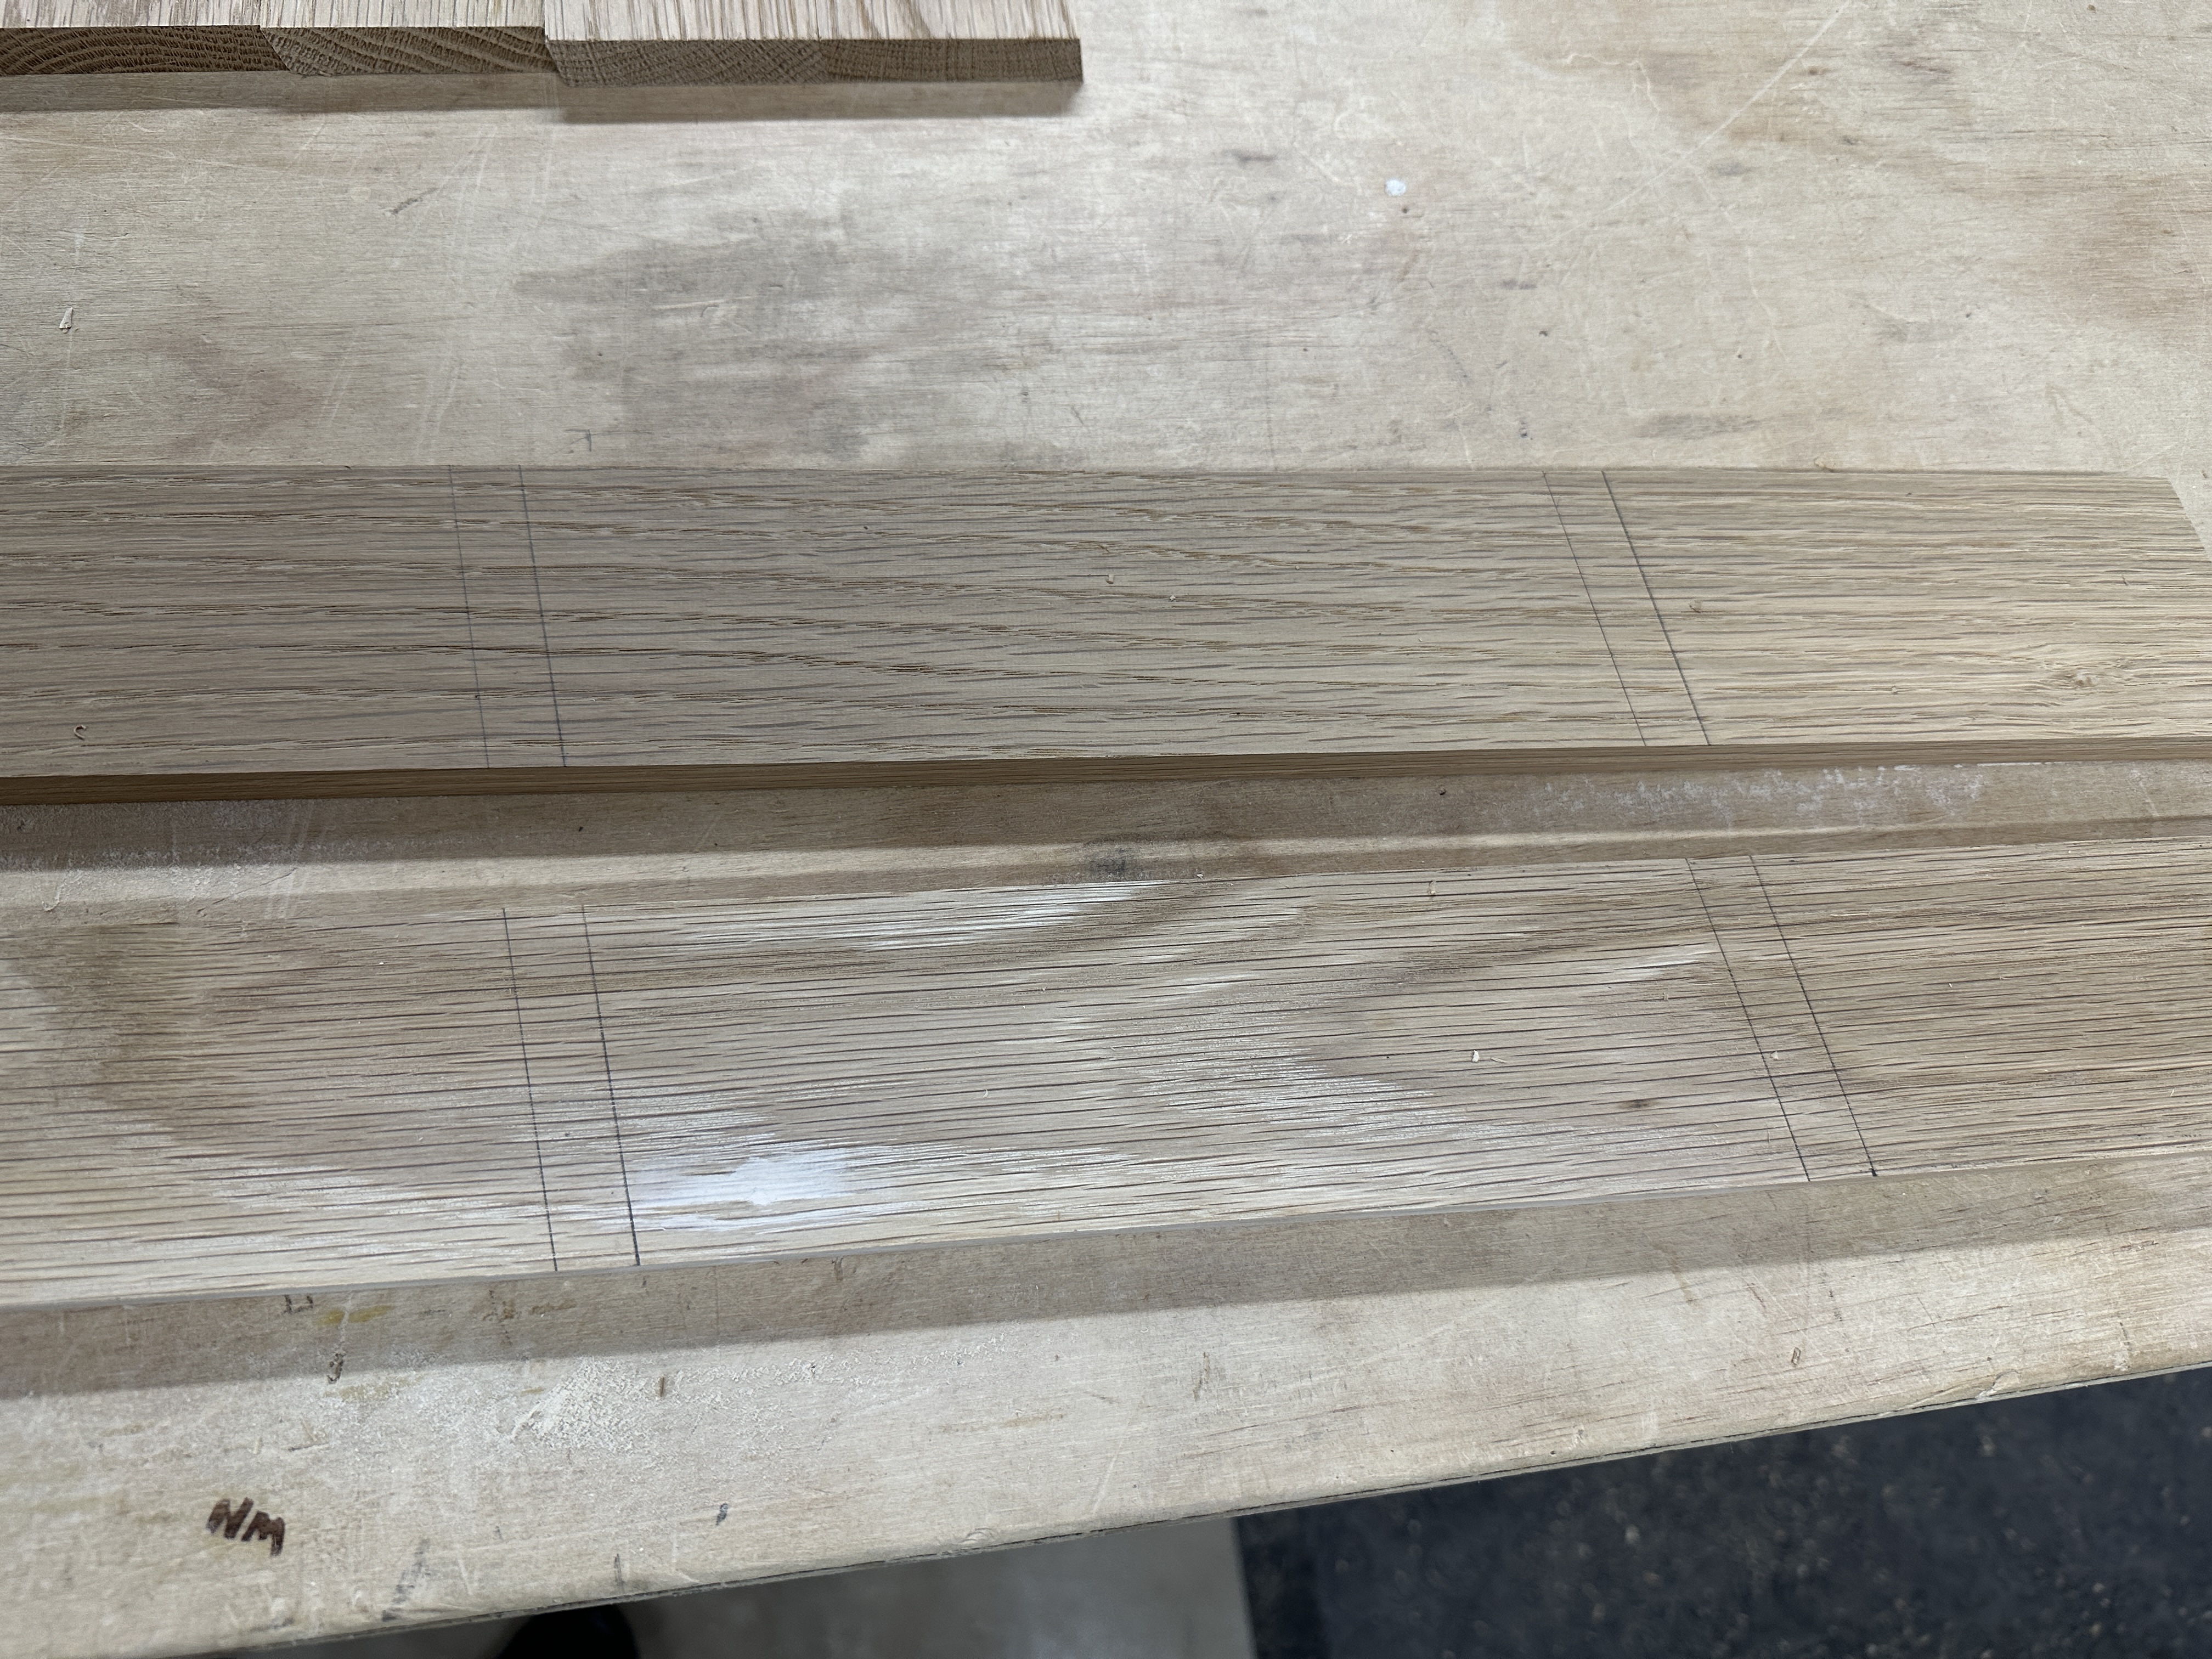
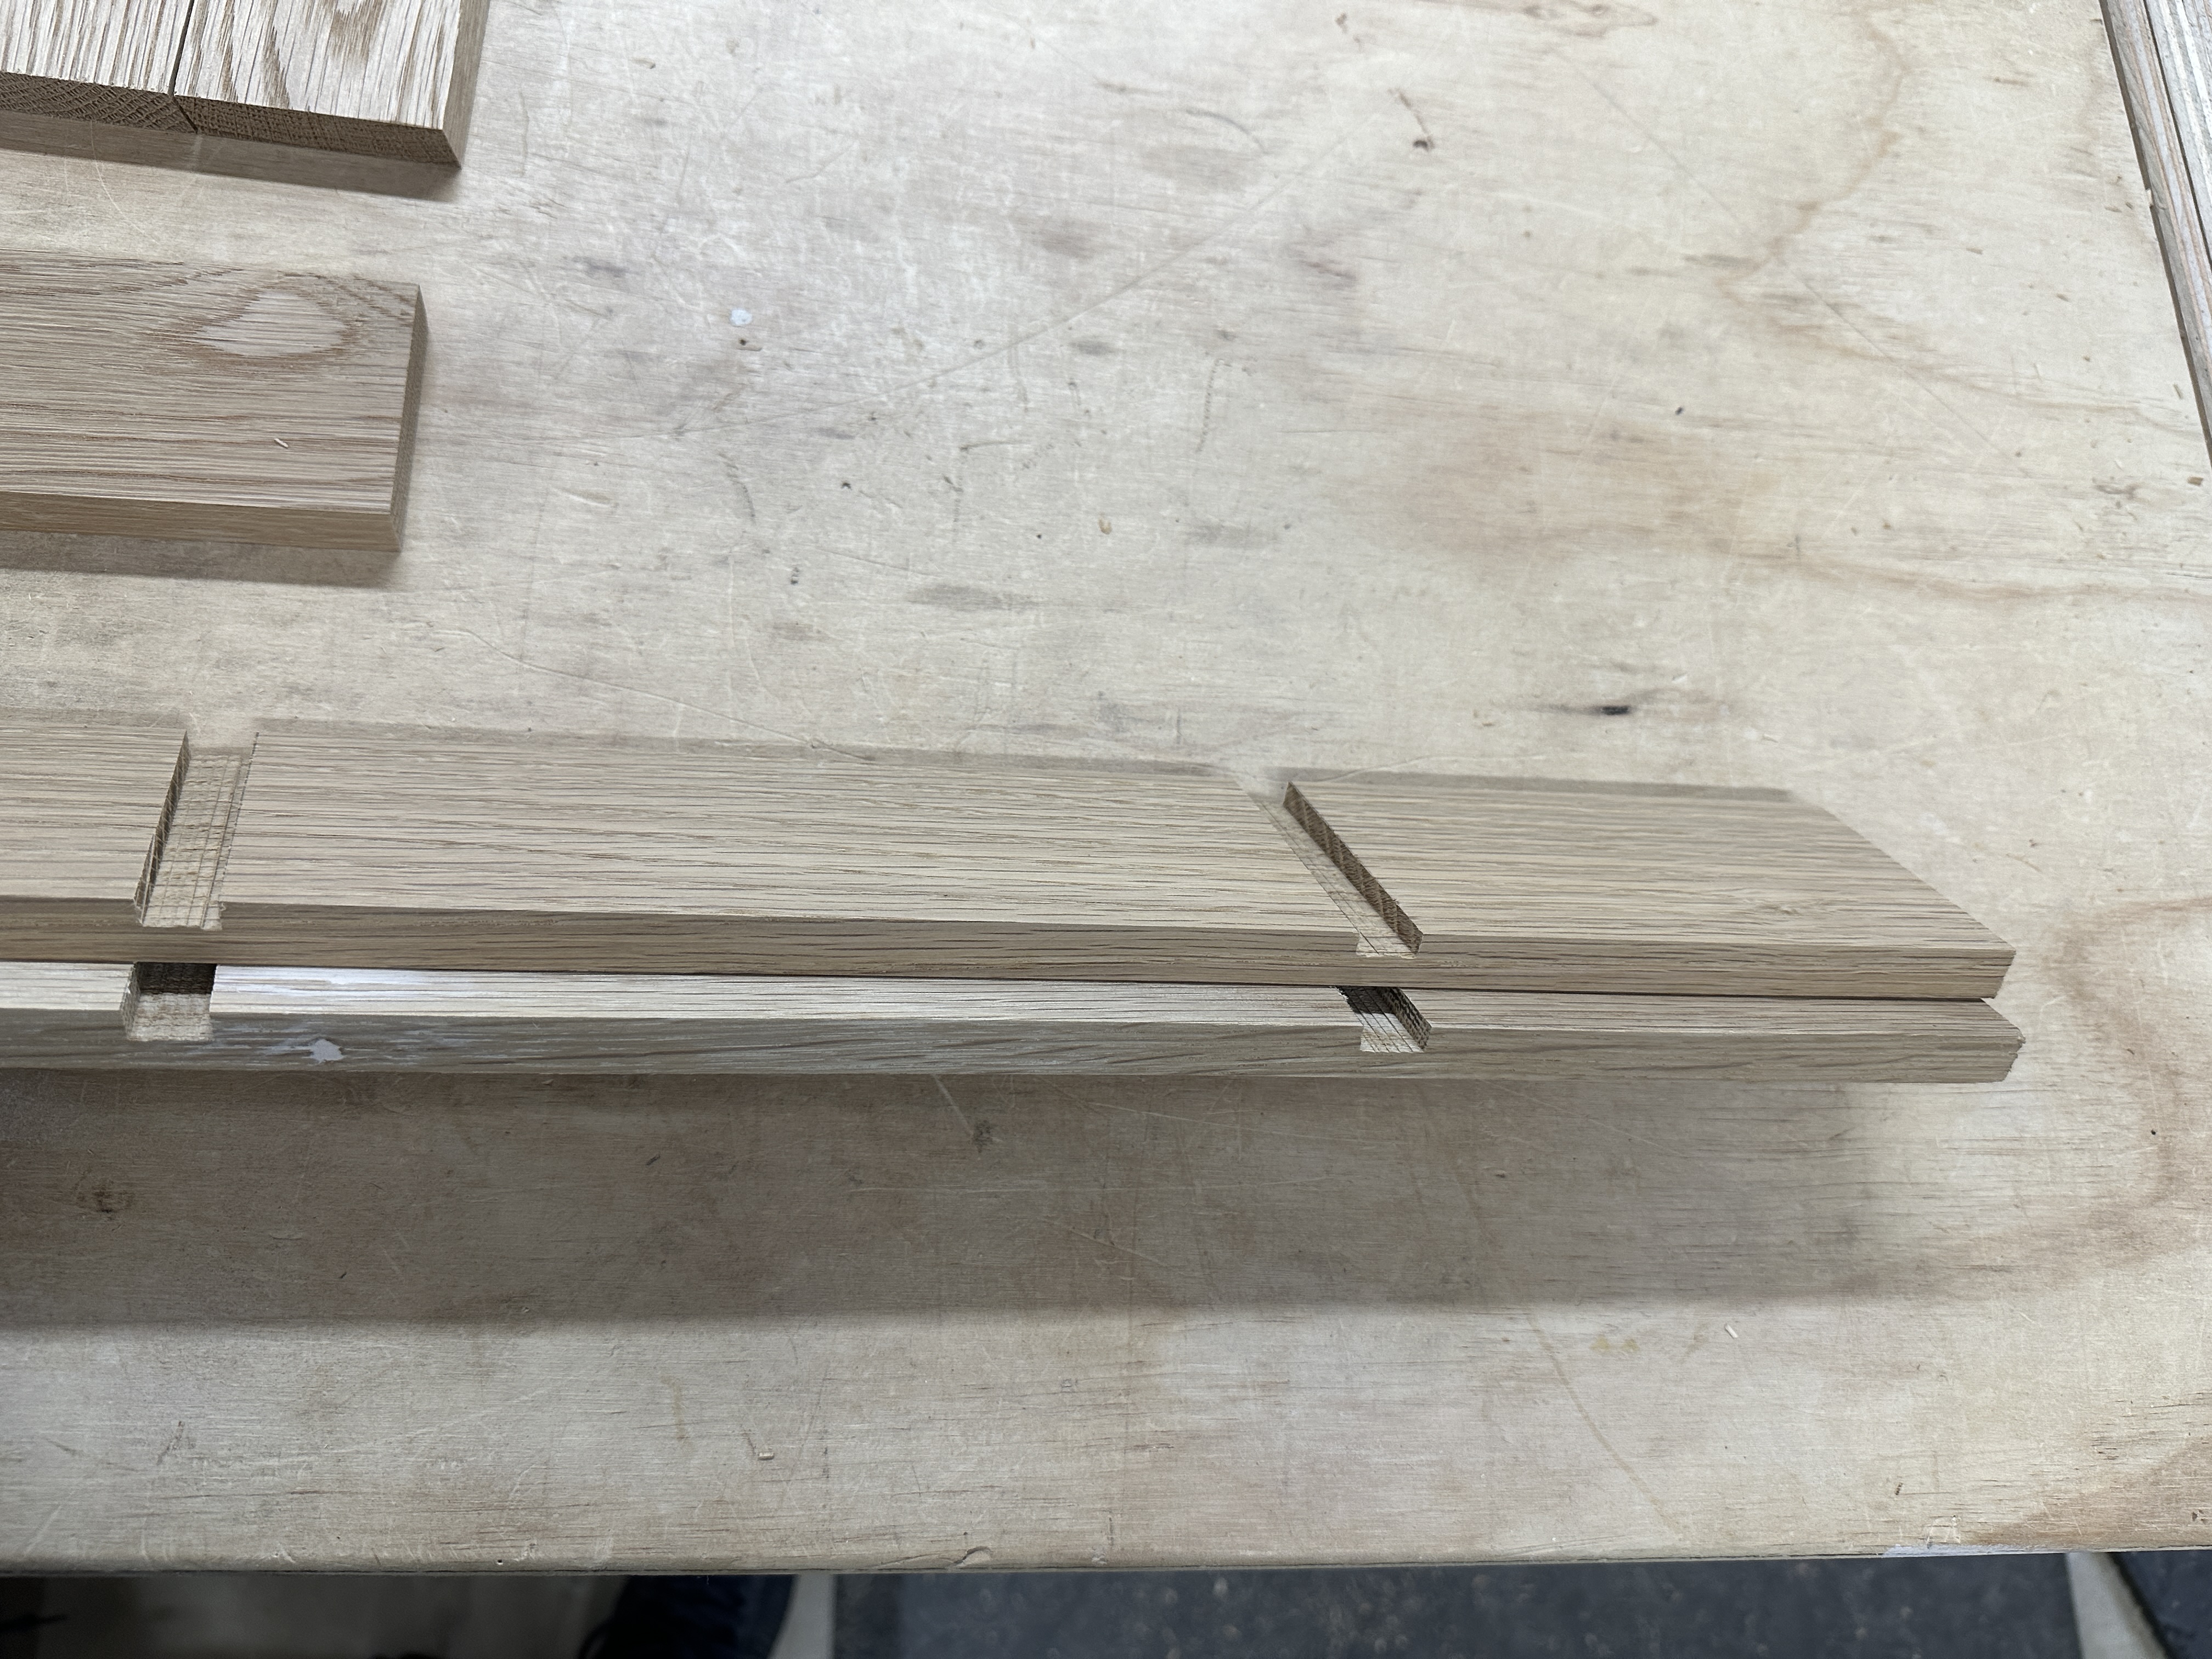
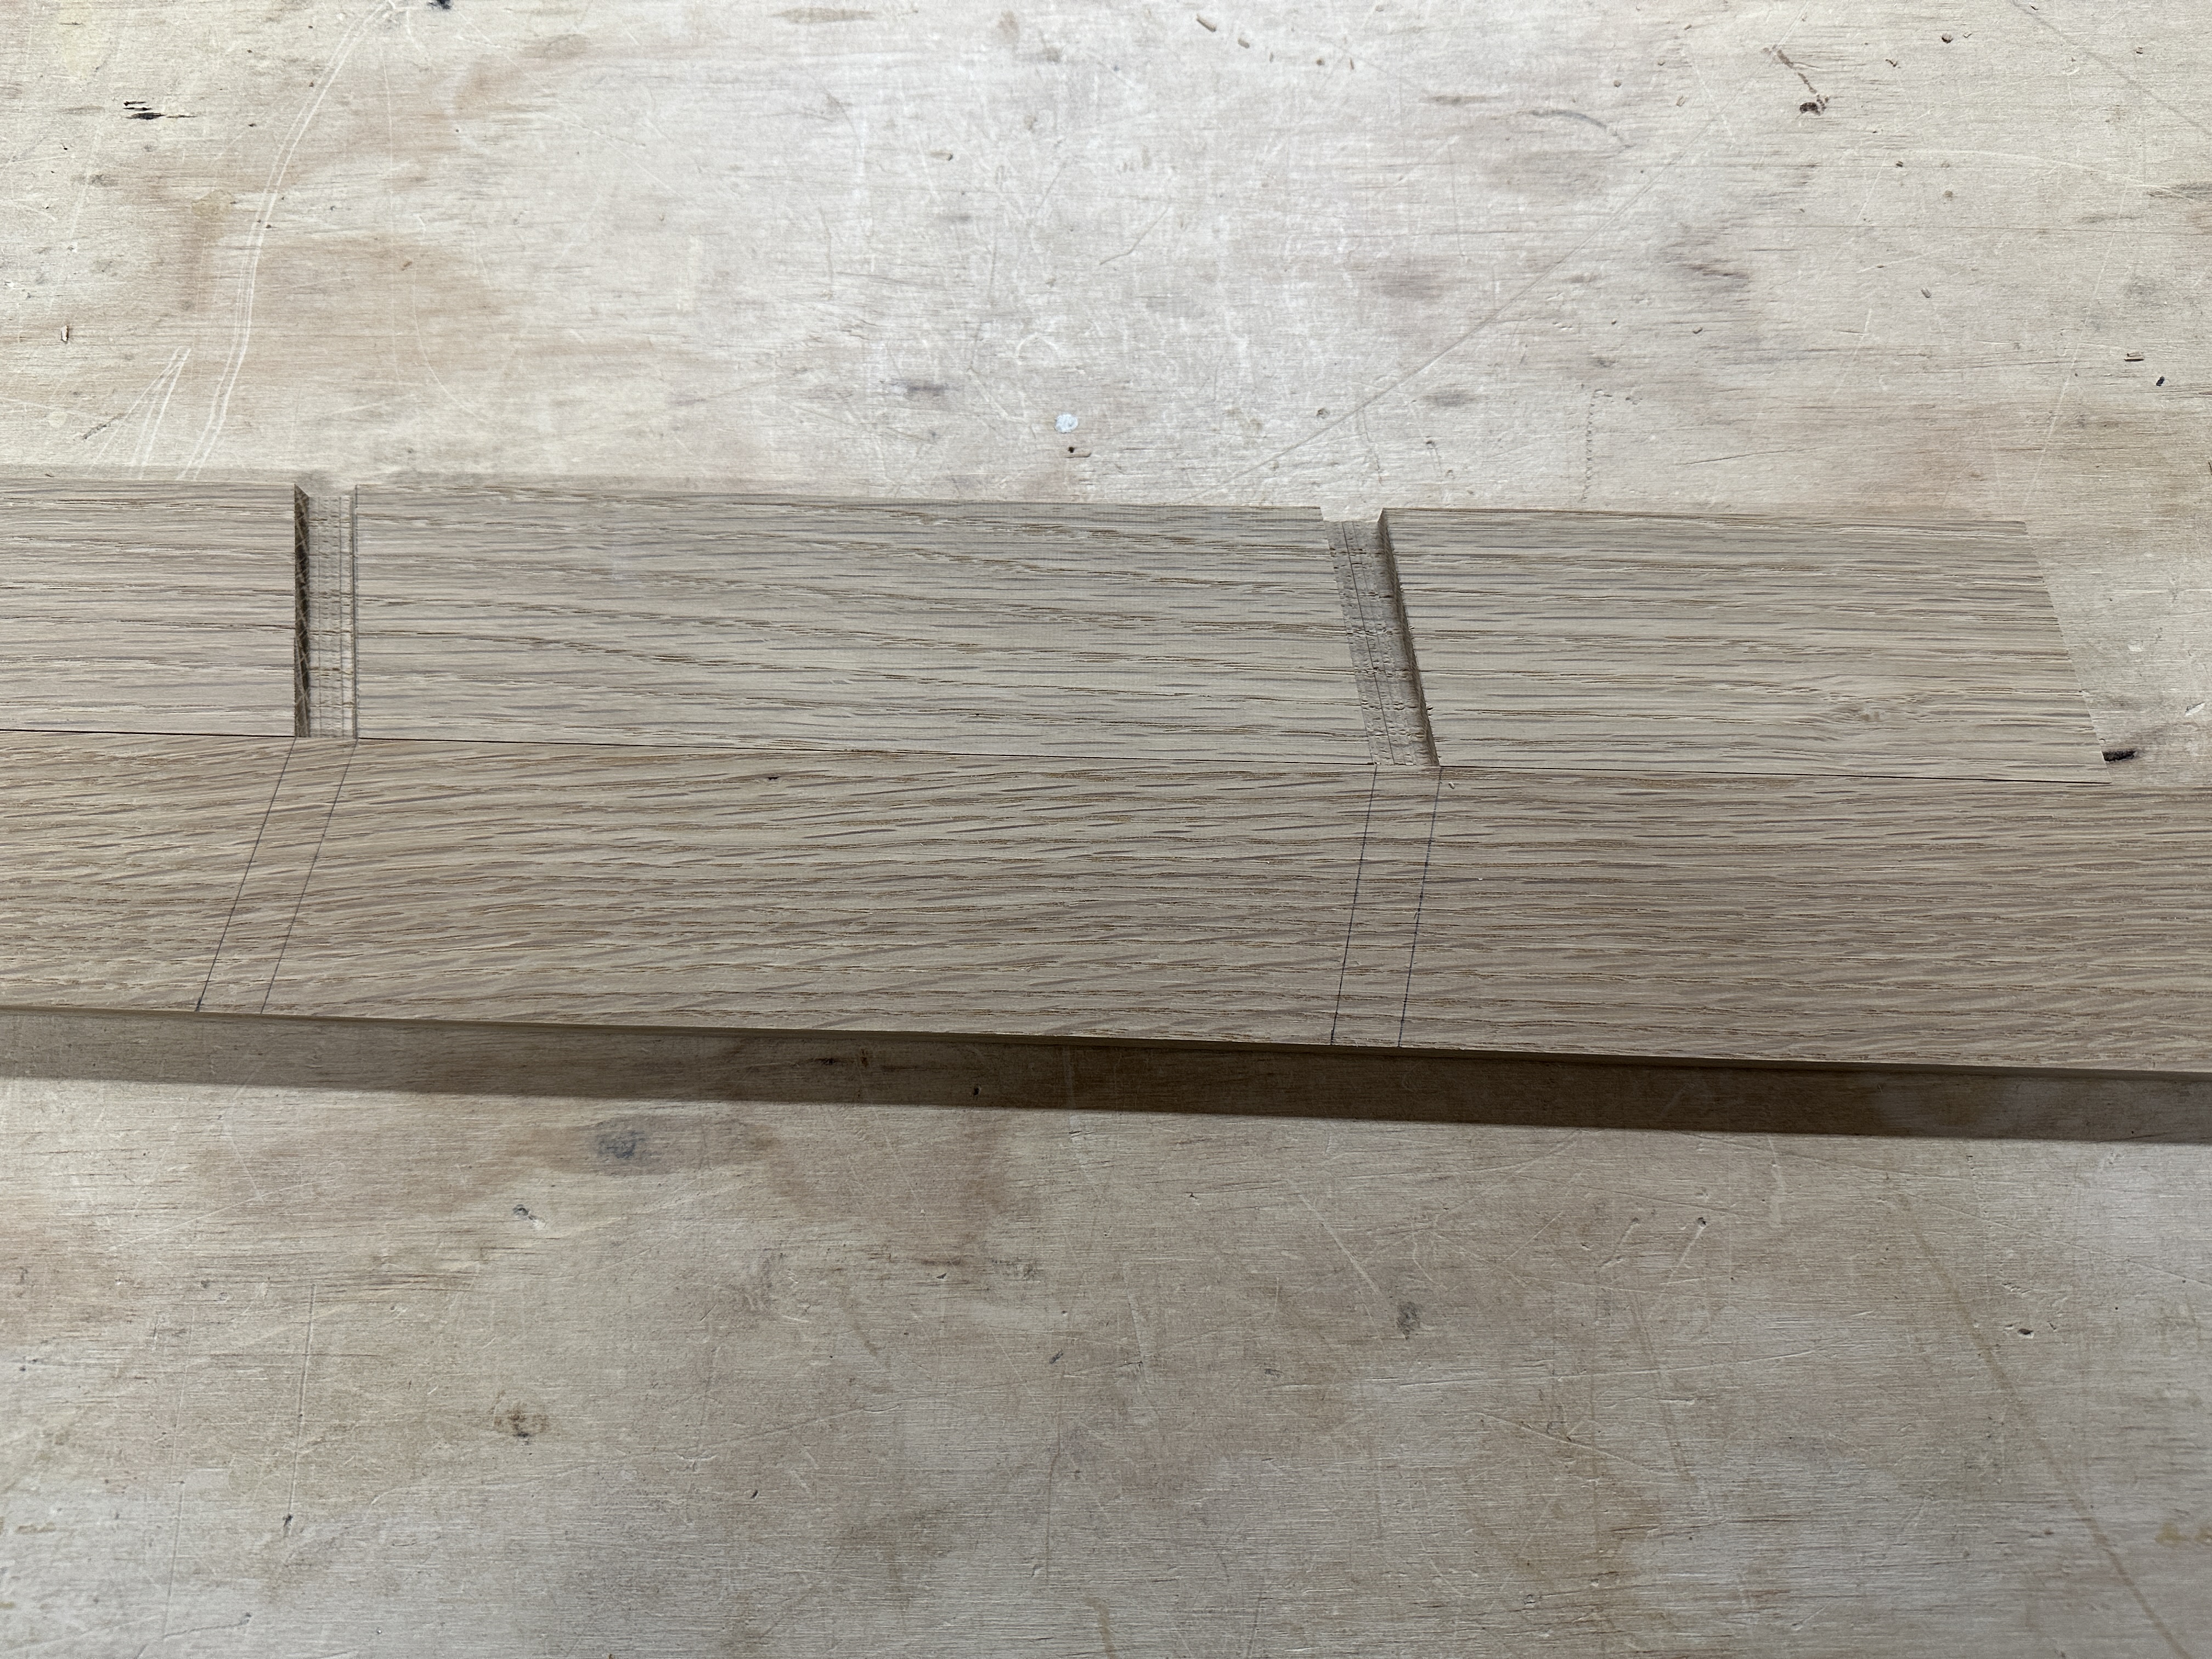
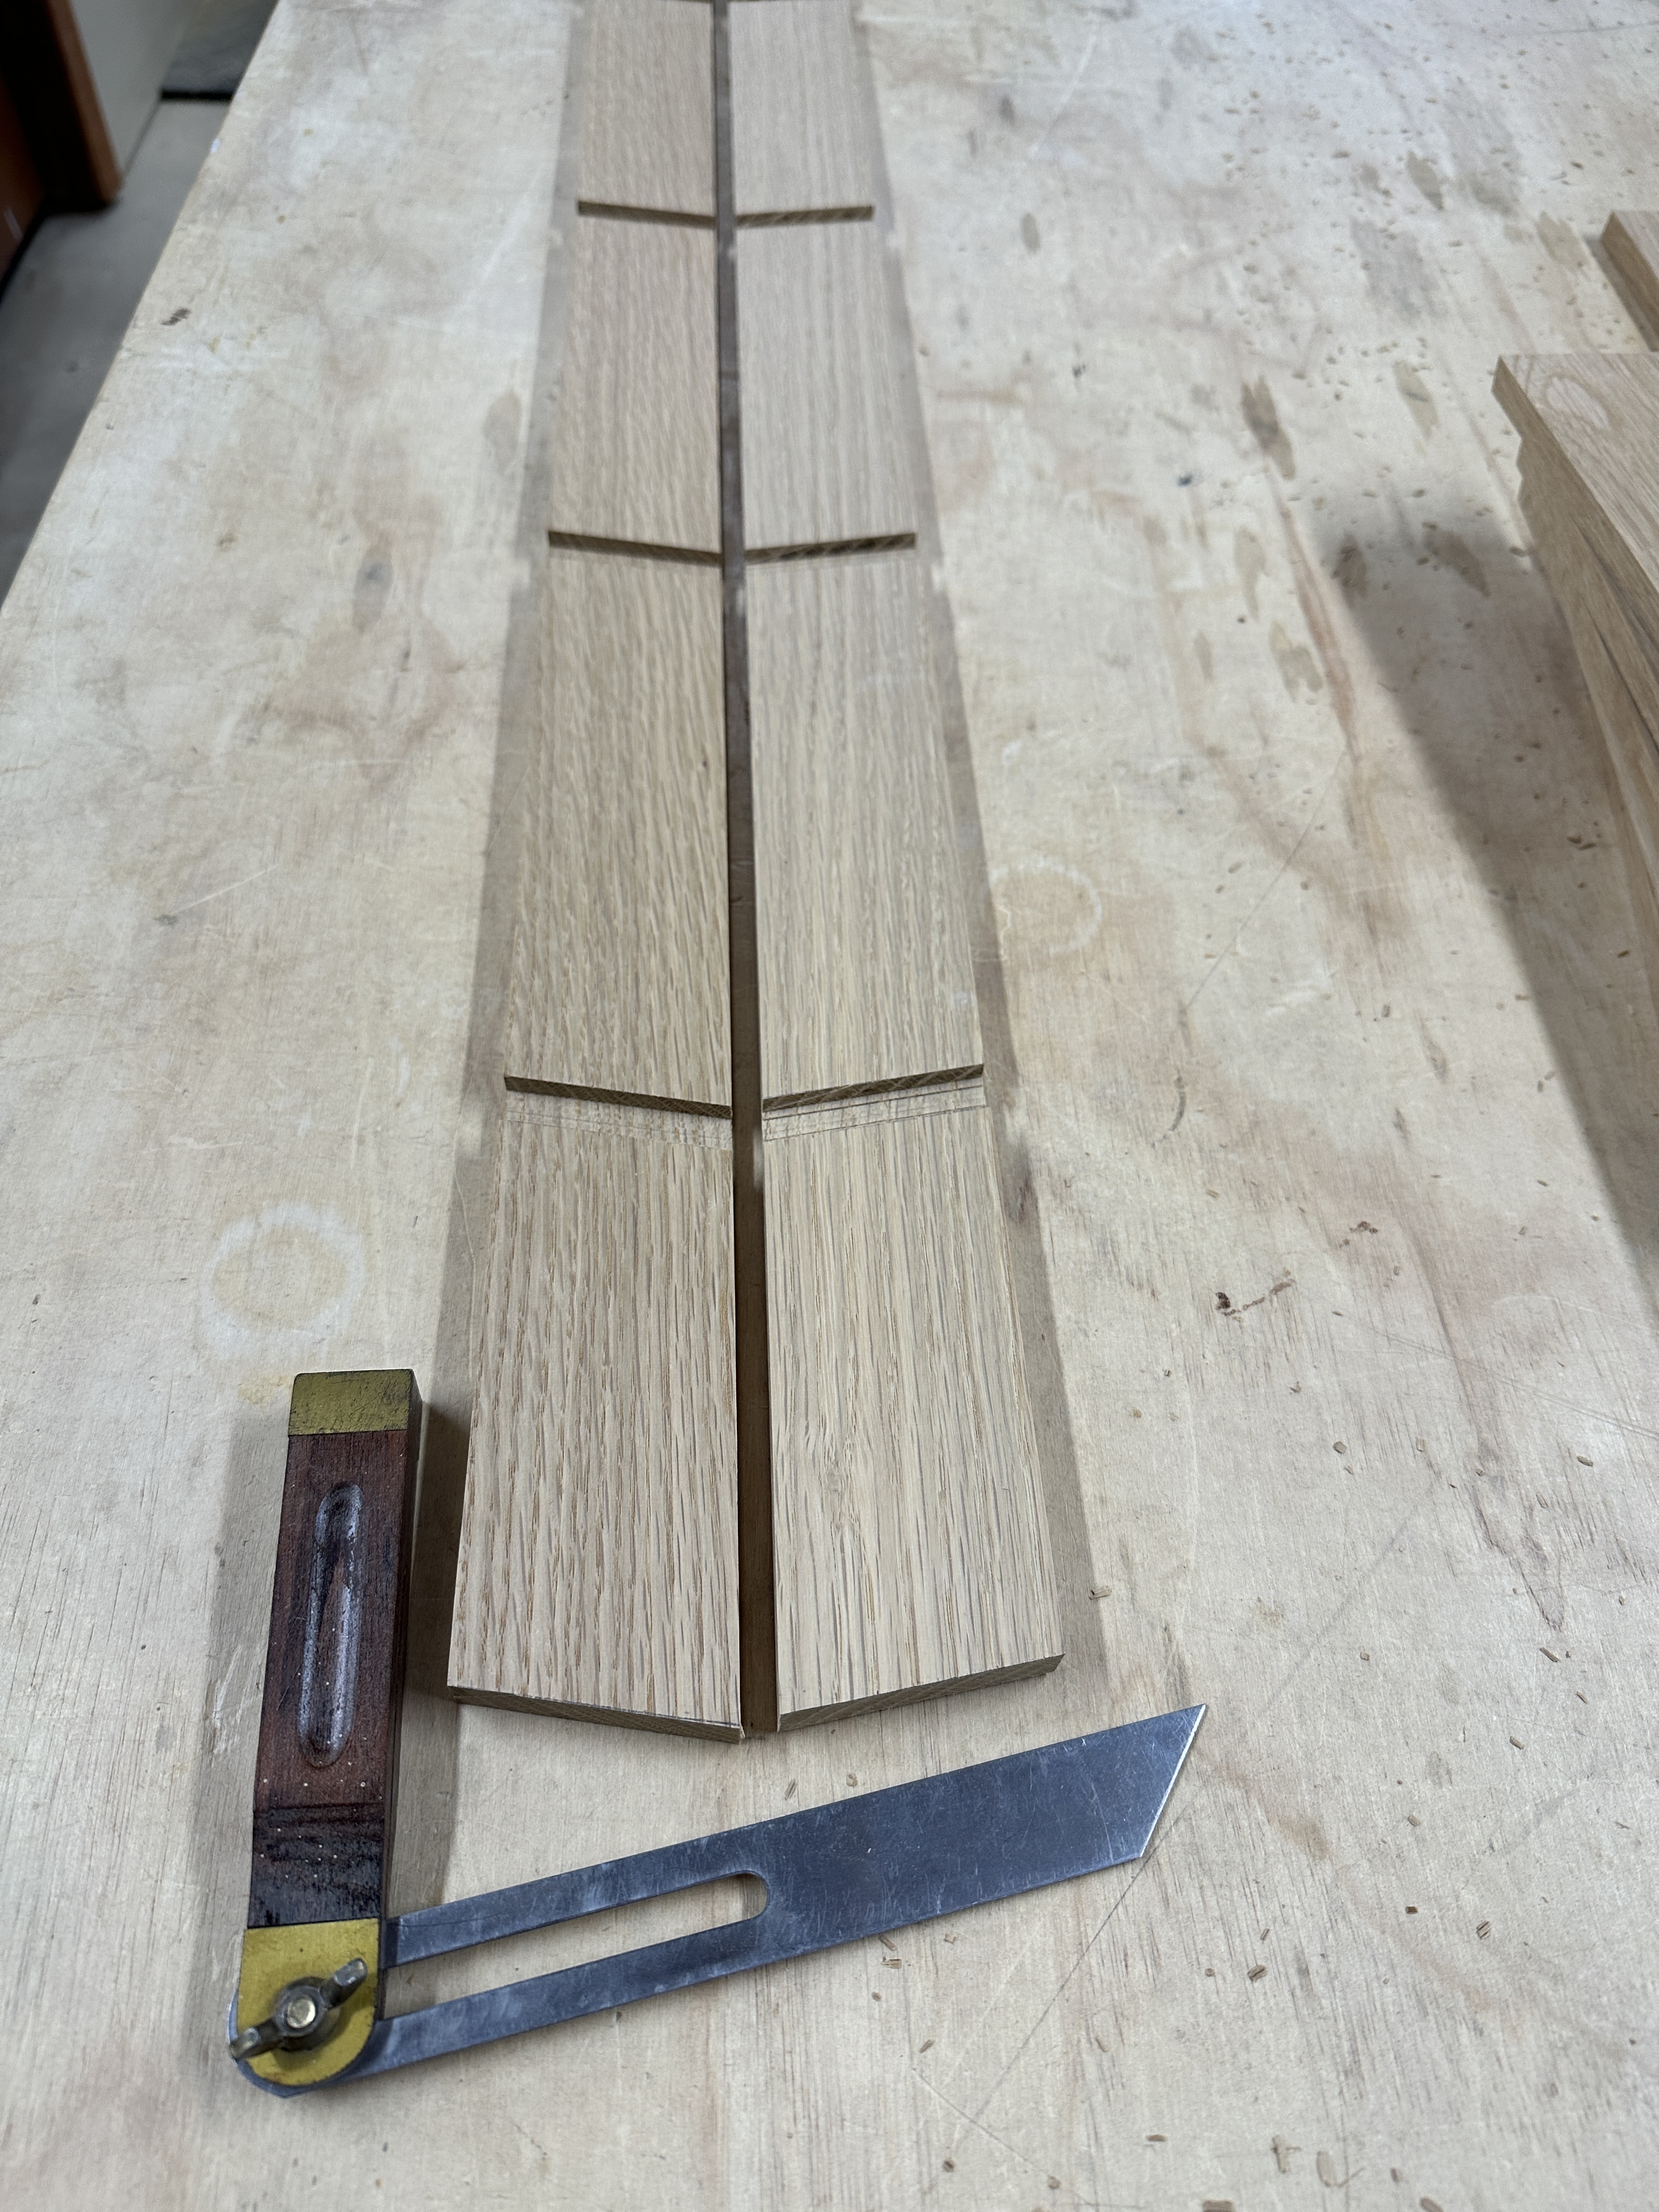
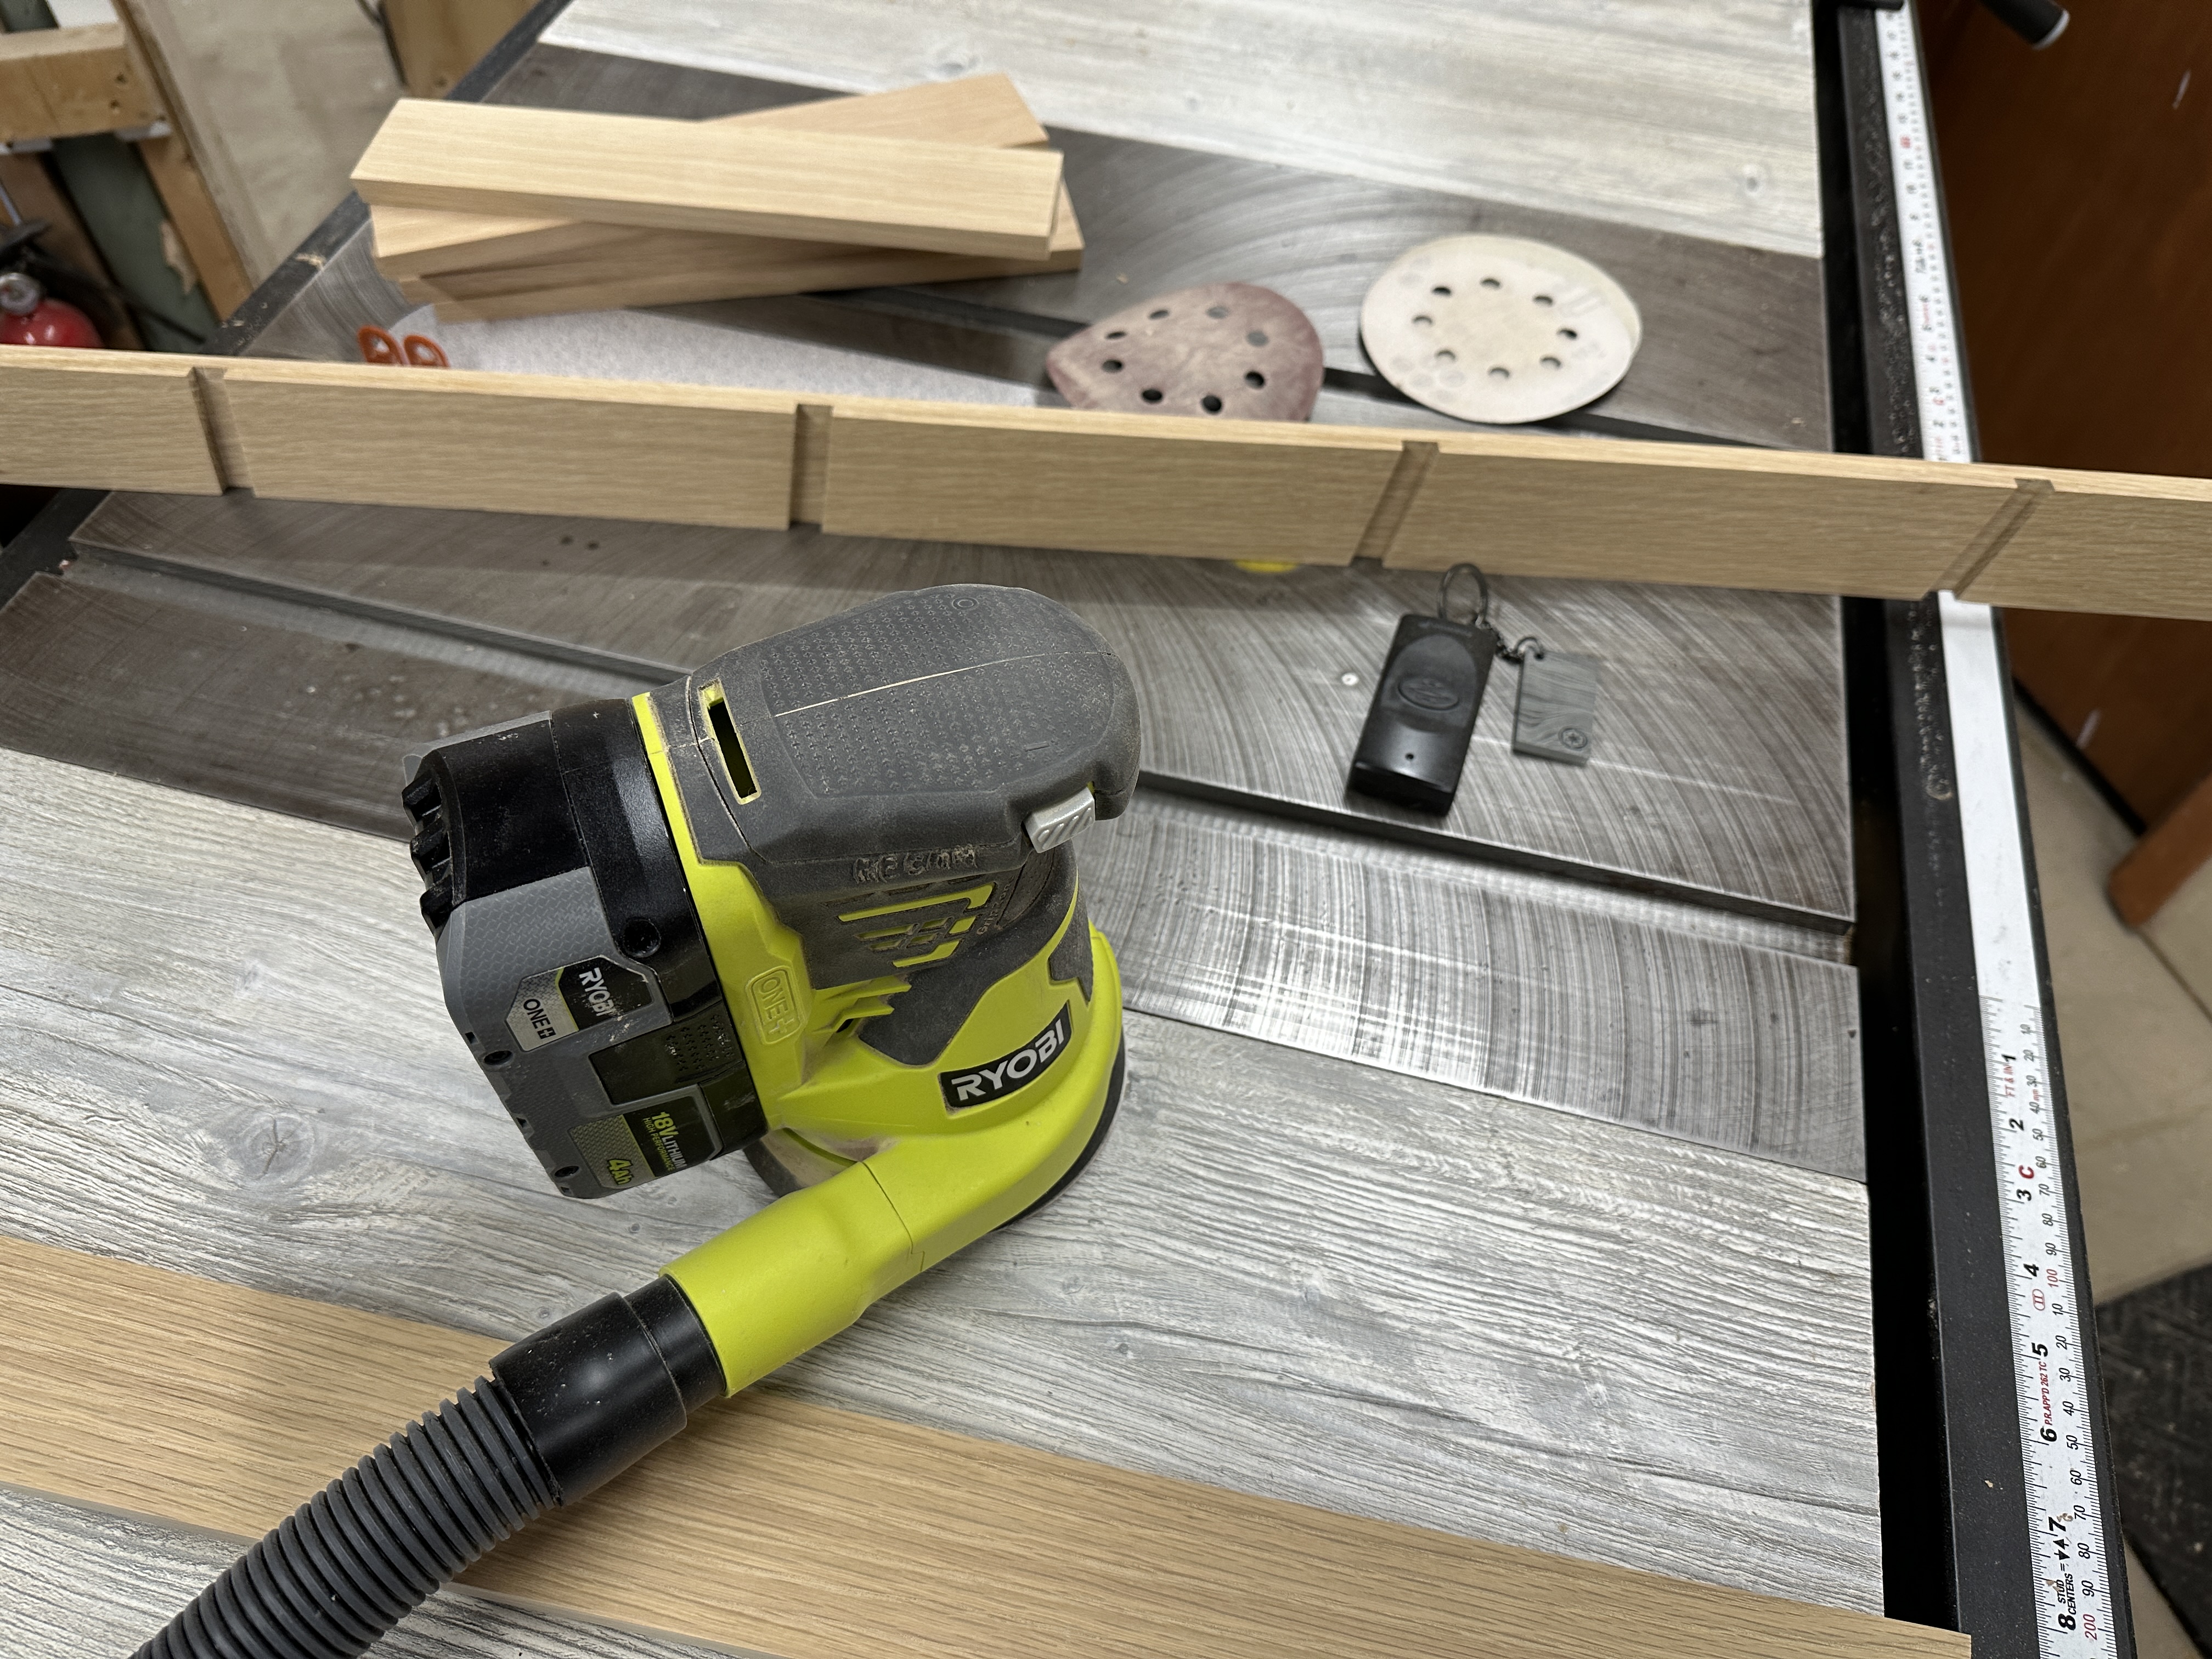
My new sliding miter saw has a depth stop, so I used that to the dados and cleaned them up with a chisel. Can you spot the huge mistake though? I marked and cut the dados the same way in both sides of the ladder. Since everything is on a 10° angle, I couldn’t rotate the pieces to work, and ended up with two left sides. Milled up a board for a new right side, which went much quicker.
I prefer to walk golf courses. It’s great exercise, gives me time prepare for shots as well as reflect, and it’s faster than riding. I bought a Clicgear 3.0 three wheel cart in 2011 and with some minor fixes over the years it’s worked great.
I’m not getting any younger and I want to keep walking as long as I can, so I’ve thought about a motorized push cart. Then I came across the Club Booster V2 by Alphard (save $50!), which converts your own push cart into a motorized one. The reviews were awesome so I ordered a refurb unit for $647. Here’s my first test after assembly.
I was impressed, but the dragging front wheel while turning didn’t work very well, so I quickly ordered the Swivel Conversion Kit for $89. The kit replaced the front wheel with an axle where the original back wheels mounted to make it a four wheel cart with a swivel front. It makes a huge difference for maneuverability and stability.
By the time I finished my first nine holes I felt very comfortable controlling it. I’ve played two 18 hole rounds and this upgraded cart let’s me play faster and leaves me fresher for the back nine. I’m surprised how much energy I save not having to push the cart. I’m thinking about doing a detailed review post.
There were two problems though. The parts took up too much floor space in the garage and looked messy. I also forgot to take the wheelie bars for the first round I played.
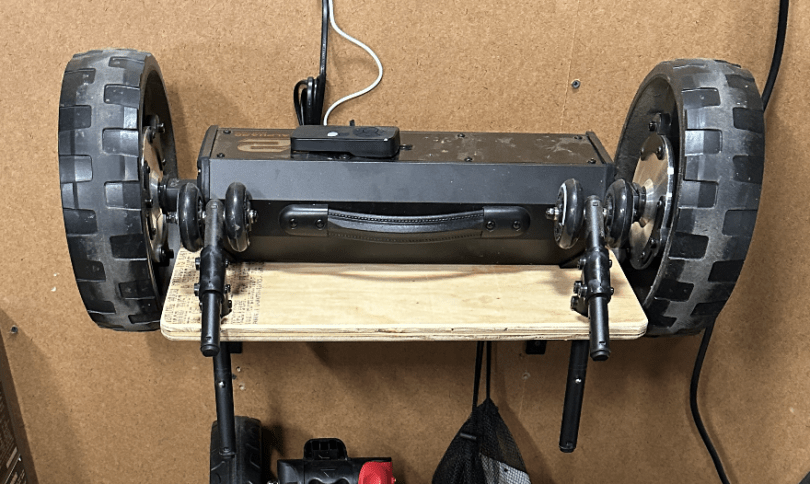
I needed some type of rack to keep things organized, help me remember to grab everything, and make changing easy. I thought about having slots for the axle or something to prevent the unit from falling to the floor. After cutting a piece of plywood and laying things out, I realized a simple shelf with holes for the wheelie bars is all I needed.
Just what I needed. I love a quick build.
With a motor this is a vehicle for my golf clubs, so it needed a name. I’ve been struggling to think of anything, so I asked ChatGPT.
Those are some good ones and I chuckled. Brandi’s idea was to call it R2-D2, but I don’t like reusing a specific name. I like the style, so I settled on CB-V2 since the unit is like my own droid.
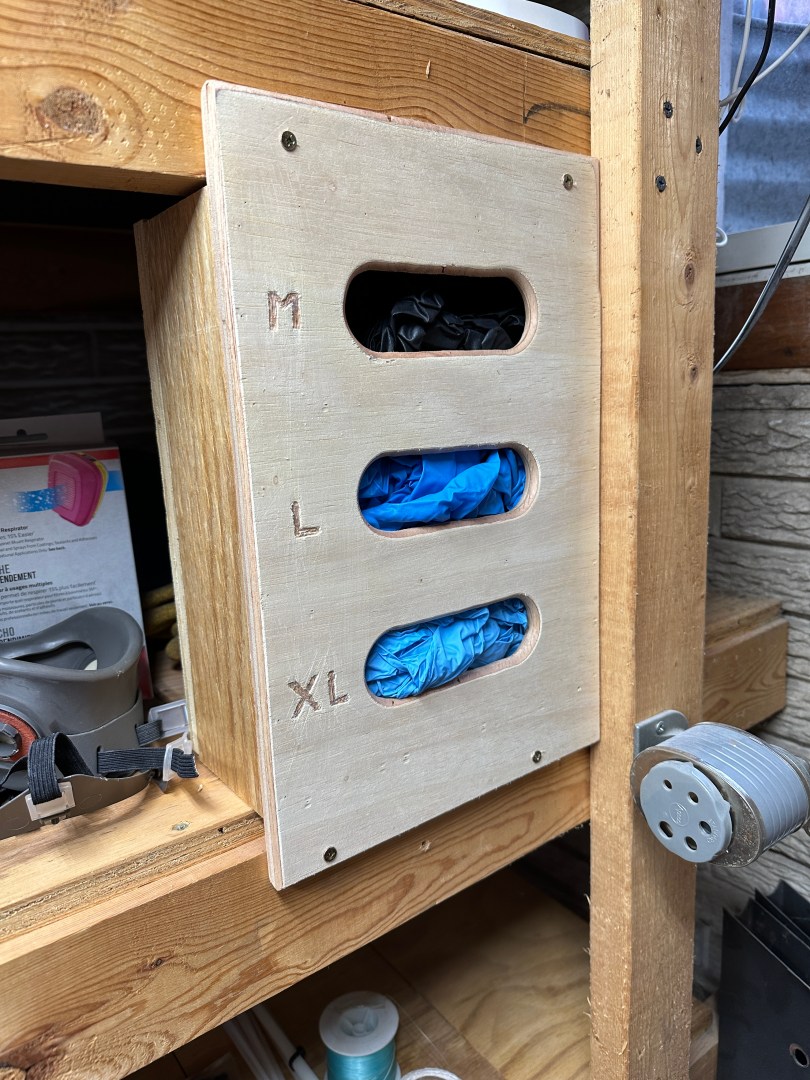
As I was finishing my closet reorganization I couldn’t help myself and had to make something. I have three sizes of nitrile gloves.
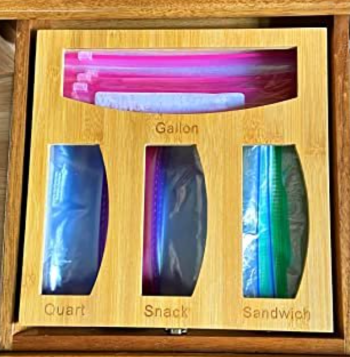
This gave me an idea based on plastic bag organizers I’ve seen on Facebook Marketplace.
I made a quick sketch, took some measurements, and grabbed plywood scraps.
It was a simple construction, using wood glue and pin nails to hold it together. I did screw on the back in case I ever need to get inside. I carved in the letters with whatever bit was on my rotary tool.
The top and bottom were made long so I could screw the unit in place.
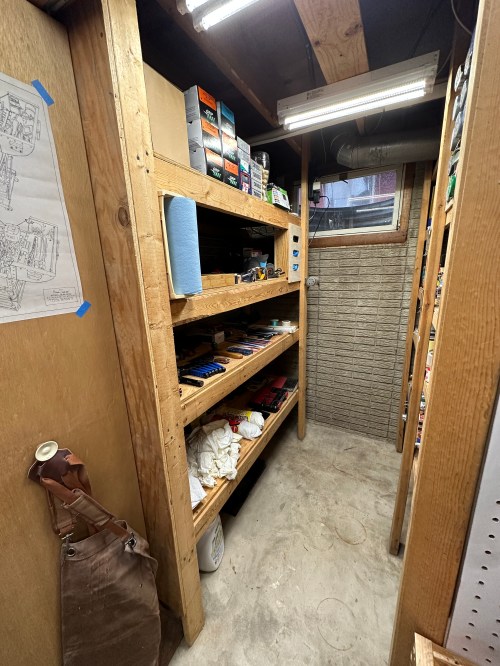
I did finish organizing and cleaning the closet, so here are before and after pictures.
I’m glad that’s done. Time for some non-shop projects.
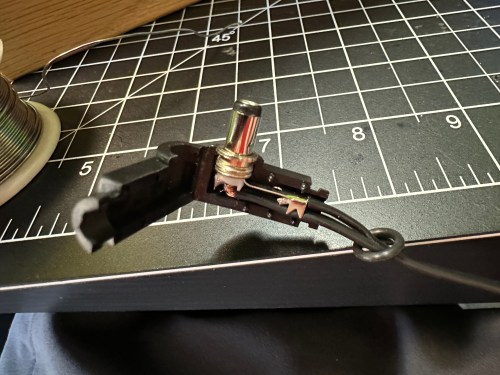
I might end up getting a right angle jack to help with the strain relief. We’ll see how this holds up.
Yeah…
It hadn’t failed, but was heading that way. I didn’t help that I don’t have any heat shrink large enough to go over the end of that barrel jack. I ordered a pack of right angle barrel jacks from Amazon and soldered the wires in.
Didn’t work. The jack wasn’t long enough or the wrong size to make a good connection to the power source. I wish I had checked connections before soldering the wires on. I ordered a different style of jack in two sizes, 5.5 x 2.1 mm and 5.5 x 2.5 mm.
The 5.5 x 2.5, on the left, turned out to be the correct size. After confirming (multiple times) the positive and negative sides of each connection I slipped on some heat shrink, soldered the wires to the jacket, and blasted flames at the heat shrink.
The right angle is a much better connection because of how the battery sits in the jacket pocket and the extra length will help with strain relief. I feel better about having a soldered connection as well. It’s a win all around.
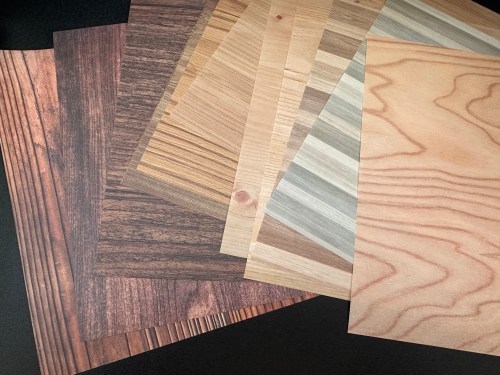
Today at work our larger Human Resources team had a social activity, which was learning some Origami. When I was searching Amazon for paper, this wood grain pattern pack was suggested and I didn’t hesitate.
From making paper airplanes I remember how hard it is to get proper half folds at the corners, and it was no different here. You also have no idea how something is going to turn out until the end. I love making things, so this was fun. I decided to challenge myself even more by keeping up to make two of each model.
I have a lot of the paper, so when I need to chill out from work, I’m going to try some of the other models. If you’d like to give it a try, check out the Origami Fun site, which has a lot of instructions.
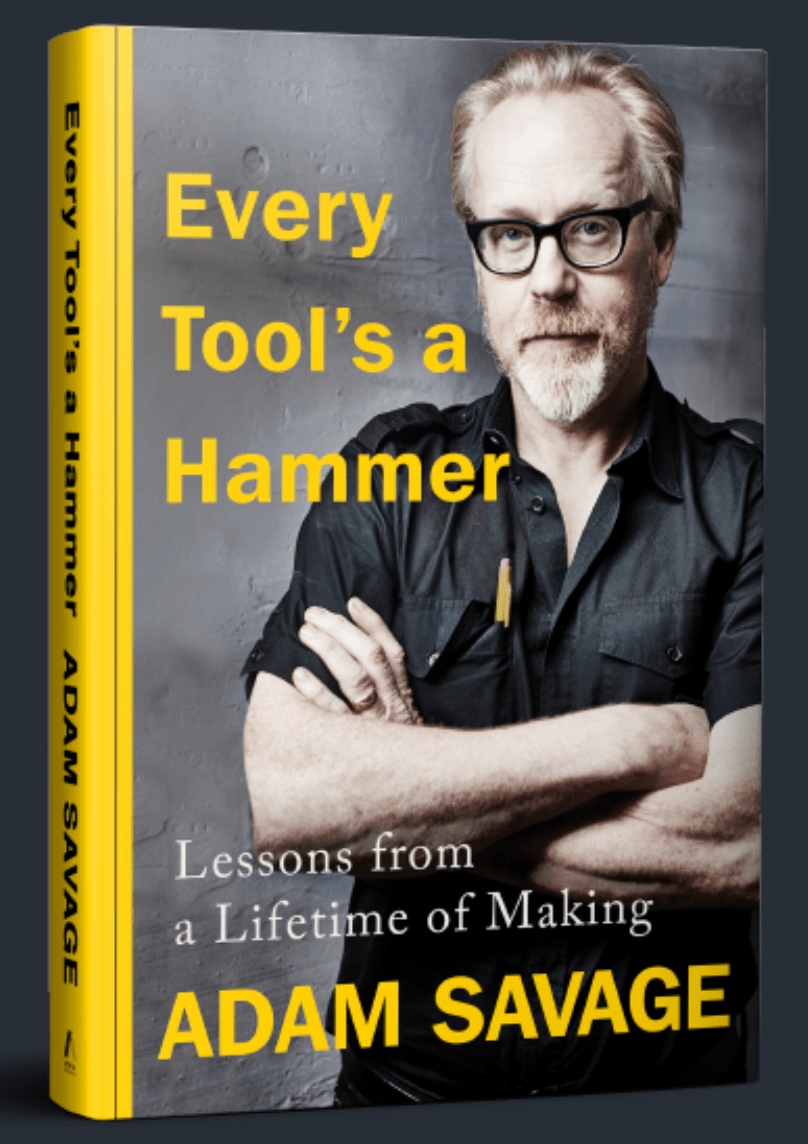
I’m a big fan of Adam Savage and Tested, so when I saw he was writing a book, I preordered it from Amazon.
That was four years ago. I’m embarrassed to say the book had been untouched on my Kindle since it was released in May of 2019. I finally turned the page on the flights to Madrid and easily finished it.
Putting something in the world that didn’t exist before is the broadest definition of making, which means all of us can be makers. Creators.
Everyone has something valuable to contribute. It is that simple. It is not, however, that easy. For, as the things we make give us power and insight, at the same time they also render us vulnerable. Our obsessions can teach us about who we are, and who we want to be, but they can also expose us. They can expose our weirdness and our insecurities, our ignorances and our deficiencies.
If you’re a creative of any type I highly recommend reading Adam’s book. I learned a lot and it felt good to know other people think the way I do about a lot of things.
One of the chapters focused on lists, which is something I use often. Usually I prefer Apple Notes because is syncs between my iPhone and MacBooks (work and personal), allowing me to quickly update the lists. Here’s a list I started partway through my bathroom remodel.
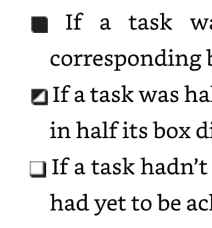
Adam writes out his lists and makes a checkbox next to each item. When something is halfway or mostly complete he splits the box diagonally and fills in the upper left area. On completion, the entire box is filled in. It’s such an important process for him that after the Lists chapter was another titled Checkboxes!
Whenever I put a list to paper I’m going to try this method.
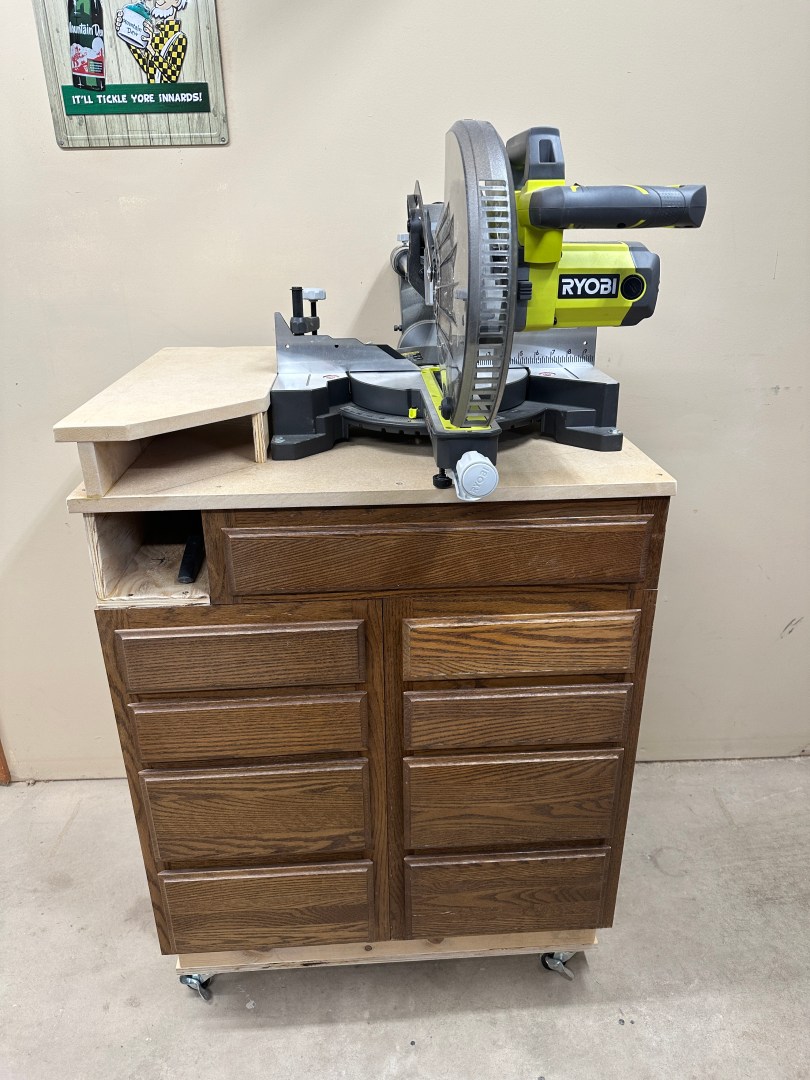
Not having a blade guard always made me nervous and features of newer saws made me jealous. Things like a slider, positive angle stops, and a cut line are really nice to have. This new saw is beautiful and was definitely the right price!
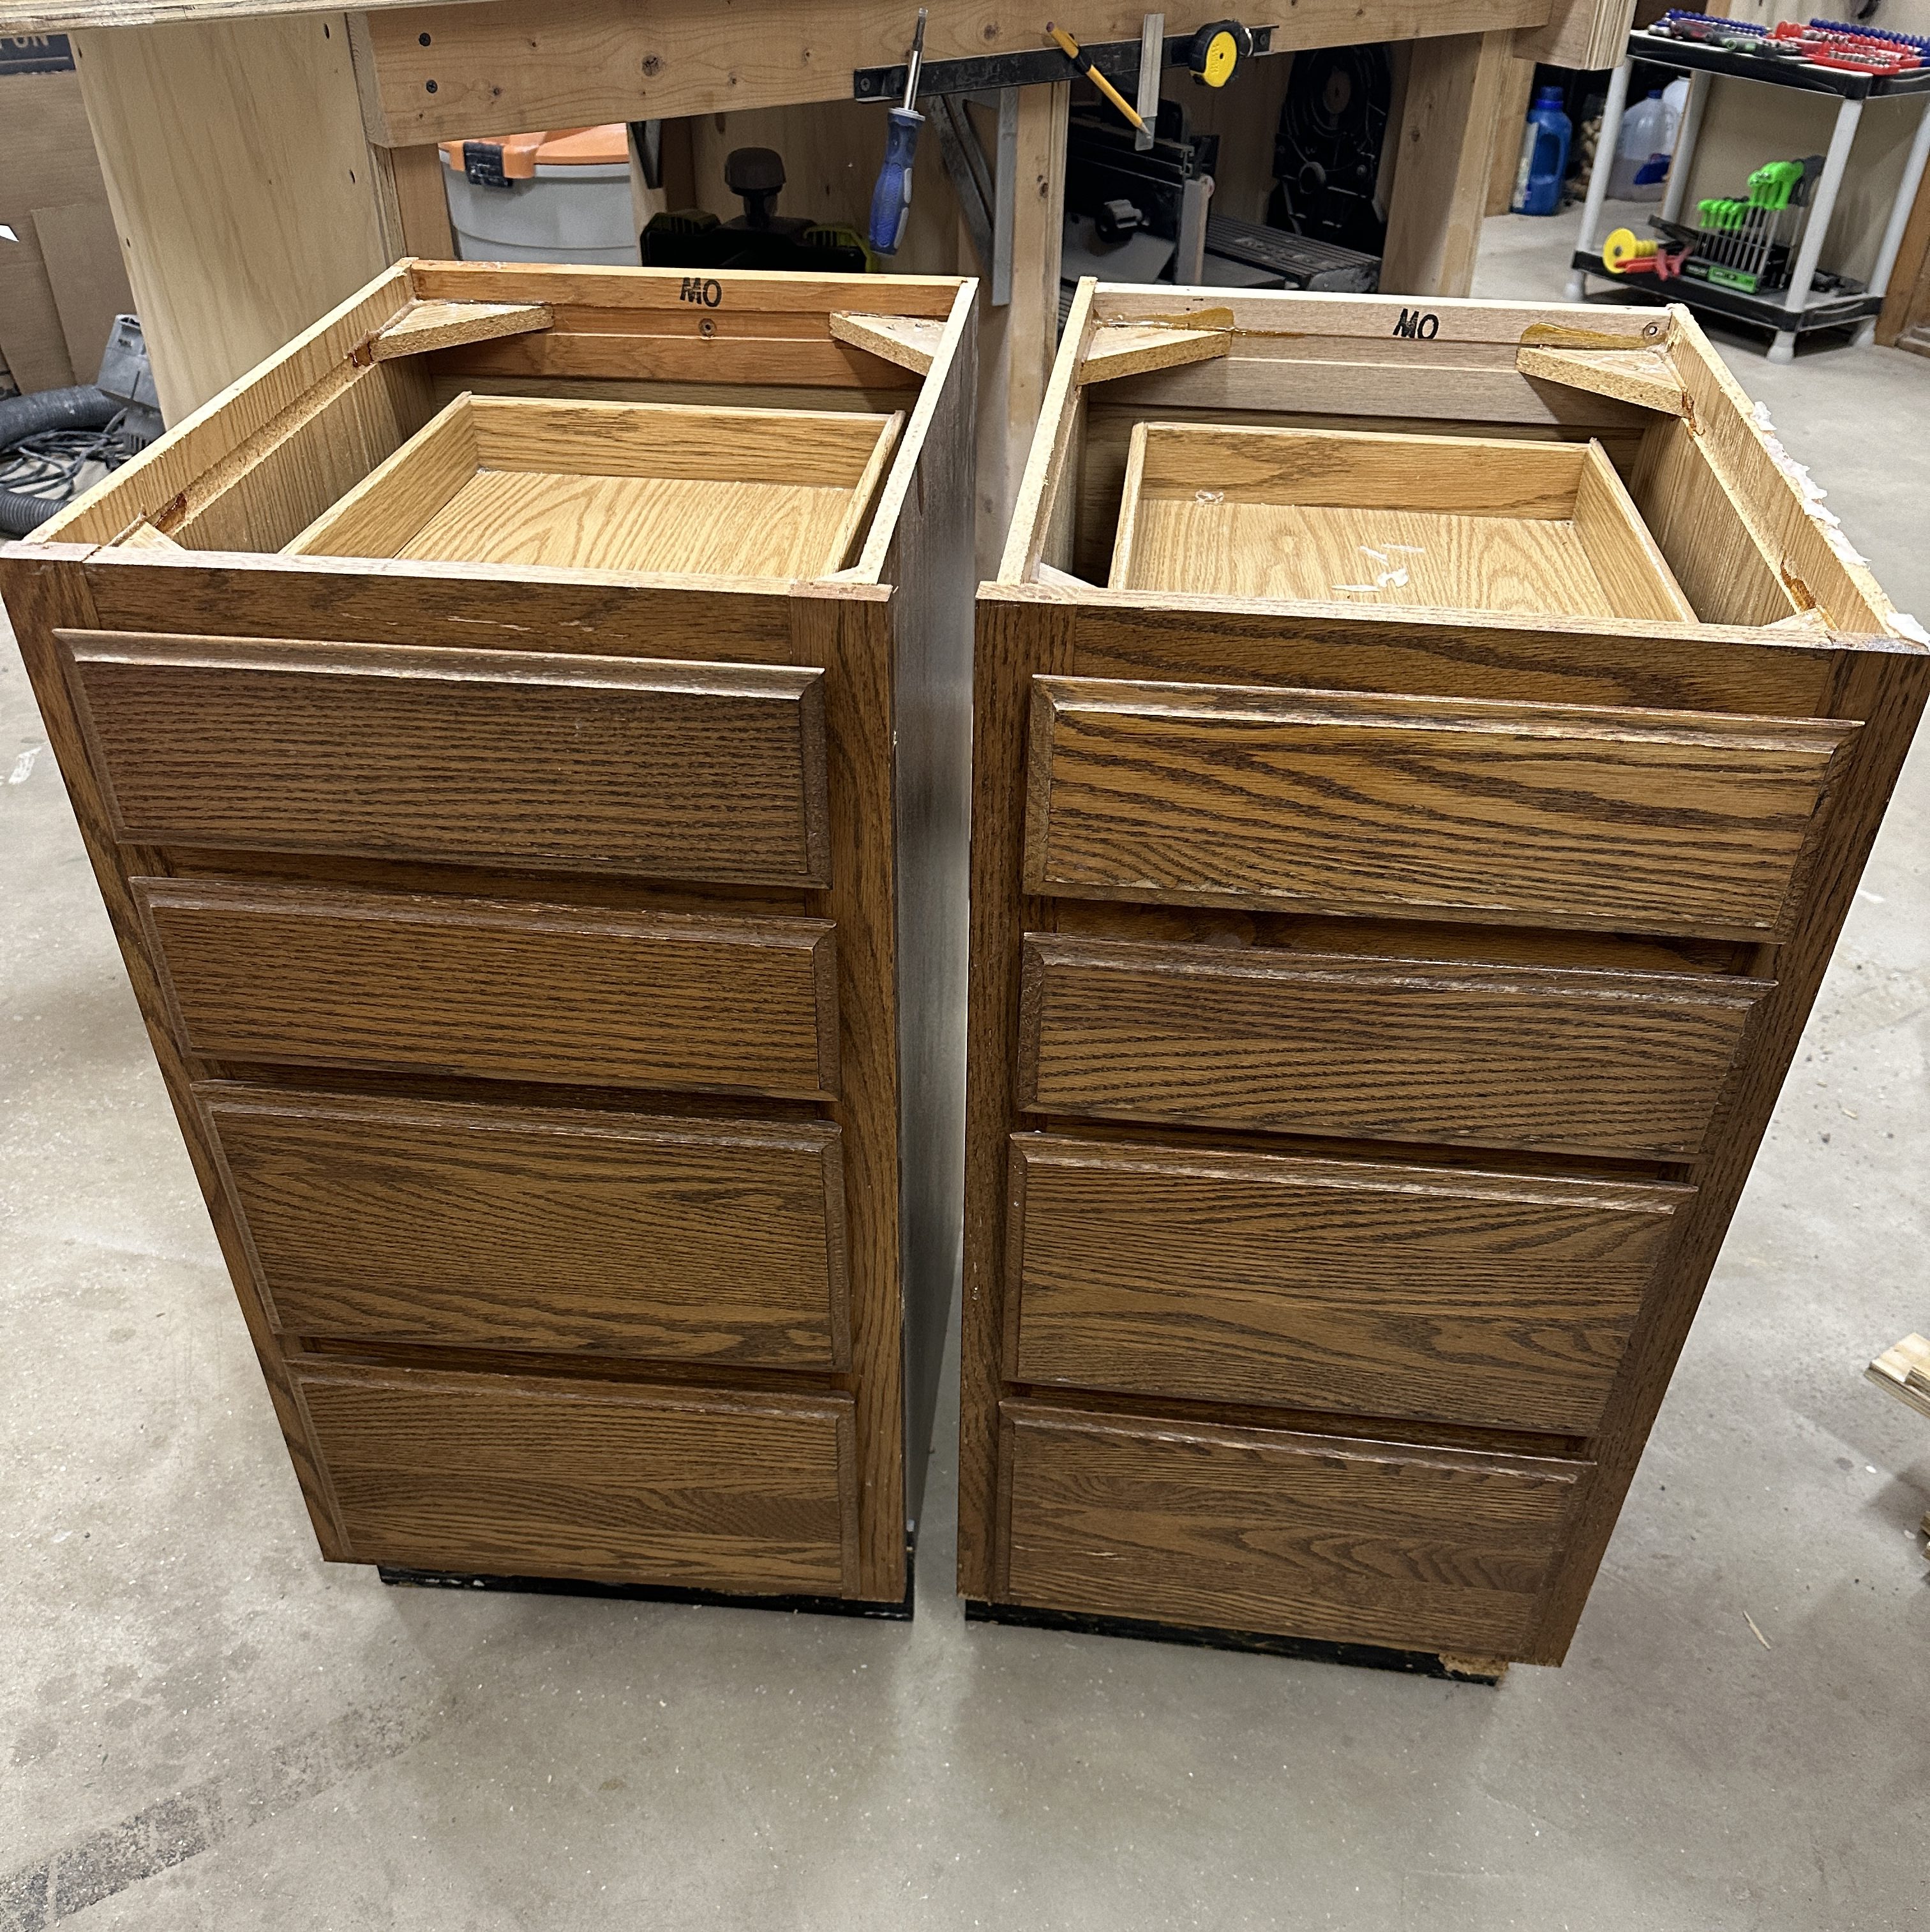
Due to the sliding feature, I needed a lot more depth in my space to use the saw. I also knew I wanted a mobile cart because the stand from the other one always stayed where it was, which was often in the way. I had saved the two side cabinets from the bathroom vanity and still had a wide drawer from the kitchen desk I removed.
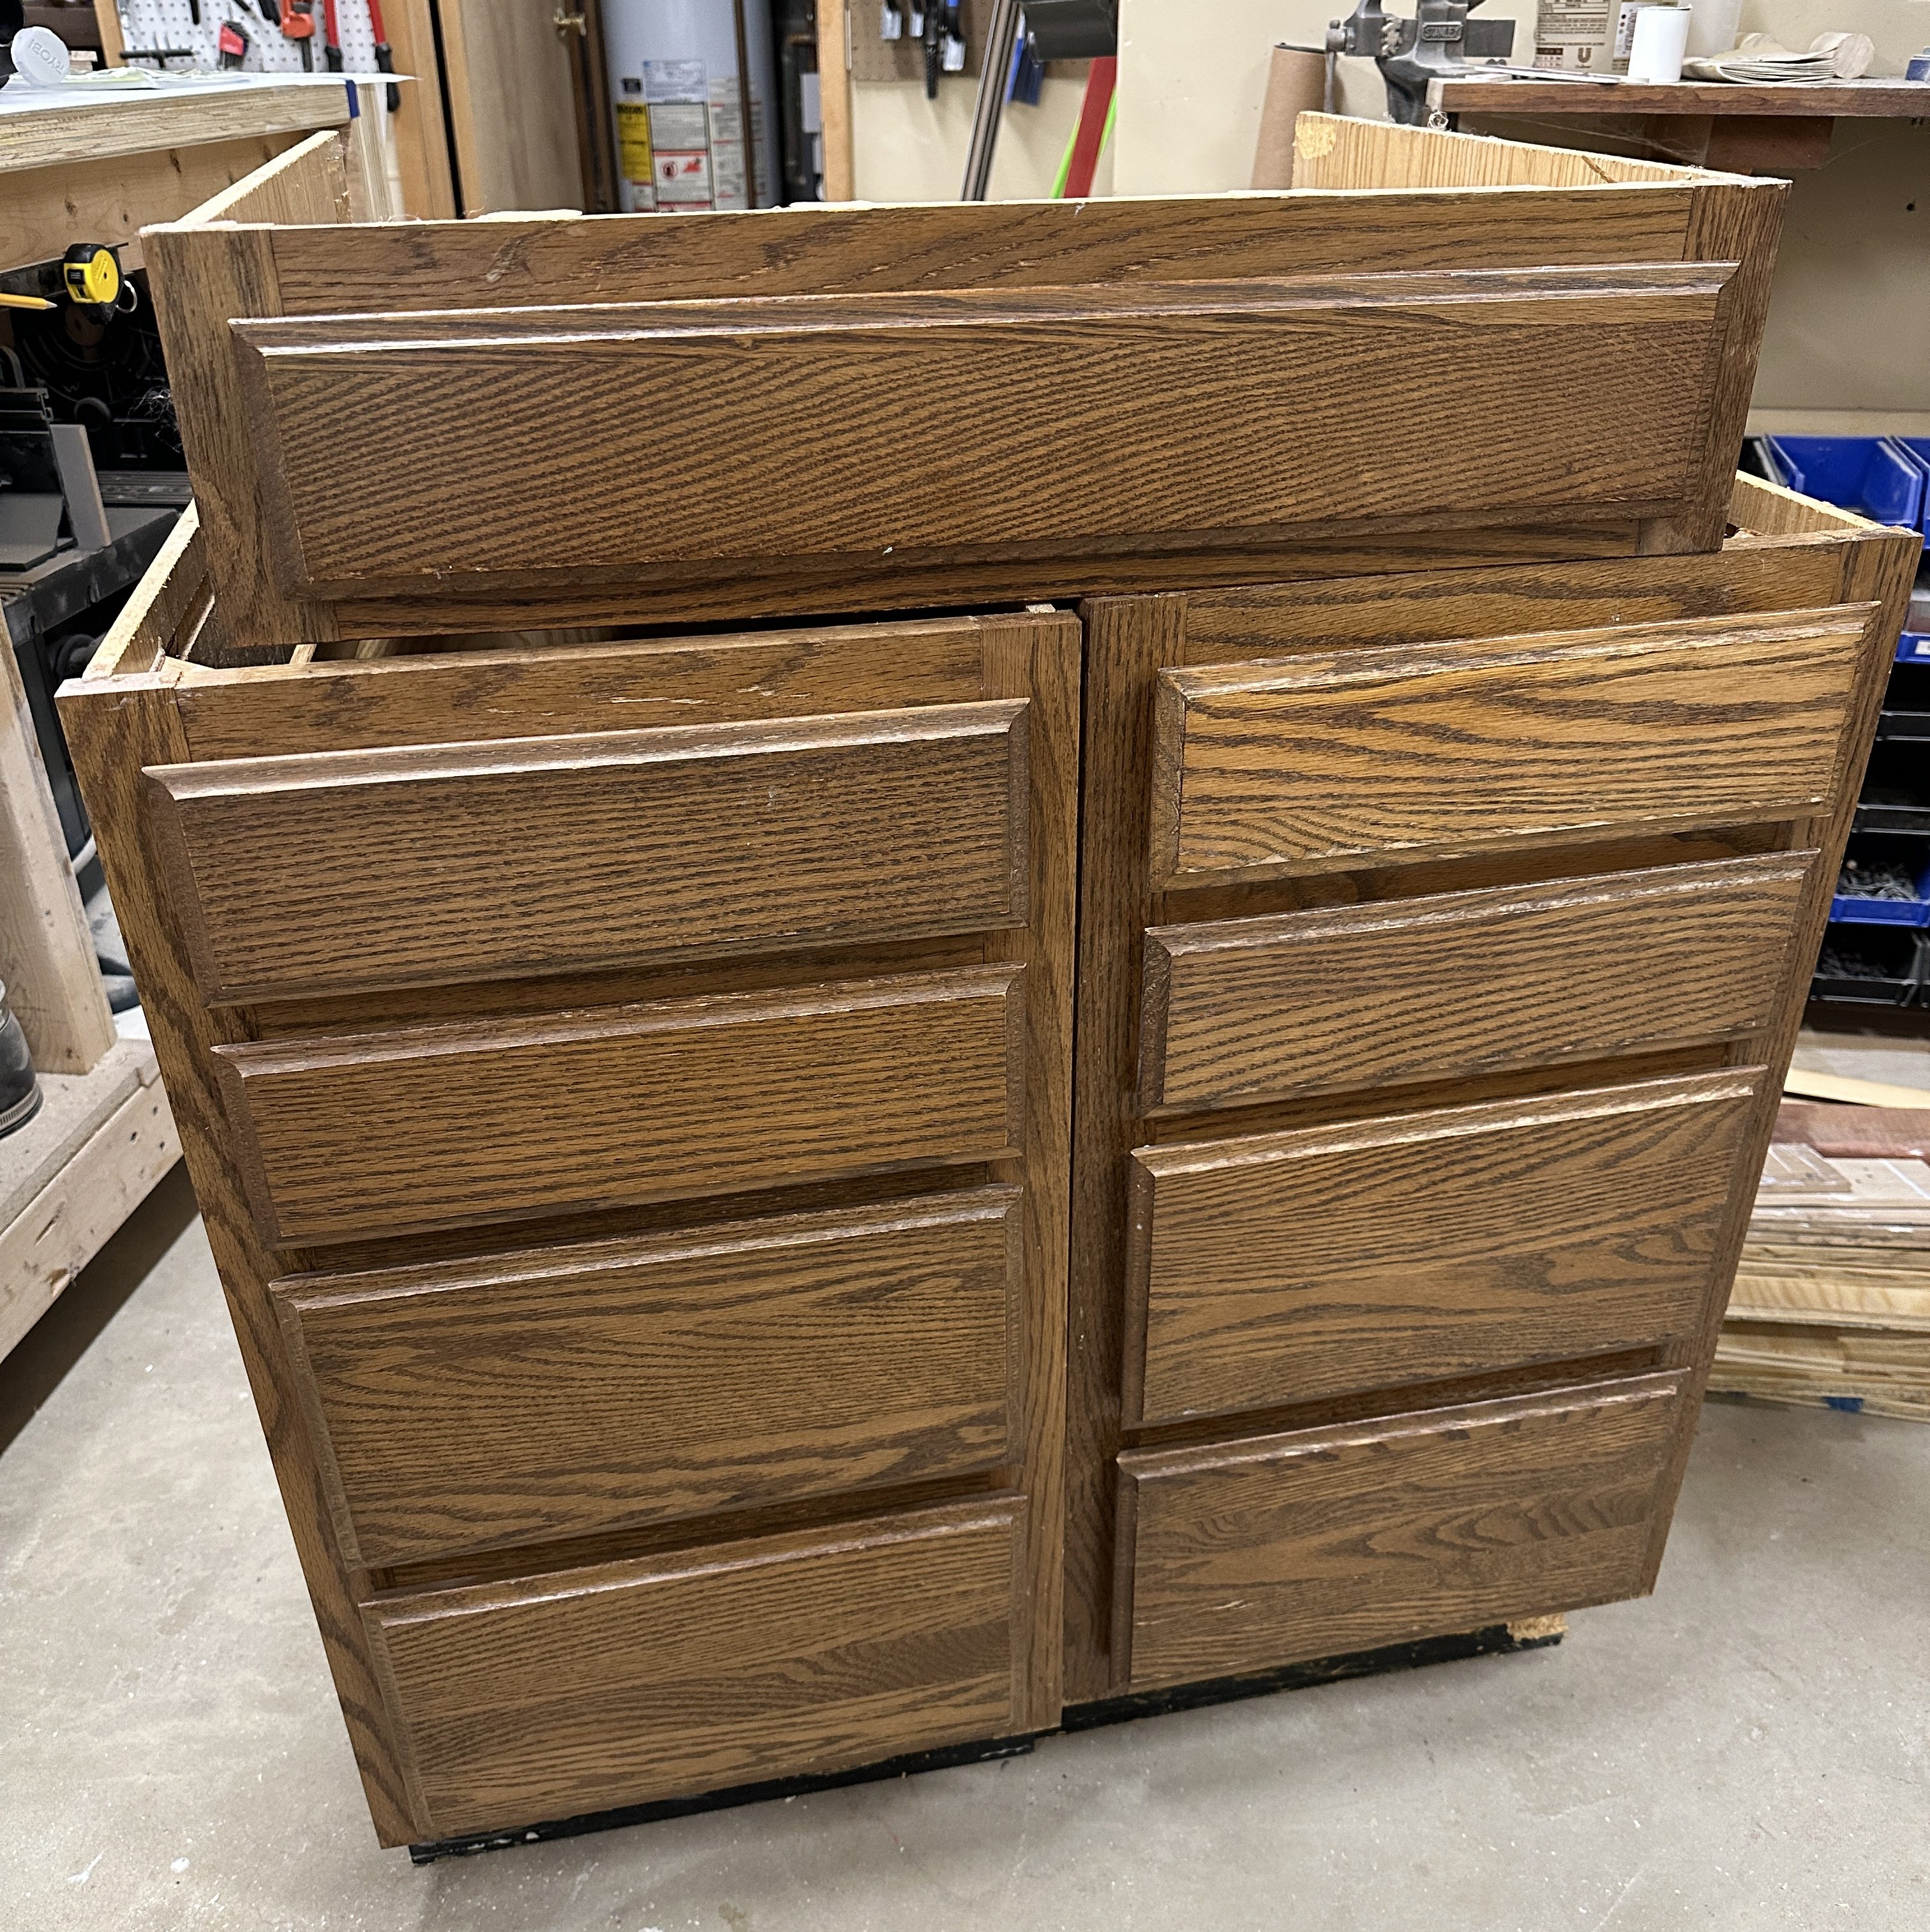
I combined the cabinets and added reinforcements all over to give more stability and connection points because the cabinet walls were so shitty. I made a base, replaced the toe kick, added casters, attached the drawer, and whipped up a little cubby.
The base of an old treadmill has been sitting in my basement, which was a decent piece of MDF. I removed the plastic and chopped it up to make the top of my stand.
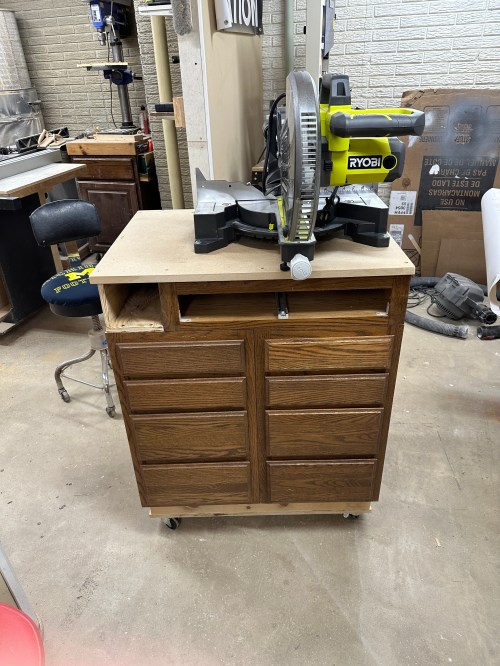
The final thing to do was make a riser to the left of the saw for more support while making cuts. The cart turned out great and is so easy to move around.
I took the opportunity to clean the shop and do some rearranging. I moved the drill press out of the dusty area and pulled the band saw in. I also moved the jointer out since it doesn’t get used much and is an awkward size, so it was also in the way. It feels like I have a whole new shop and being able to move the miter saw around is going to be a huge improvement to my workflows.
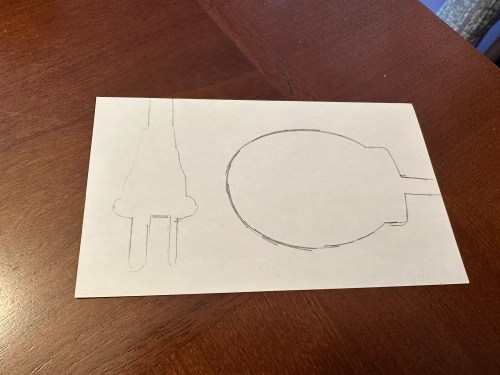
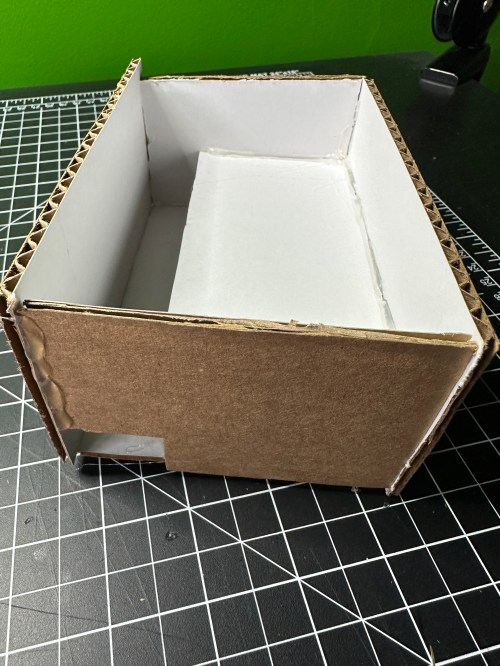
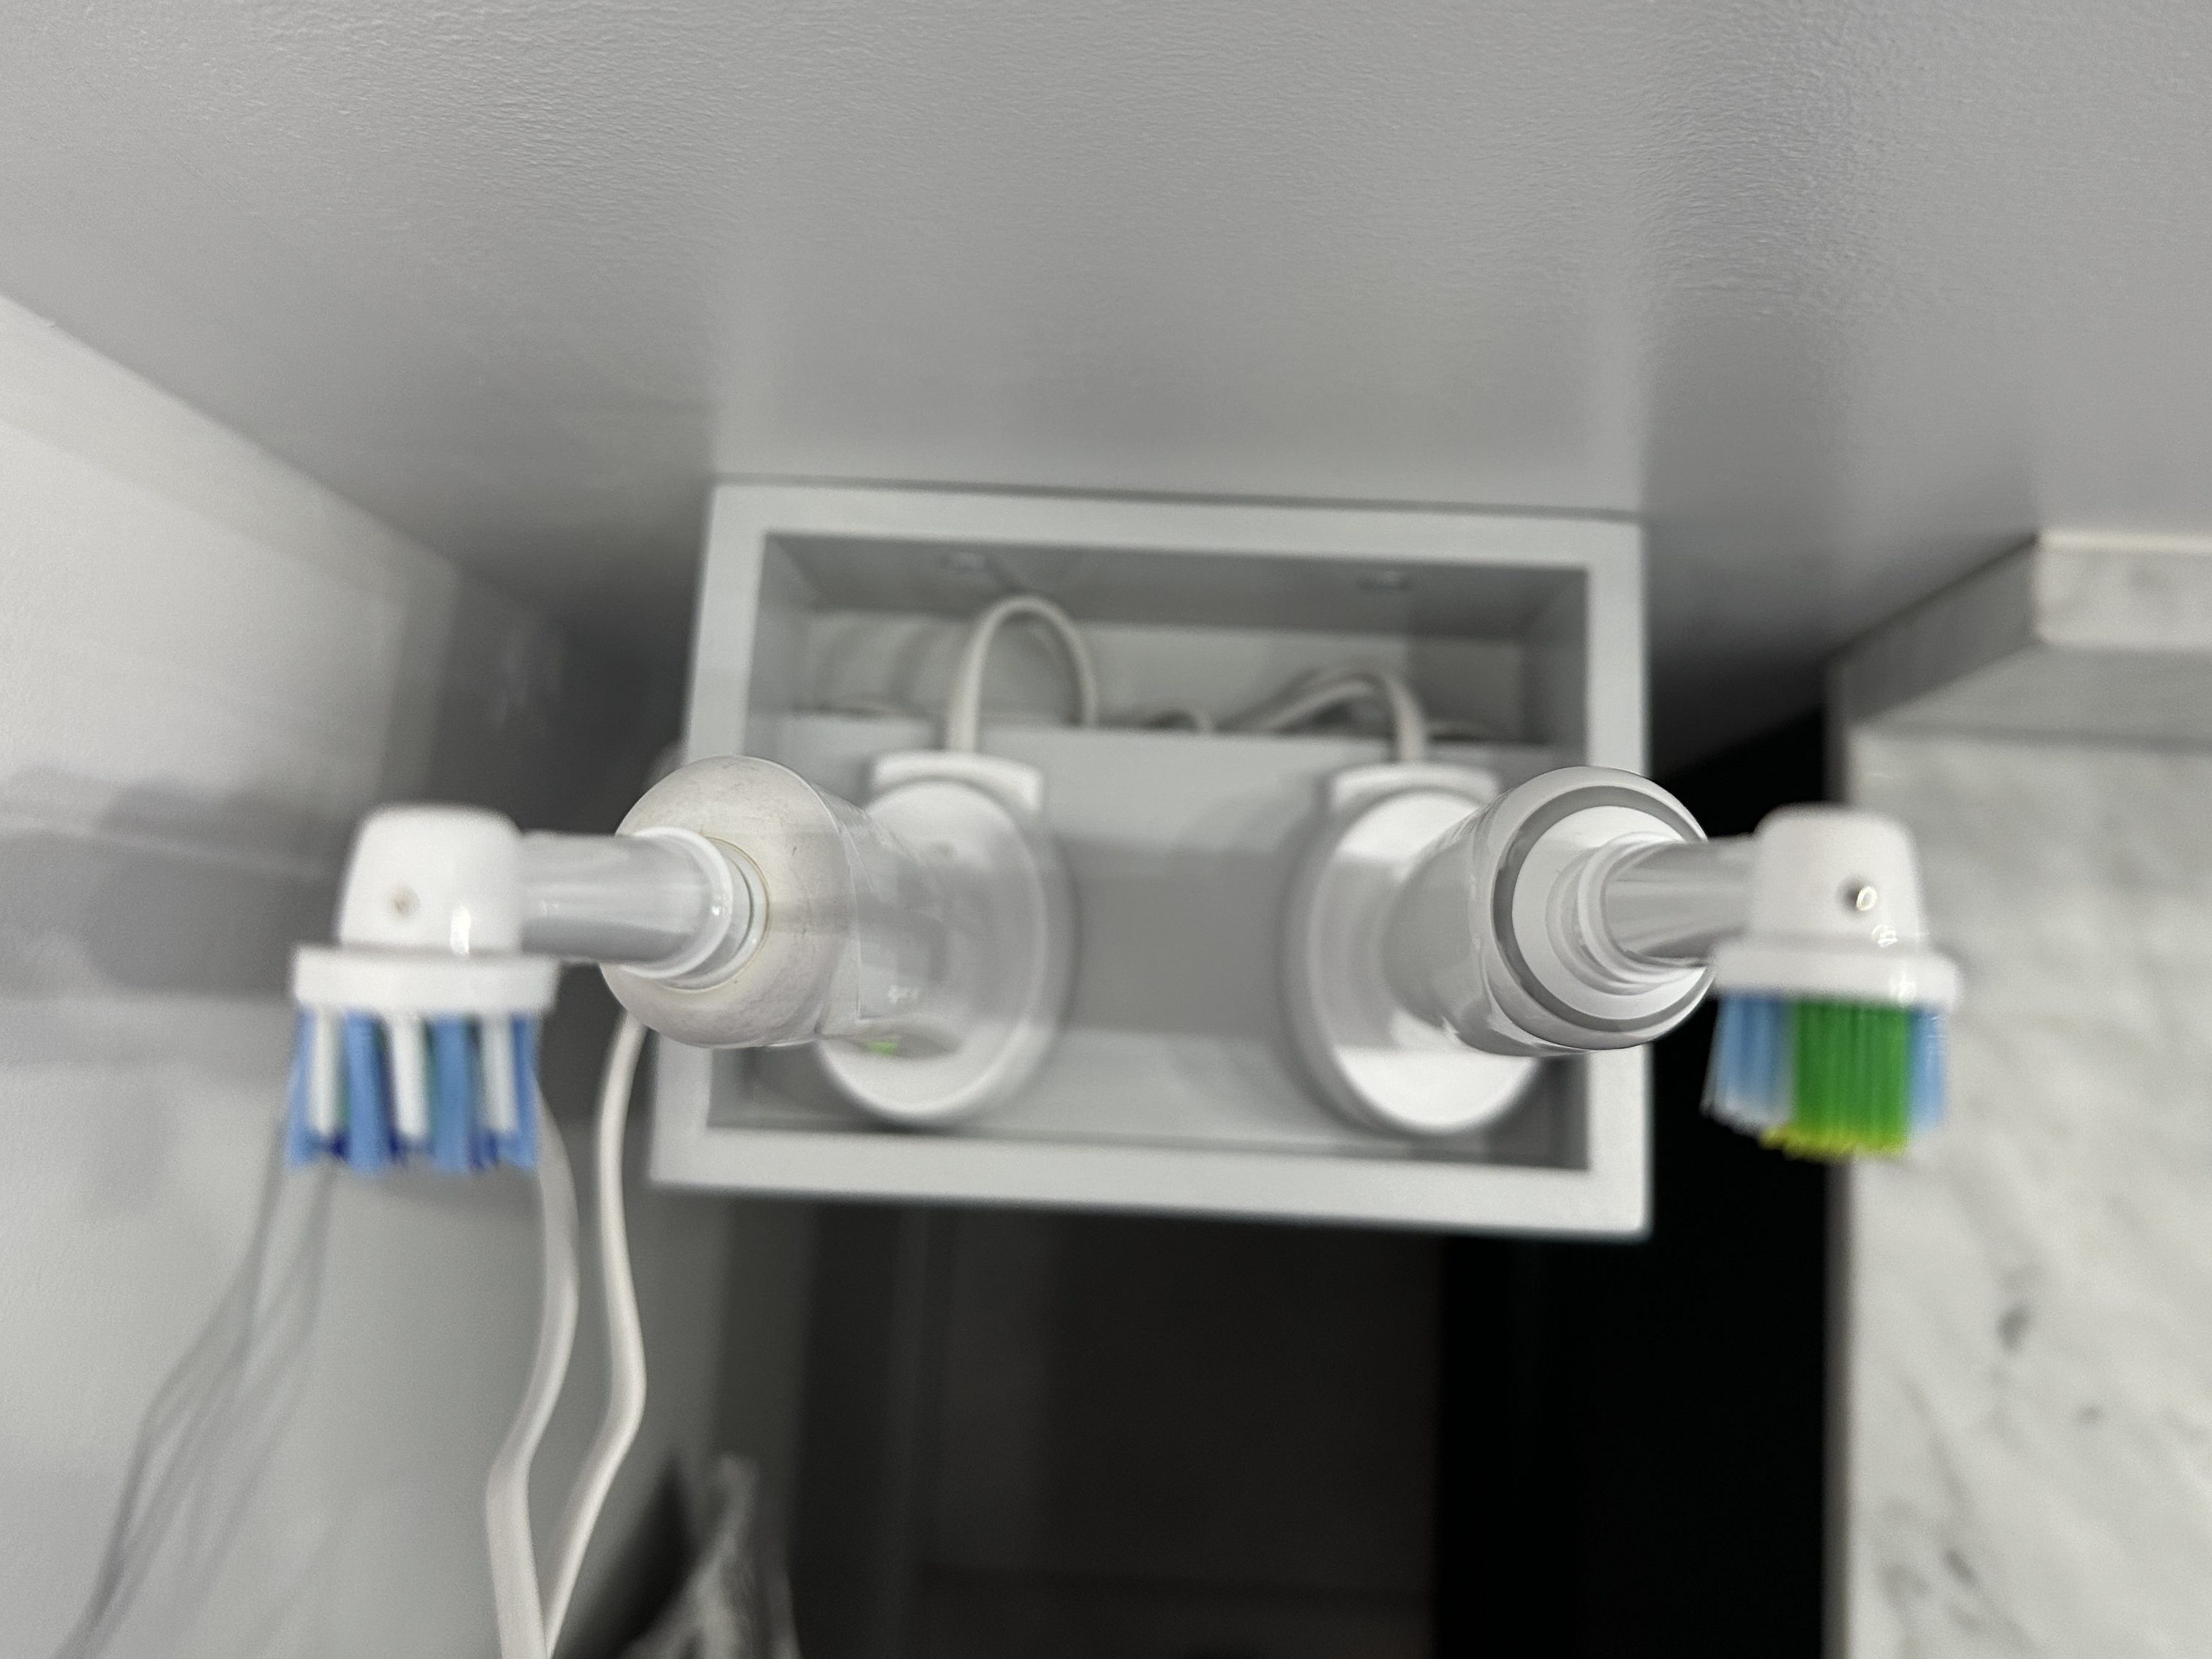
With the counter of our new vanity not extending to the wall where the outlet is, we wanted a dedicated spot for our electric toothbrushes. I outlined the base of one charger and then made a rough model with cardboard and hot glue.
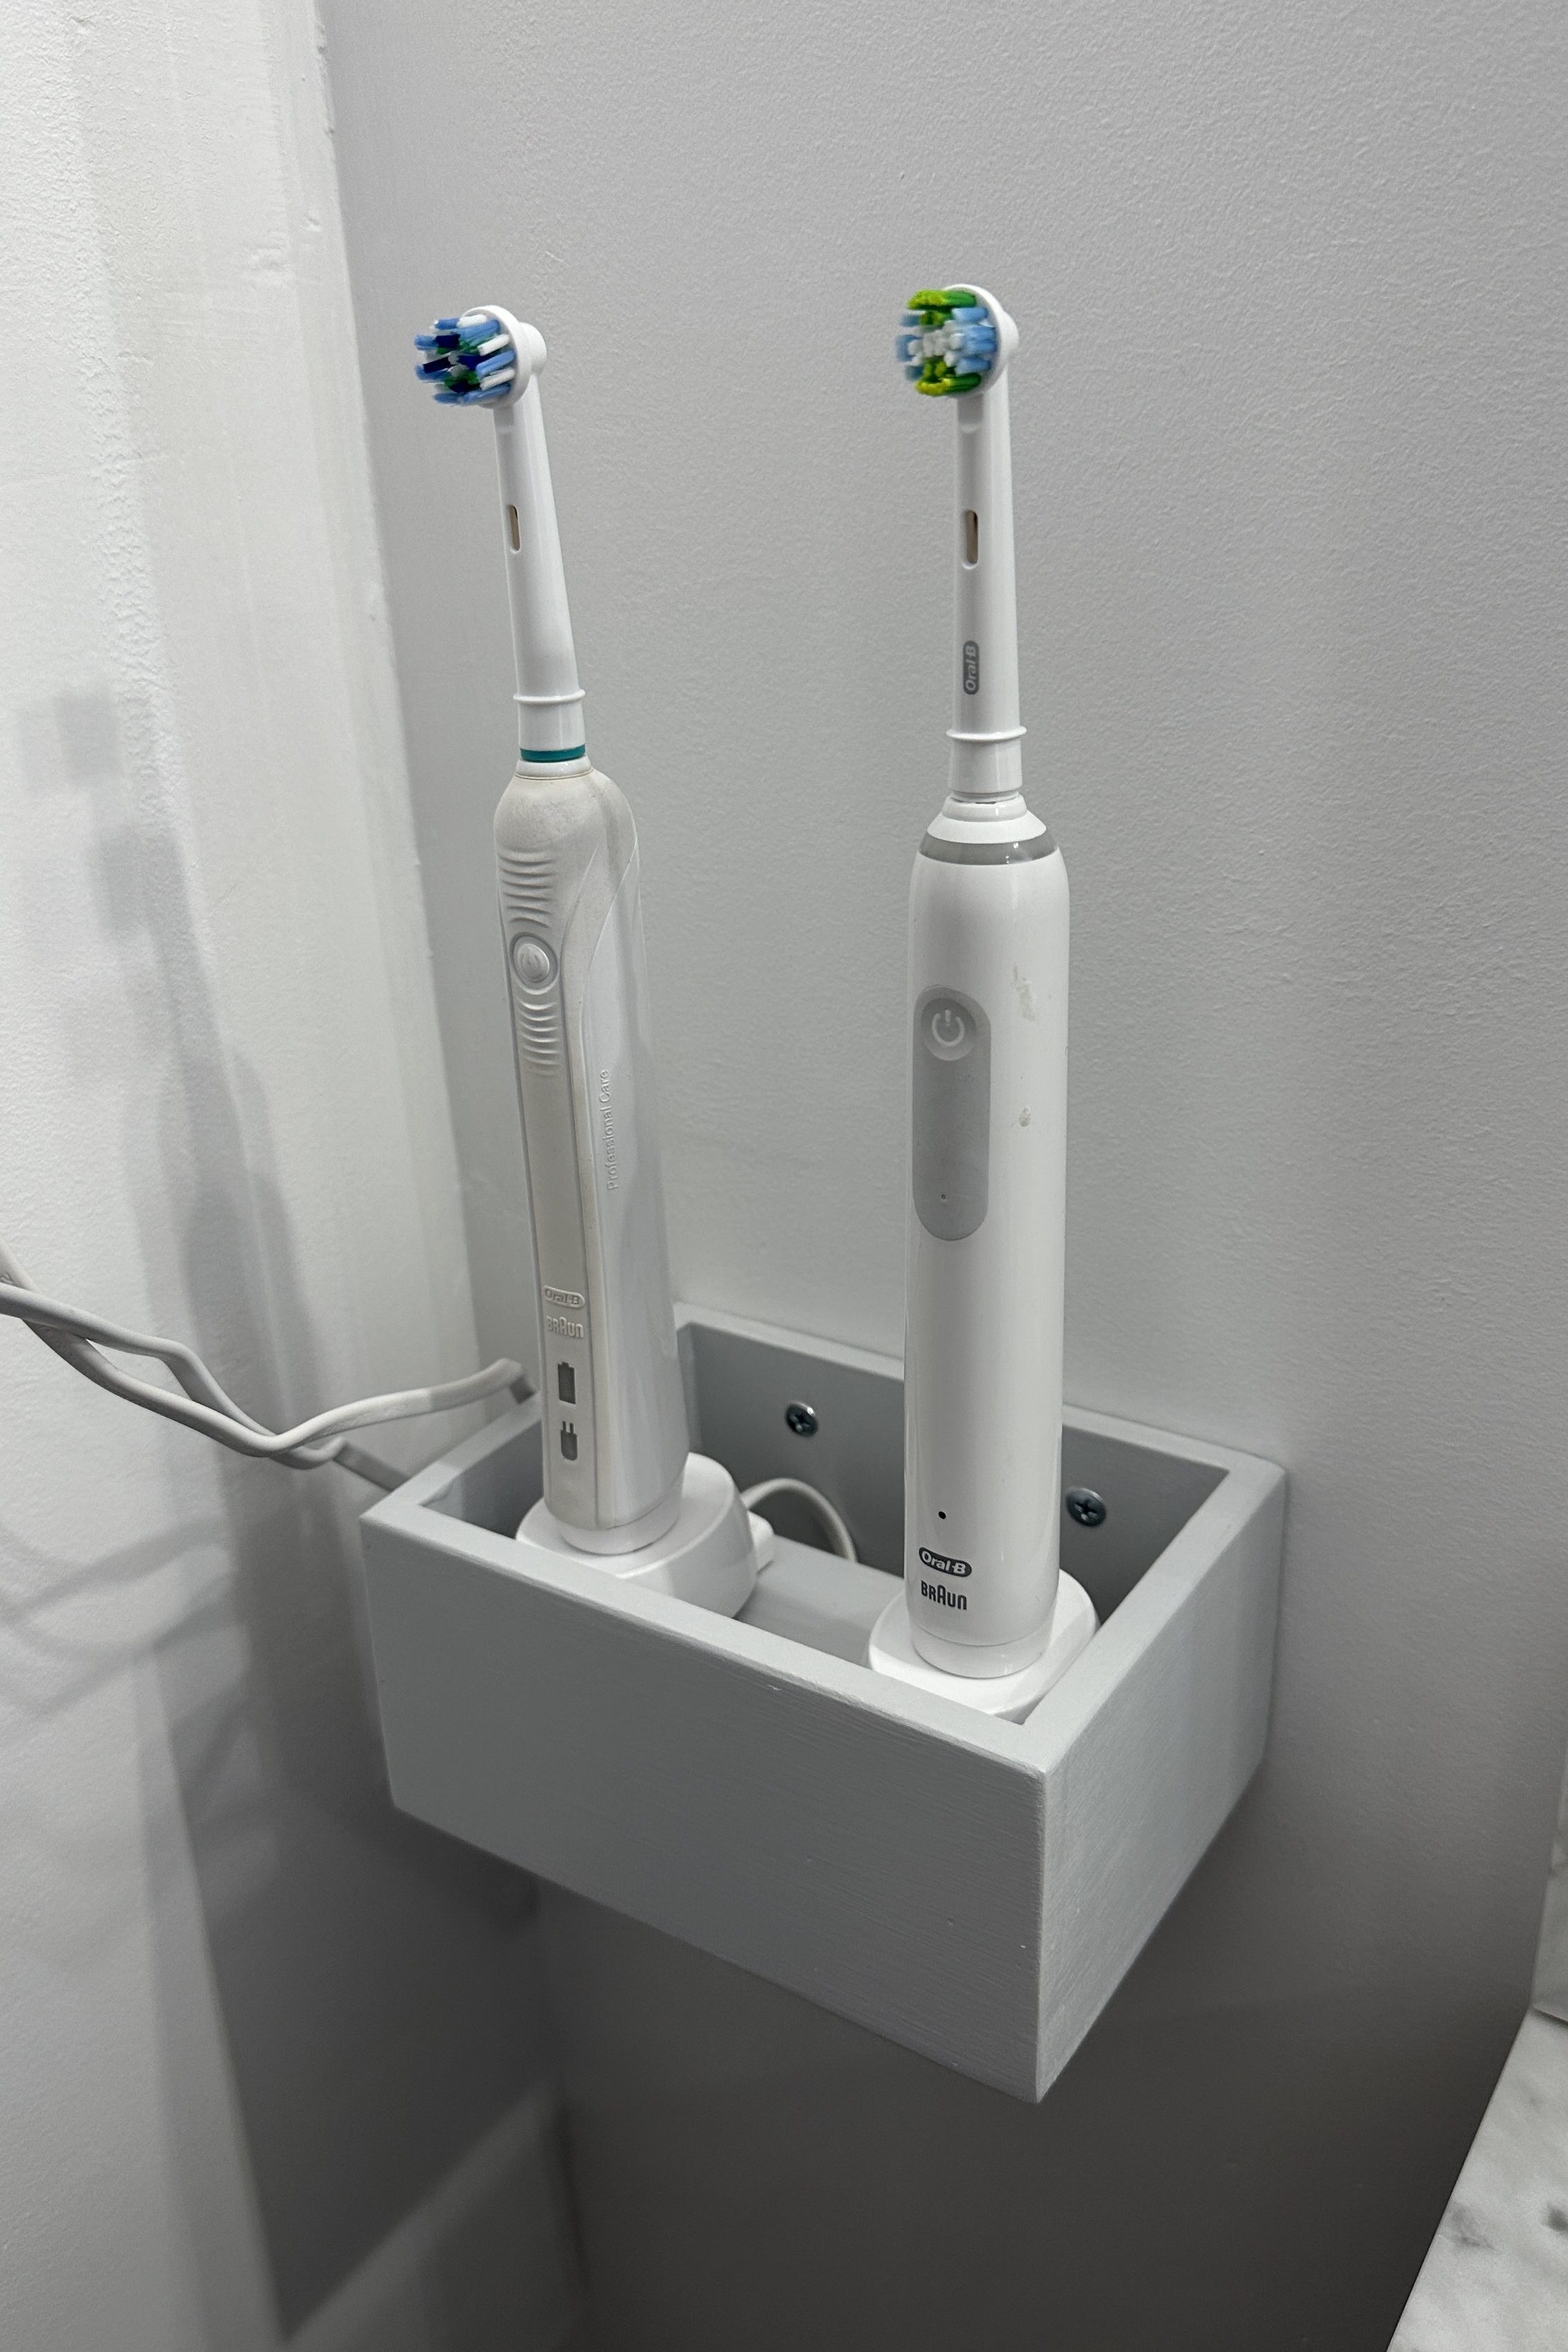
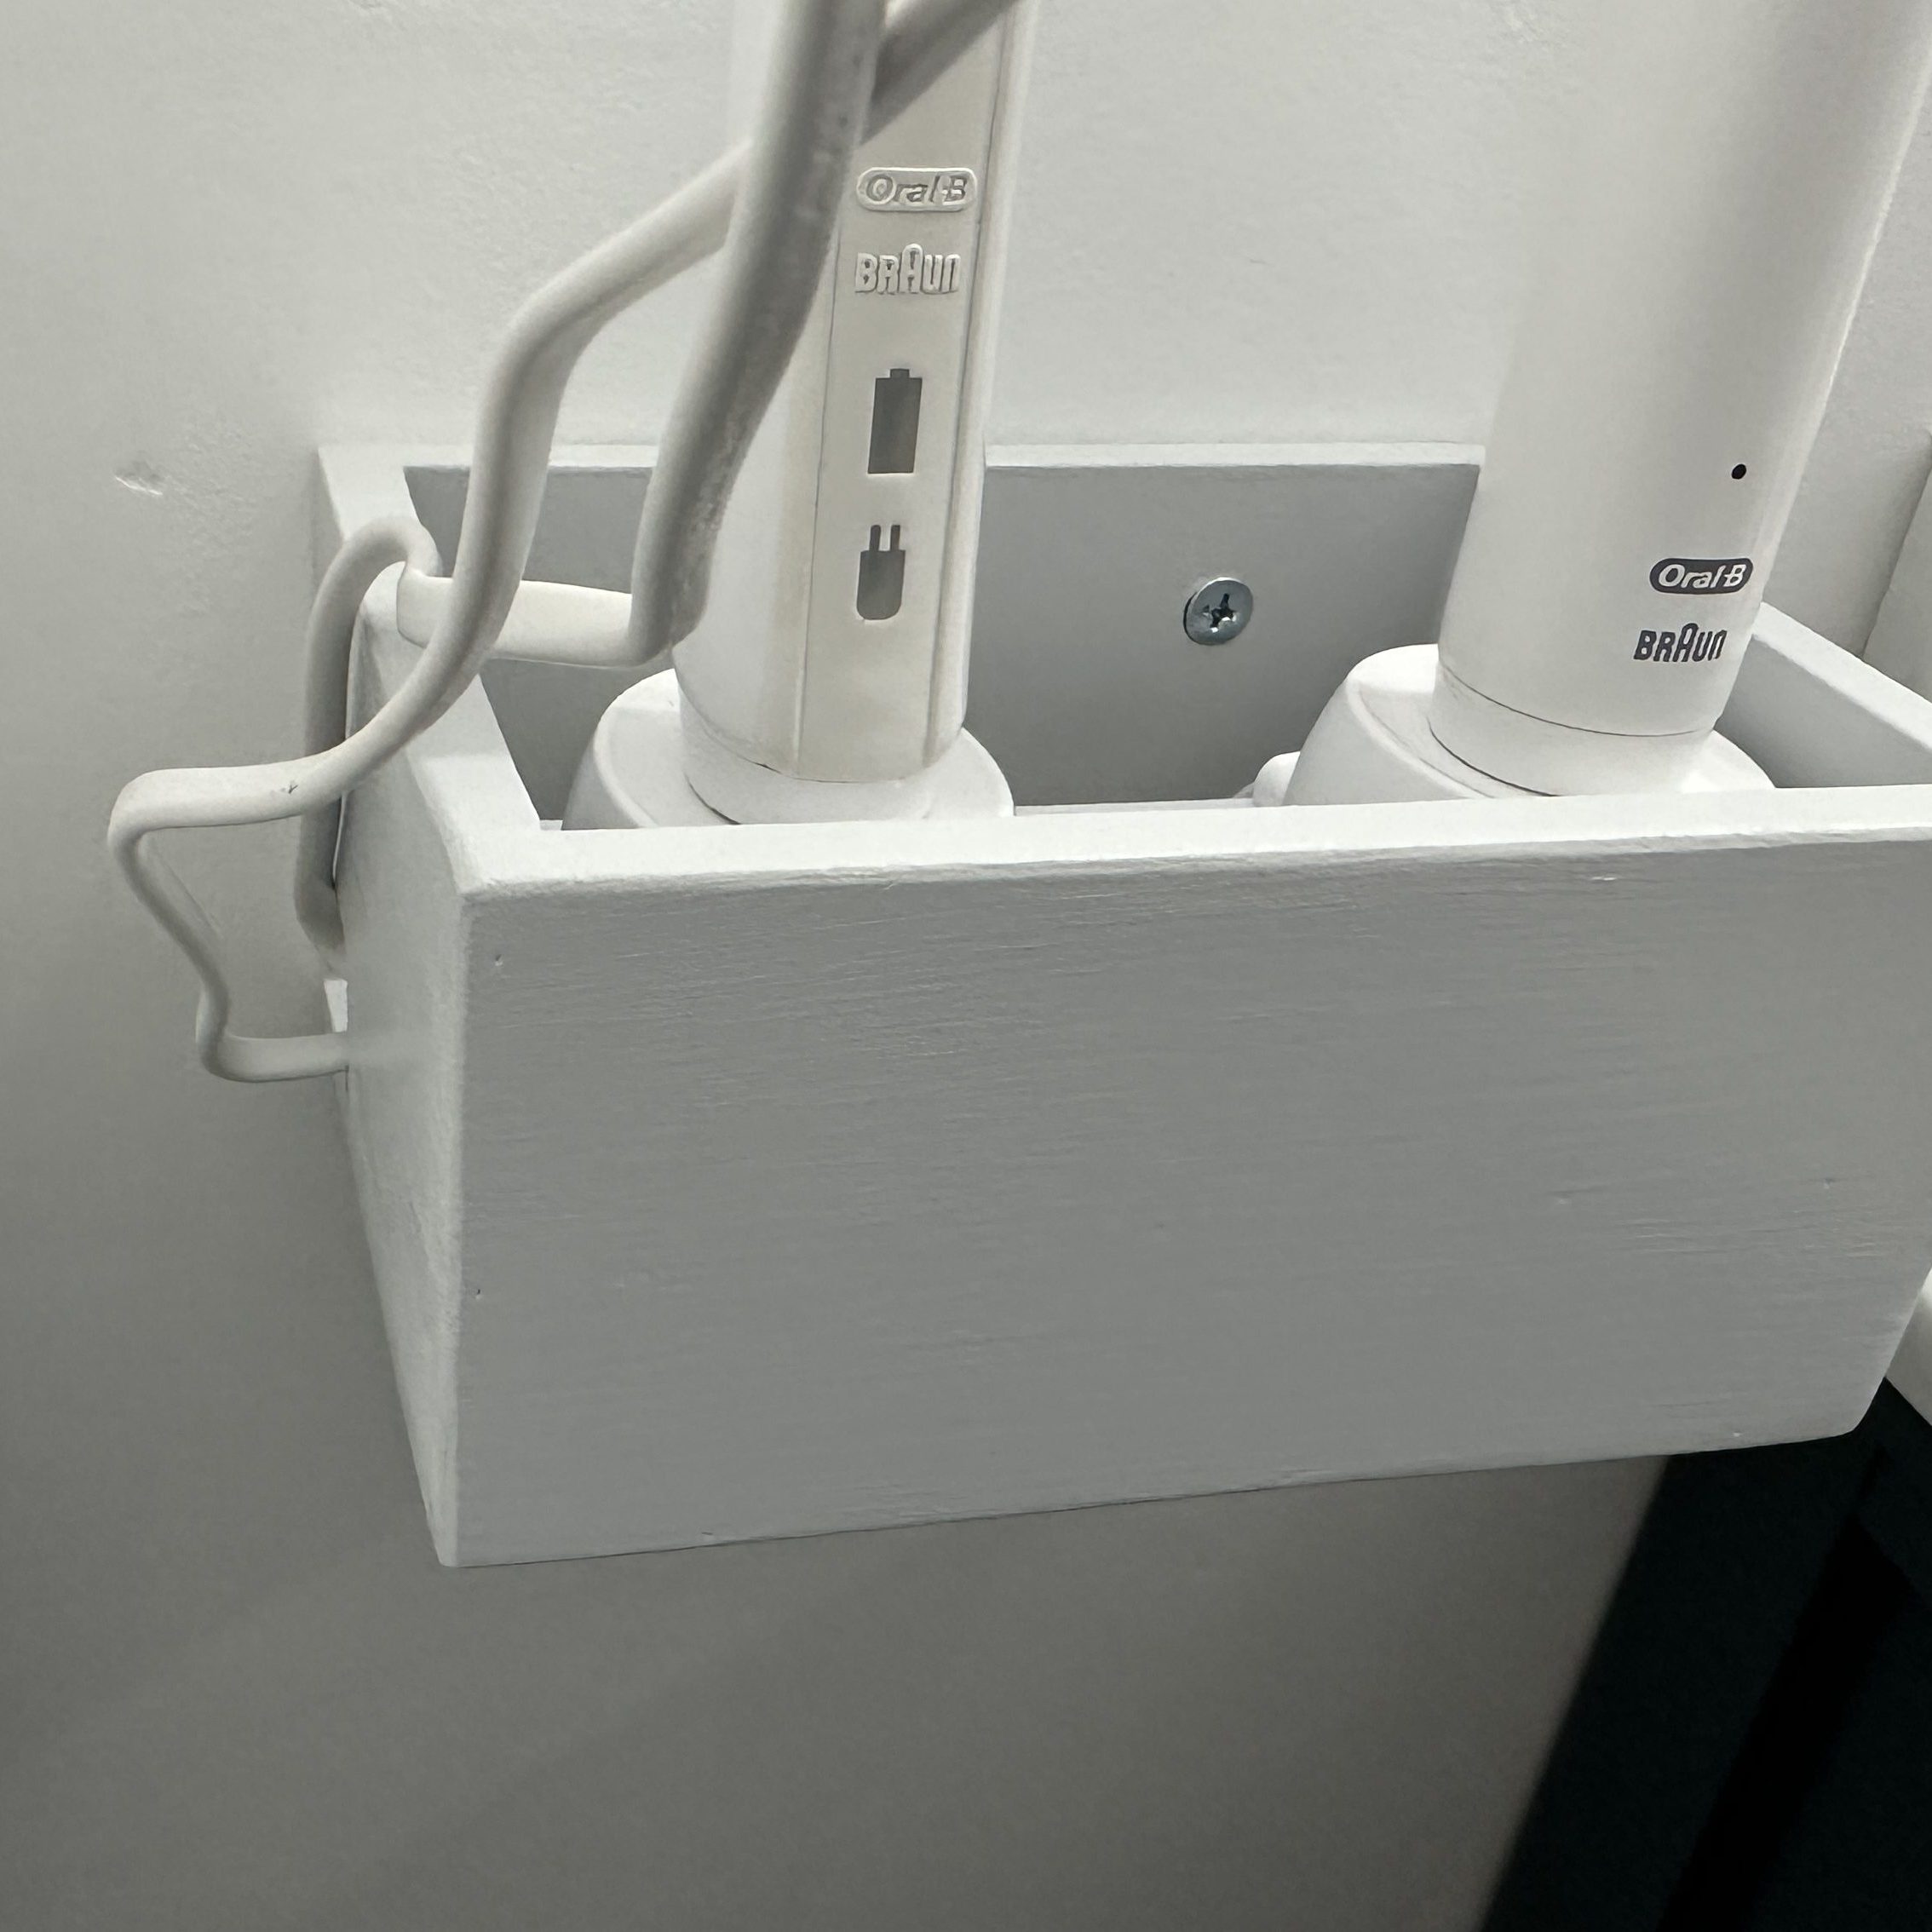
After a successful test fit with the brushes, I moved over to wood and used all scraps since it was getting painted.
It was a simple build, a lot of fun, and definitely a functional one.