The first winter in our house was a challenge figuring out where to set the house humidifier connected to our furnace. How do you balance comfortable humidity against the risk of window condensation? I really had no idea and it was common to see water or ice on the inside of our windows during the coldest days.

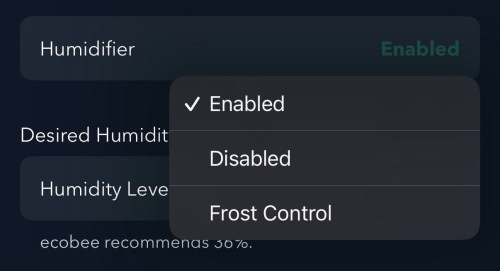
I had wired our house humidifier through the furnace so I could use the Ecobee thermostat to control it. The Ecobee has a setting called “Front Control,” but it does a poor job balancing for comfort.
Remember this recommended humidity level for later.
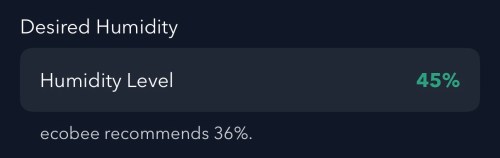
Going from 36% to 45% is a large difference. From my testing, the humidity reported by Ecobee is 4-5 percentage points too high, which is also part of the problem and makes the air even drier. I wanted to do better and let Home Assistant handle everything.
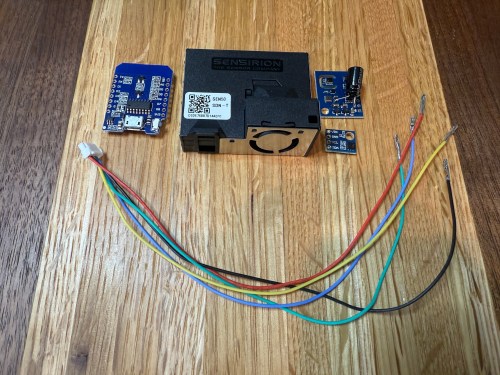
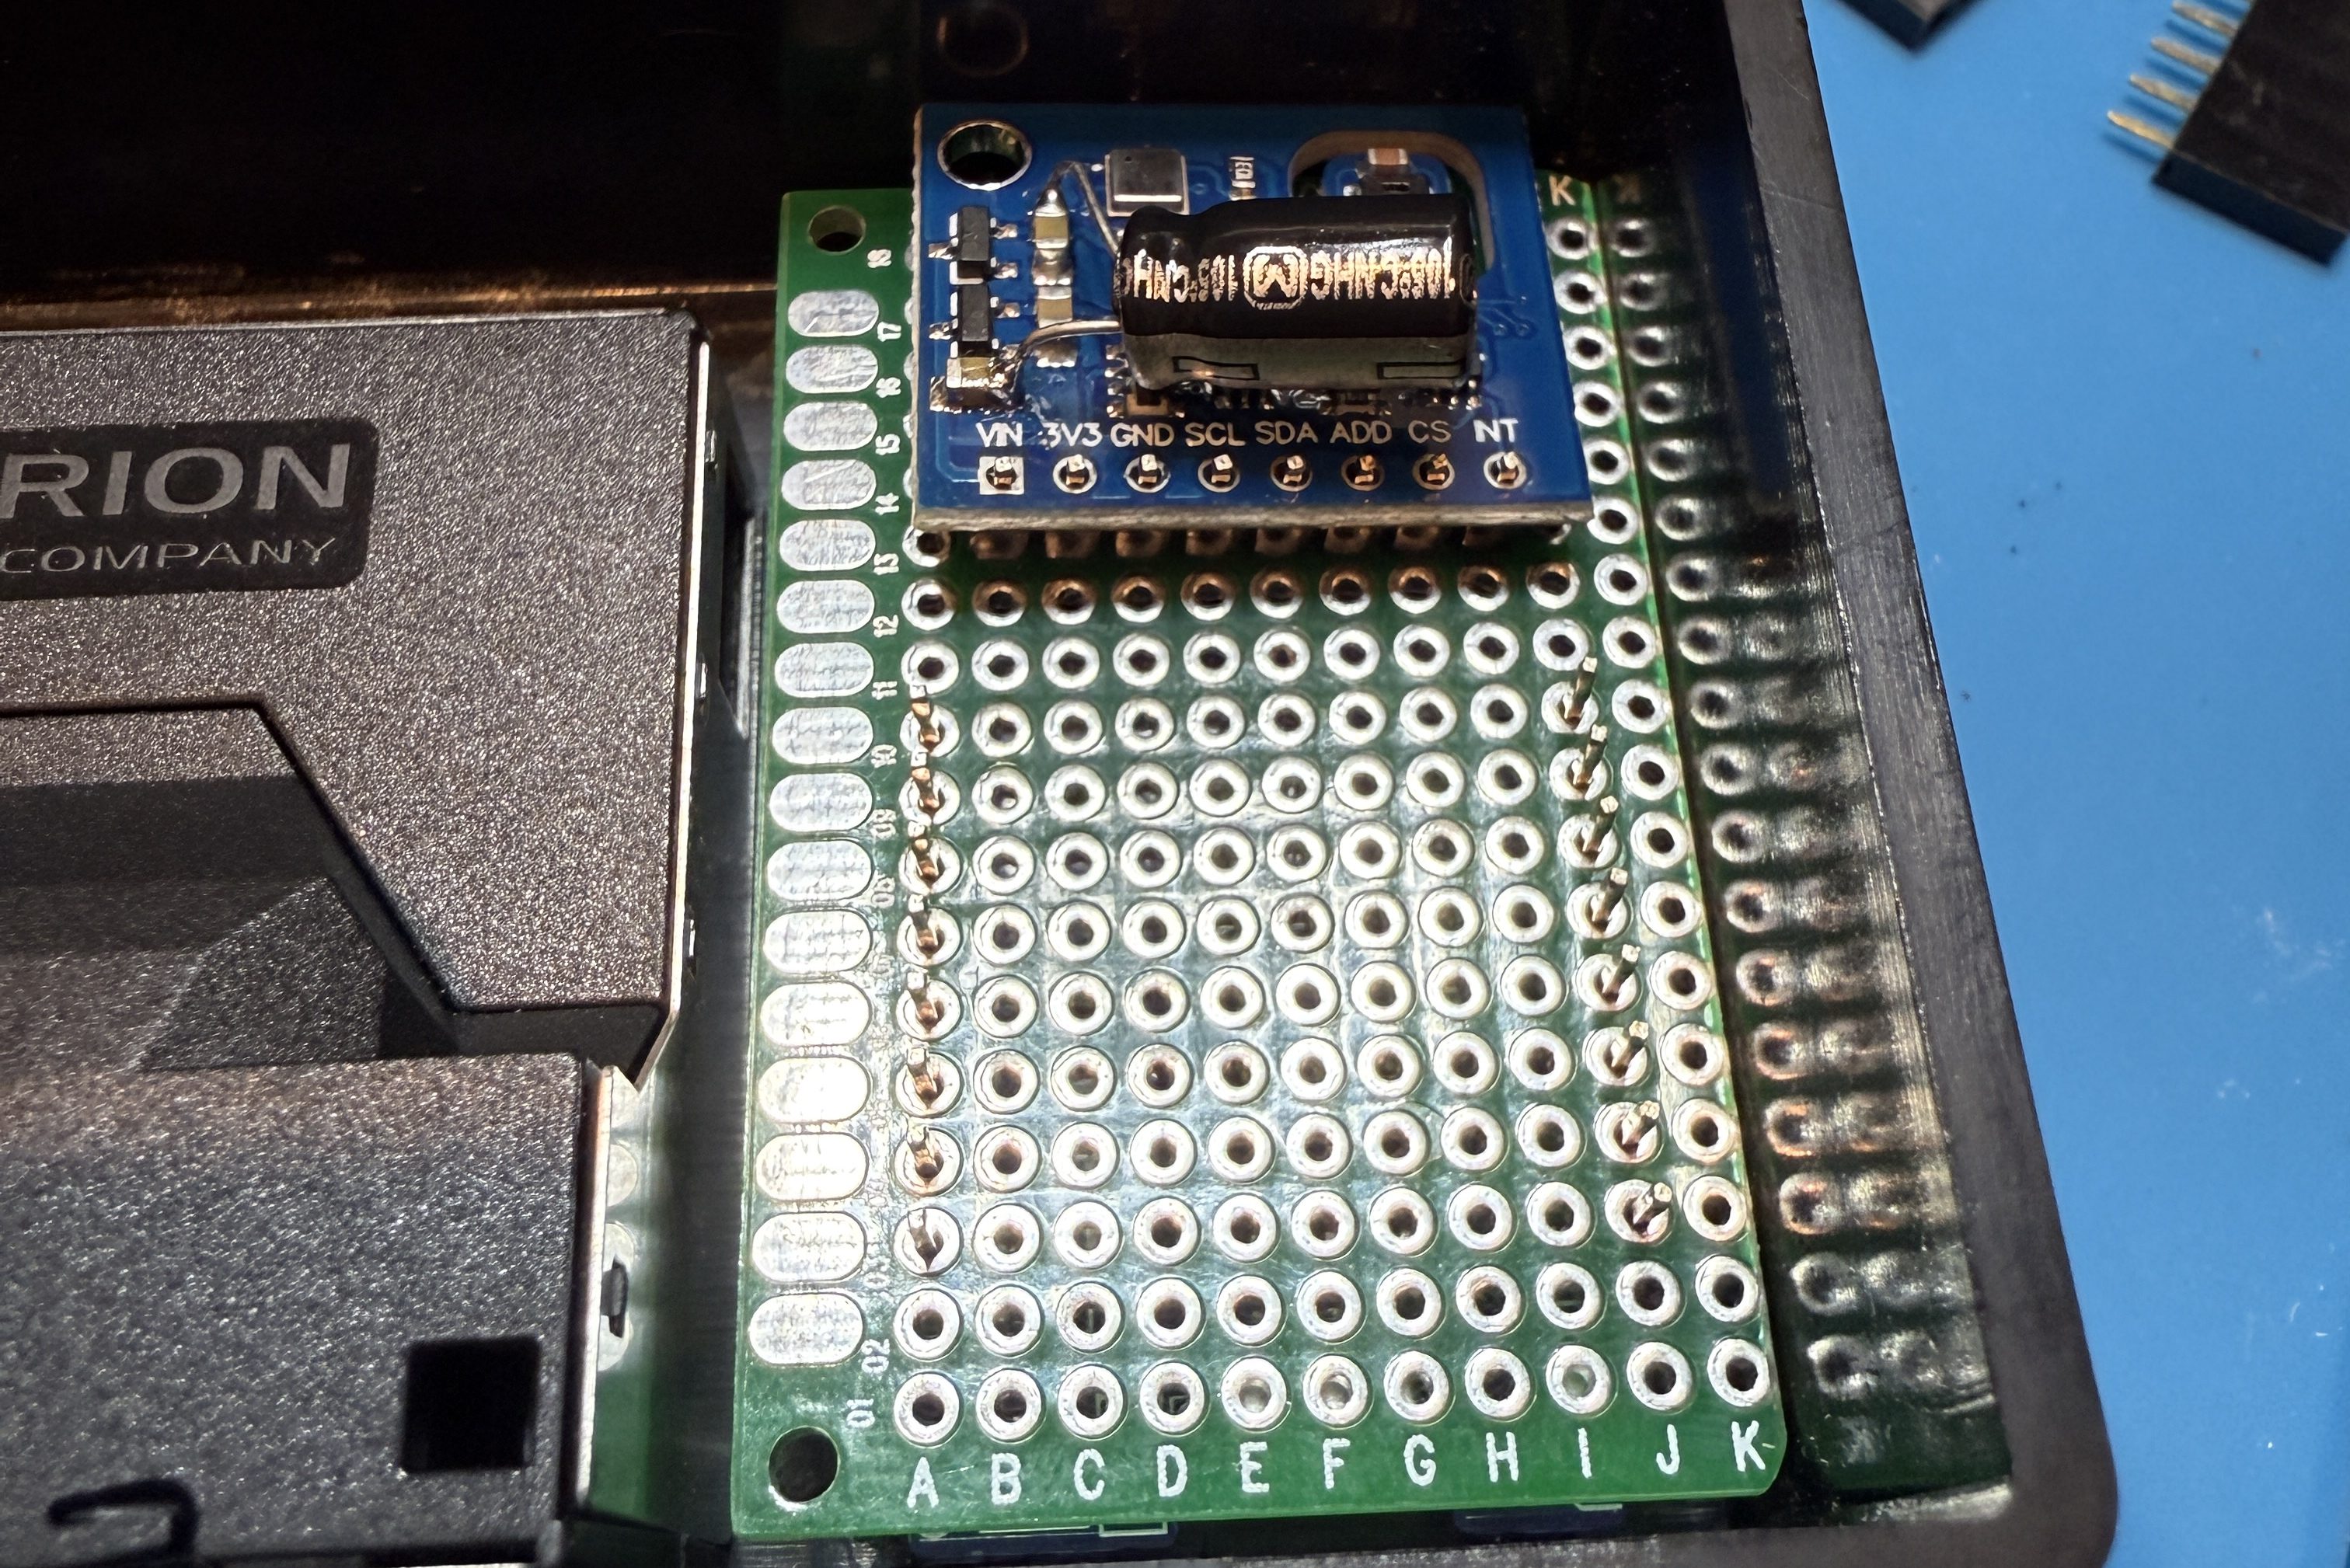
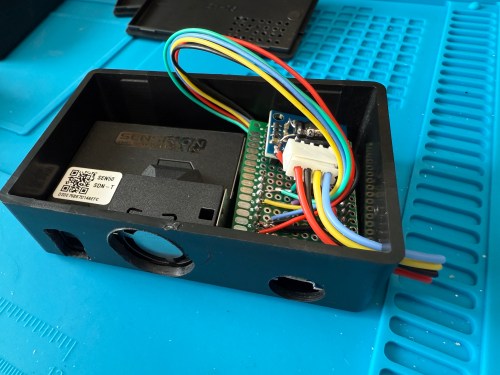
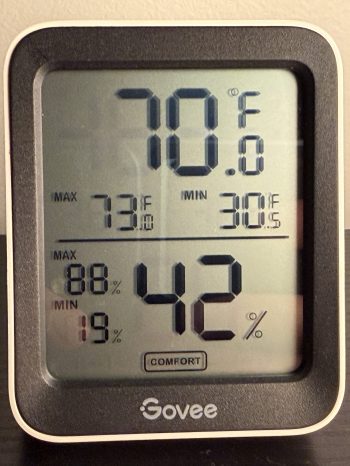
First I bought a device with good reviews to be my source of truth and set it in the living room. It’s the Govee H5075 Bluetooth Digital Hygrometer and connects to Home Assistant via an ESPHome Bluetooth Proxy.
Since we don’t use the humidifier all year, the first step was to create a Toggle (or Input Boolean) helper. I’ll manually change this when I enable/disable the humidifier in the Ecobee settings.

I installed the Thermal Comfort integration to calculate the indoor dew point and the OpenWeatherMap integration with their One Call API 3.0 for fetching weather forecasts. I use a trigger template in templates.yaml to store the forecast every hour and whenever Home Assistant starts.
- trigger:
    - platform: time_pattern
      minutes: "/59"
    - platform: homeassistant
      event: start
  action:
    - service: weather.get_forecasts
      data:
        type: hourly
      target:
        entity_id: weather.openweathermap
      response_variable: hourly_forecast
  sensor:
    - name: "Weather Forecast Storage"
      unique_id: weather_forecast_storage
      icon: mdi:weather-cloudy
      state: "{{ states('weather.openweathermap') }}"
      attributes:
        forecast: "{{ hourly_forecast['weather.openweathermap'].forecast }}"
The forecast is important because I don’t want to set the humidity too high and not have enough time for the house to dry out when a cold front moves in. I added another trigger template in templates.yaml, which grabs the low temperature over the next 12 hours, estimates window glass temperature, calculates an ideal indoor humidity, and determines an offset between the trusted and Ecobee humidity values. It does all of this every 15 minutes, when Home Assistant starts, and whenever there is a change to various temperature or humidity values.
- trigger:
    - platform: time_pattern
      minutes: "/15"
    - platform: homeassistant
      event: start
    - platform: state
      entity_id:
        - sensor.living_room_govee_temperature
        - sensor.living_room_govee_humidity
        - sensor.openweathermap_temperature
        - sensor.thermostat_current_temperature
        - sensor.thermostat_current_humidity
      for:
        seconds: 10
  sensor:
    - name: "Calculated Ideal Humidity"
      unique_id: calculated_ideal_humidity
      unit_of_measurement: "%"
      variables:
        forecast: "{{ state_attr('sensor.weather_forecast_storage', 'forecast') }}"
        has_data: "{{ forecast is not none }}"
        outdoor: "{{ (forecast[1:12] | map(attribute='temperature') | min | float(50)) if has_data else 50 }}"
        indoor: "{{ states('sensor.living_room_govee_temperature') | float(70) }}"
        glass: "{{ (outdoor + (indoor - outdoor) * 0.6) | round(1) }}" # 0.6 should be adjusted based on window efficiency
        ideal_raw: "{{ (0.8 * glass) | int(35) }}"
        ideal_final: "{{ ([25, ideal_raw, 50] | sort)[1] }}"

        govee_h: "{{ states('sensor.living_room_govee_humidity') | float(30) }}"
        ecobee_h: "{{ state_attr('climate.thermostat', 'current_humidity') | float(30) }}"
        offset: "{{ ecobee_h - govee_h }}"
        comp_target: "{{ ([25, (ideal_final + offset) | int(35), 50] | sort)[1] }}"

      state: "{{ ideal_final if has_data else states('sensor.calculated_ideal_humidity') }}"

      attributes:
        glass_temp_estimate: "{{ glass }}"
        predicted_outdoor_temp: "{{ outdoor }}"
        forecast_window: "Next 12 Hours"
        ecobee_compensated_target: "{{ comp_target }}"
        last_calculation: "{{ now().strftime('%Y-%m-%d %H:%M:%S') }}"
With this data calculated and saved, an automation takes care of updating the humidity setpoint on the Ecobee thermostat. Whenever I have the Humidifier Enabled toggle on, it’ll update the setpoint every 30 minutes and whenever the Calculated Ideal Humidity changes.
alias: Set Thermostat Humidity
triggers:
  - entity_id: sensor.calculated_ideal_humidity
    trigger: state
  - minutes: /30
    trigger: time_pattern
conditions:
  - condition: and
    conditions:
      - condition: state
        entity_id: input_boolean.humidifier_enabled
        state:
          - "on"
      - condition: template
        value_template: >-
          {{ state_attr('sensor.calculated_ideal_humidity',
          'ecobee_compensated_target') is not none }}
        alias: Ecobee Compensated Target is not None
actions:
  - target:
      entity_id: climate.thermostat
    data:
      humidity: >-
        {{ state_attr('sensor.calculated_ideal_humidity',
        'ecobee_compensated_target') | int(35) }}
    action: climate.set_humidity
mode: restart
I added a card on my dashboard to see the status of everything. This was invaluable when I was testing and tweaking for several weeks.

Remember the Ecobee’s recommended 36%?! If I went by that, the actual humidity in the house at this time would have about 32%, a whole 10 percentage points dryer! Here’s the YAML for the dashboard card.
type: conditional
conditions:
  - condition: state
    entity: input_boolean.humidifier_enabled
    state: "on"
card:
  type: markdown
  content: |2-
      {% set glass_temp = state_attr('sensor.calculated_ideal_humidity', 'glass_temp_estimate') | float(0) | round (0) %}
      {% set dew_point = states('sensor.thermal_comfort_dew_point') | float(0) | round(0) %}
      {% set ideal_hum = states('sensor.calculated_ideal_humidity') | float(0) | round(0) %}
      {% set actual_hum = states('sensor.living_room_govee_humidity') | float(0) | round(0) %}
      {% set thermostat_hum = state_attr( 'climate.thermostat', 'current_humidity' ) | float(0) | round(0) %}
      {% set target_hum = state_attr( 'sensor.calculated_ideal_humidity', 'ecobee_compensated_target' ) | float(0) | round(0) %}
      {% set future_temp = state_attr('sensor.calculated_ideal_humidity', 'predicted_outdoor_temp') | round (0) %}

      ## Window Condensation Status
      {% if ( glass_temp > dew_point ) %}
      #### ✅ No Risk
      {% else %}
      #### ⚠️ Risk
      {% endif %}

      **Glass:** {{ glass_temp }}°
      **Dew Point:** {{ dew_point }}°

      **12hr Forecast Low:** {{ future_temp }}°

      ---

      ### Humidity
      {% if ( actual_hum > ideal_hum ) %}
      ⚠️ Too Humid
      {% elif ( actual_hum < ideal_hum ) %}
      💧 Too Dry
      {% else %}
      ✅ Good
      {% endif %}

      | | Current | Target |
      | :--- | :---: | :---: |
      | **Actual** | {{ actual_hum }}% | {{ ideal_hum }}% |
      | **Ecobee** | {{ thermostat_hum }}% | {{ target_hum }}% |
The windows are so much better this winter and our static shocks are limited. If you have any suggested improvements, leave a comment.