
Part of our plan for the house included Cat6 Ethernet ports all over so I can wire in as many devices as possible and keep Wi-Fi for devices that need it. My original plan for the network rack was to build a cabinet on the wall, but the space between the hot water heater and the wall is pretty tight.

I decided to build a cart instead, especially since there is enough slack on the Ethernet cables that’ll allow me to pull the cart out and turn it to get at the sides of the rack. When we moved I took apart my old work table, which left me with three plywood panels and pieces of 2×4 glued to them. I thought they would make a good top, bottom, and shelf for this cart and I was tired of moving them around the shop.


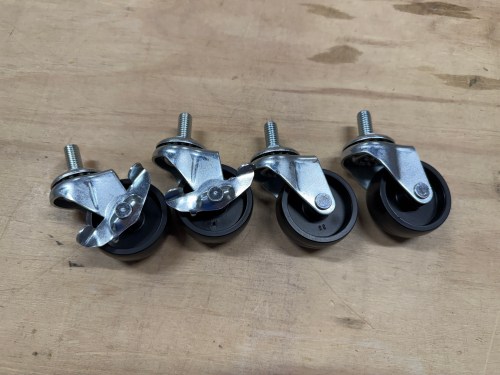
I pulled out castors, washers and nuts.

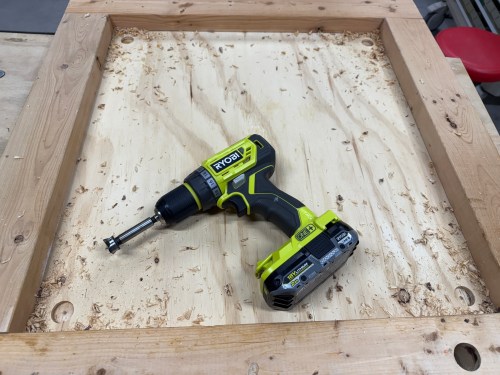
Then drilled recesses and holes in the base so I could attach the castors right away.


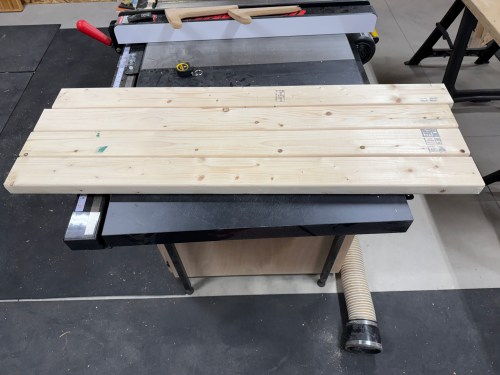
I cut notches out of the middle panel and squared up the edges on all of the panels.

I cut 2x4s for the vertical supports, assembled the frame, and put OSB on the back. I learned my lesson with the old work table and didn’t use any glue here since I’m treating this as a shop project and would like to have the option of taking it all apart if/when I want to change the design.


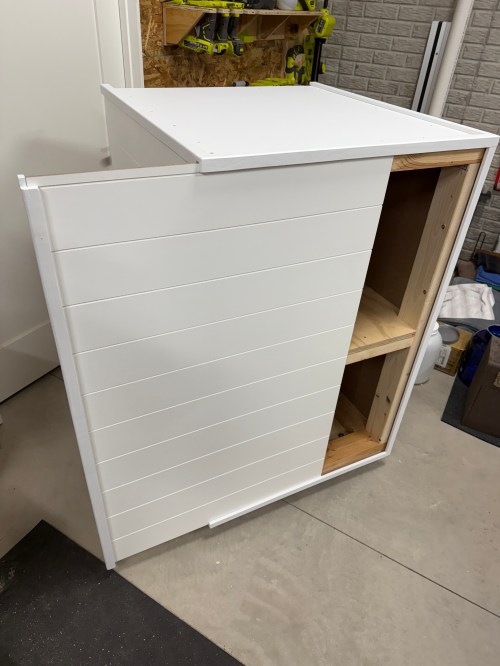
To blend the cart in to the wall, I cut and attached shiplap panels.
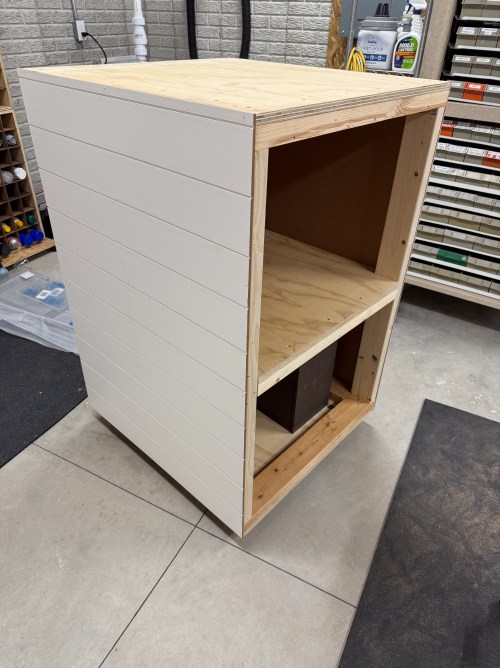
I made corner trim from 2x4s and painted it.


I didn’t want to make doors, so I had the idea to make a hidden siding door. I was going to have it slide up out of the top. Thankfully my wife suggested it slide to the side, which is much better.


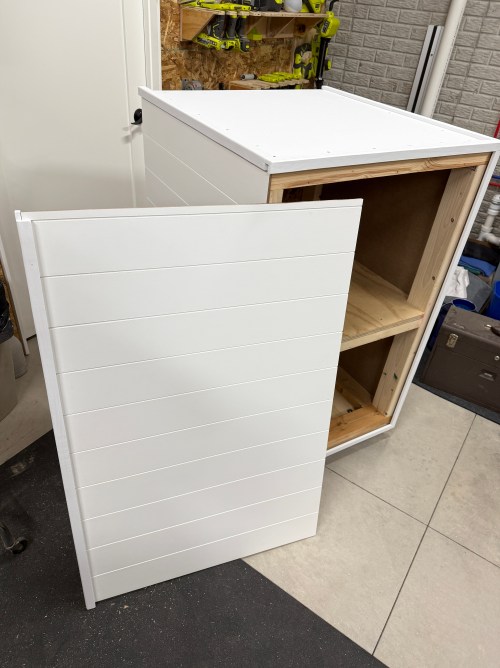
I made a hole in the back for the power cable and a hole in the top to line up with the bottom of my network rack.


Then I screwed the rack down, wheeled it in place, and loaded it up.


Now I can start wiring up the Ethernet and configuring all of the network hardware.
