Golf Simulator: Thoughts After 3+ Months

I finished putting up the golf simulator at the end of December and I think three+ months is a pretty good period of time to have some thoughts about everything. In case you missed it, check out my serious on the build:

How much have I really been using it? Initially, not as much as I’d hoped. I’d say I was getting downstairs for 3-4 days a week. Over the last several weeks, especially after getting outside for a quick nine holes, I’ve gotten the itch to play, so I’ve been putting in more time to get ready for the 2025 season. I’ve been able to get on the golf sim 5-6 days a week.
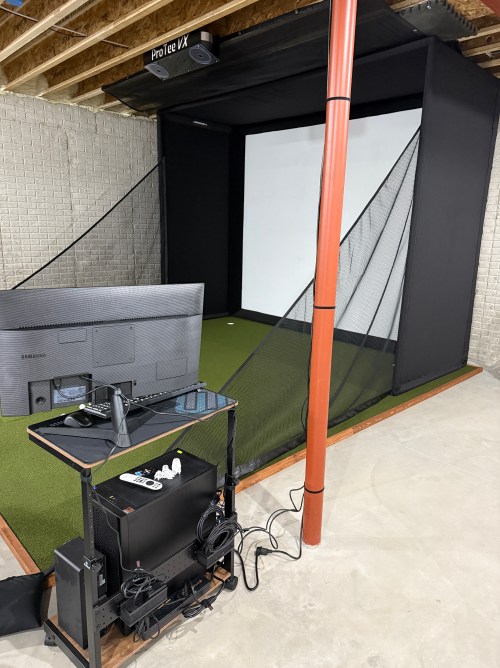
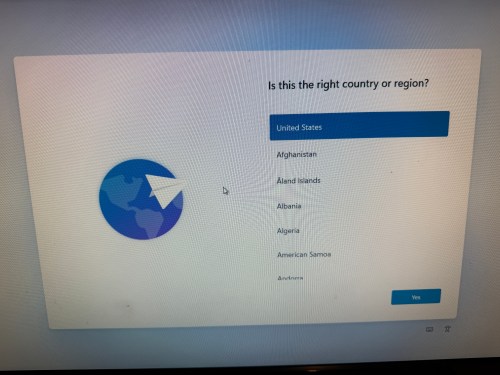
The PC

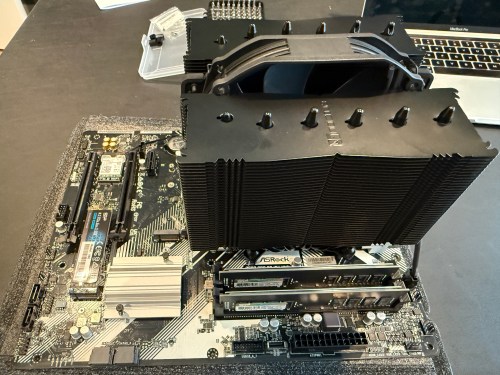
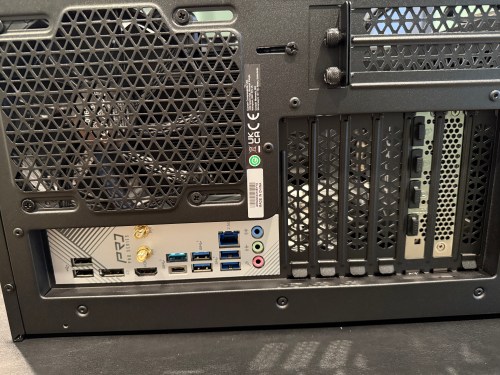
The computer has been great and no complaints on that build. I can always upgrade memory if I need to. The mouse kind of sucks, so I may switch to a wired one. I do regret not getting a larger monitor, especially with the additions I mention later.
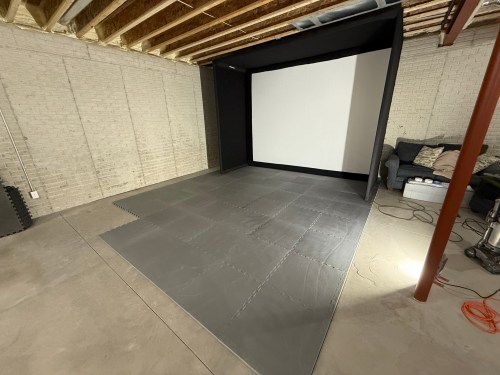
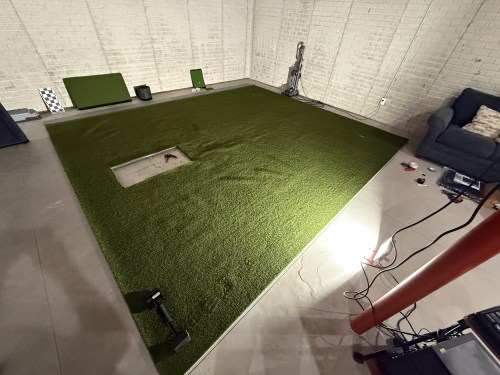
The Environment

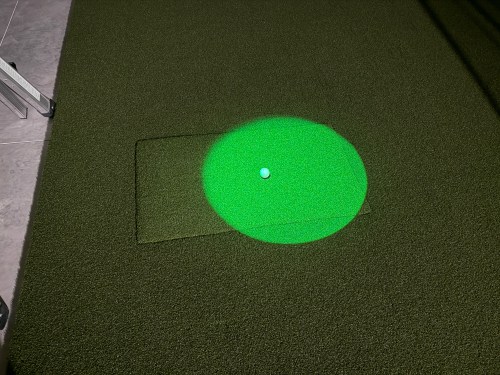
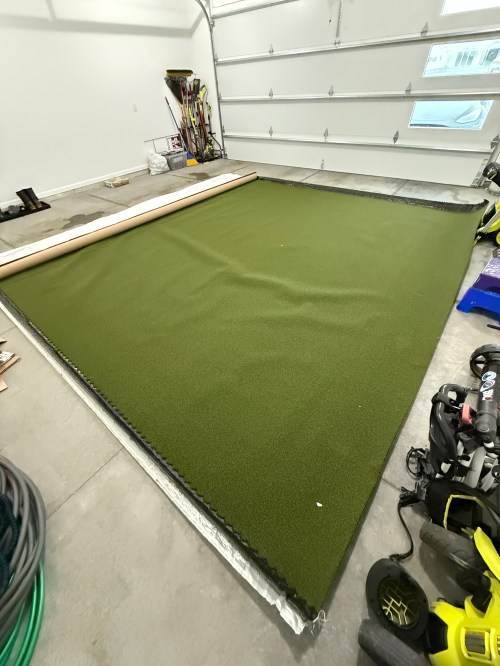
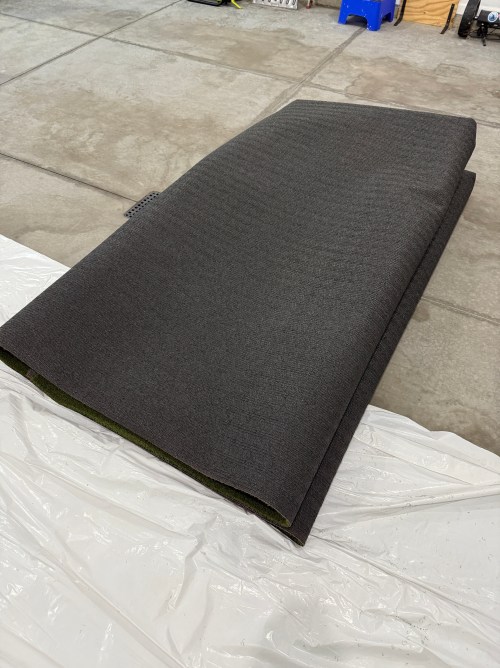
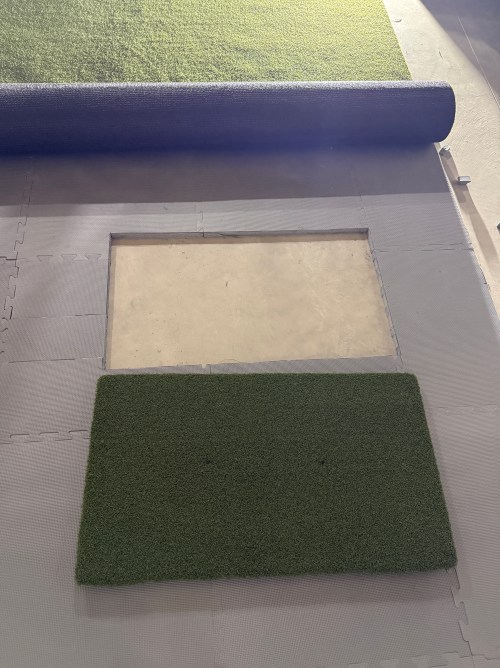
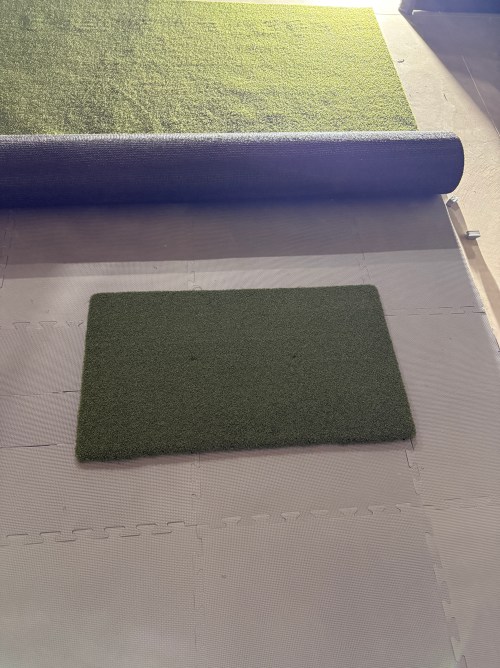
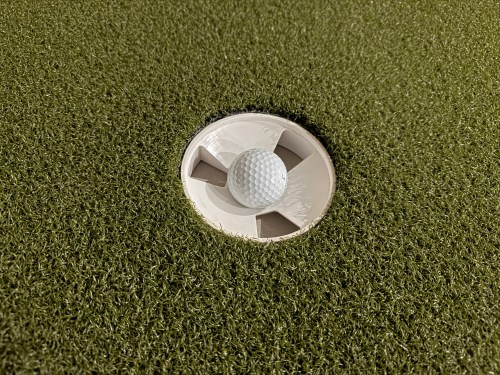
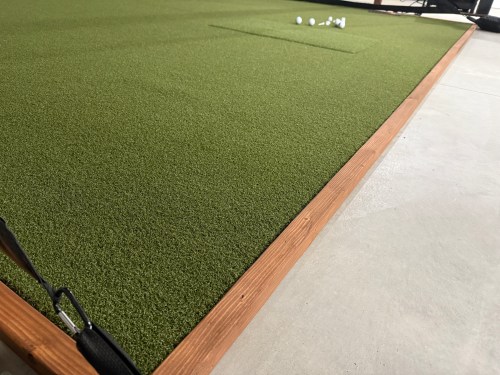
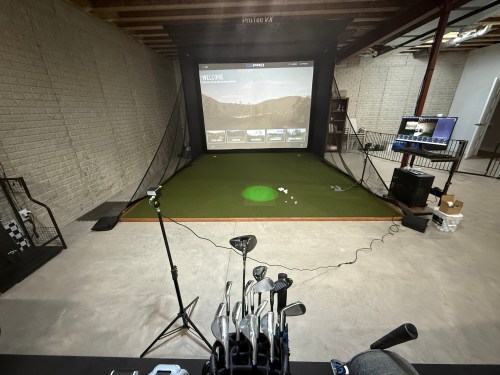
The enclosure is holding up well and all of the padding is great; I’ve only had a handful of bad ricochets. The screen does show ball marks (only noticeable if the projector is off), but that may be my fault for using balls too long and initially using some balls with logos or a little marker on them. The turf is holding up well and I don’t see any wear marks where we stand. The hitting strip is really good too and I haven’t felt any wrist or elbow pain at any point. I feel like I can tell when I hit a fat shot, so it doesn’t seem like the club is bouncing up in to the ball for a better shot.

The Other Electronics

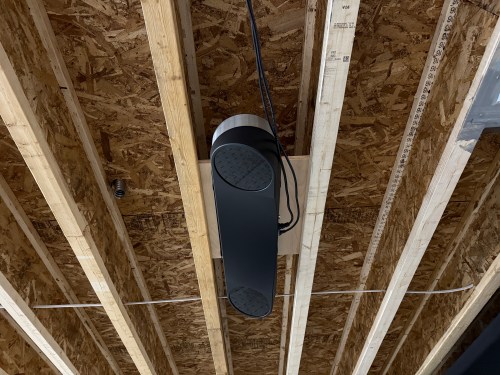
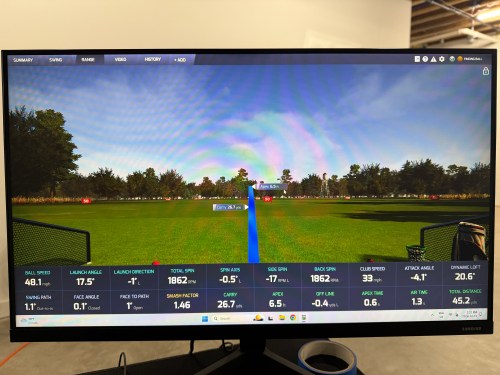
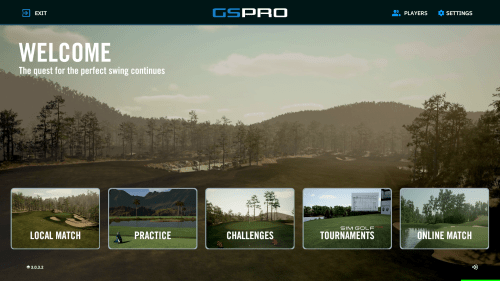
The projector has been fine. There are better ones, but I’m not sure the extra cost is worth it yet, because prices will come down on the higher level 4K ones. I couldn’t be happier with the ProTee VX launch monitor paired up with the GSPro software. My yardages are consistent with what I’d expect on the golf course and I’ve had very few shots get missed. ProTee in frequently updating their software and there are so many new courses being updated and released for GSPro every week.

This review may sound like a broken record with everything being so great, but I think that’s due to how much research I did.

Updates

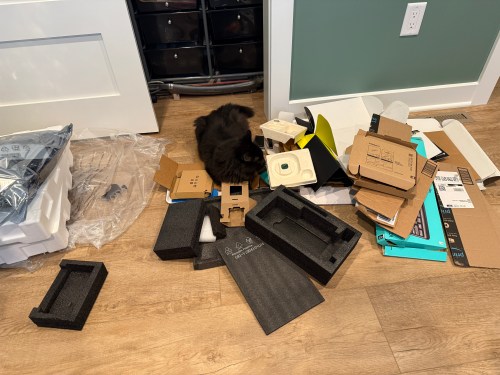
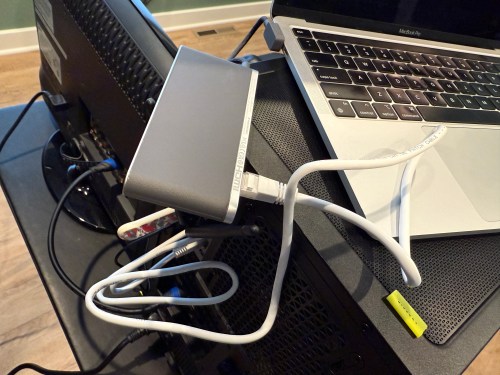
This week I added swing cameras for front and down the line views. Luckily I ordered this stuff from AliExpress before the tariffs kicked in:

They just came in, so I haven’t had a lot of time with them, but so far the cameras are a sweet addition. I need to do some cable management.

I’m working on some fixes and it’s great to be able to check my positions after each swing.

I may sign up for lessons on Skillest, but I’ll see how these fixes go first.

In the Future

I started planning to build a cart for the sets of clubs we bought at an estate sale. Hopefully I’ll make progress soon, because I’m getting tired of looking at them lined up along the wall.

I also want to build a control box with a bunch of buttons I can press with a club so I don’t have to use the keyboard and mouse during a round. That’ll be a fun project combining electronics and woodworking.

Building a Basement Golf Simulator: The Other Electronics

This is the third post in this series about putting a golf simulator in our basement. Part one covered the PC build and part two was all about the environment. This one will cover all of the other electronics and some things that didn’t fit in the first two posts.

The launch monitor is the piece of equipment that “watches” you hit the golf ball and determines the spin, speed, direction, and angles. I guess you might call it the brains of the operation.

There are a lot of options to choose from; some are cheap and some are extremely pricey. I ended up getting the ProTee United VX with the protector from Indoor Golf Outlet due to the following reasons:

  1. Overhead unit.
  2. Doesn’t require special golf balls.
  3. Doesn’t require stickers on the clubs.
  4. Protee Labs is updated often. (changelog)
  5. It provides a lot of data.
  6. Compatible with GSPro.

Before installing the unit, I had to do some electrical work in the basement. I removed a couple of lights in the area, rewired some lighting circuits, and added three outlets in the ceiling.

In order to mount the launch monitor to the ceiling I cut a piece of 3/4″ plywood that could fit in between the joists, resting on the bottom of the I-beams. Then I was able to attach the mounting plates directly to the plywood while I was on the ground. I even locked the launch monitor in to the mounting plate and then lifted the entire assembly up to the ceiling. I felt like it was so much easier than trying to align things while working above my head. This also gave me the flexibility to slide it sideways to dial in the placement. I eventually screwed the plywood to the joists.

At this point I didn’t have the turf and the side netting wasn’t installed. I couldn’t resist and had to hit a few shots. Here’s the very first hit, which was a little chip with an 8 iron.

For my projector I went with the BenQ TK710STi from The Indoor Golf Shop, which had good reviews and felt like a good price point to start with. To figure out where to mount it using a VIVO universal mount, I used Projector Central’s throw distance calculator. Learning about the test pattern and creating a custom resolution were very valuable for placement and configuration.

Due to the distance from the PC to the projector being more than 10 feet, a normal cable wouldn’t work. I snagged a fiber optic HMDI cable from Target. I didn’t need 50 feet, but I had a gift card to use there. It took me a bit to realize this type of cable isn’t bidirectional.

Since most of the basement lights need to be off when using the simulator for a crisper image, I picked up a spotlight to point at the hitting area (the green is quite nice) and a track light (bulbs).

The launch monitor comes with ProTee Labs, which shows ball and club data and allows you to hit on a range. In order to play golf and have other practice options, I got the yearly subscription to GSPro, which is exceptional!

Not necessary for the golf sim, but I bought another Apple TV 4K and a mount. It’s connected to the projector so we can watch movies, football, or anything else. I need to figure out a sound system.

There were several other small purchases, such as an extension cord to run power to the PC, velcro tape to tidy up the wires running down the post, and parts to do the electrical work.

Here’s a video of the golf simulator in action.

I’m excited to see where this can take my golf game. I’ve already started The Strike Plan (from The Practice Manual‘s author) to improve my ball striking and I’m hoping to spend time daily working on my game or having fun with it.

The normal price of the ProTee VX is $6,500 before tax, but I got a bit of a holiday discount. The total cost for everything in this post was a whopping $9,049, bringing the grand total to $14,699. I feel like that’s middle of the road for a home golf sim because you can get really cheap or you can spend more on just a launch monitor! If you have any questions about anything, leave a comment and I’ll be happy to share more.

After I’ve spent more time using the simulator I’ll post some thoughts. There will also be some upcoming side projects.

Building a Basement Golf Simulator: The Environment

A couple of weeks ago I wrote the first post in this series about putting a golf sim in our basement, which focused on the PC. This post will focus on the environment.

When we built our home, we did 10 foot basement walls, knowing we’d be putting in a golf sim. This gave us about 9’8″ from the concrete floor up to the joists, which is plenty of room for me to swing every club in my bag.

Back in April, during a Masters sale, I ordered the SIG12 Golf Simulator Enclosure and Side Barrier Netting from The Indoor Golf Shop. By following their setup video, it was very easy to put together. Later in the process, I used a hairdryer to smooth out the wrinkles and fold lines, though I’m not sure it helped much.

The next thing I got was the hitting strip, which is one of the most important aspects of a sim because you want it to hold up for a long time, while protecting your wrists. I bought The Original Country Club Elite based on the price and reviews. The strip is 20×36″ and just under 1-3/4″ thick.

After knowing the thickness of the hitting mat, I could focus on the mats and turf to surround it. I did a lot of online searching and didn’t find many recommendations, which was surprising. A Reddit thread pointed me to the ProGrass ProPutt at Lowe’s and they ship a 8×8″ sample only $1!

It felt nice and from what I’d read, a face weight of 50 oz was good for this type of use. I took the sample over to Menards and compared it to their 44 oz.

The choice was clear, so I made an order at Lowe’s for a 13×15′ piece. To create the base and a cushion under the turf I ordered 1″ thick puzzle mats from Amazon.

Quickly after we put together the enclosure and got a feel for the space, we decided to rotate to the adjoining wall.

The turf finally arrived and I trimmed off the factory edges and cut the width to 13 feet. After hauling it to the basement I cut out the locations for the hitting strip and a couple of 1.5″ shallow putting cups. The cups were actually too tall, so I shortened them to 1-1/8″ on the table saw. Cutting the holes in the turf was nerve-wracking. Too tight and the turf bubbles around the thing you’re inserting. Cut too much of the turf, making it too loose, and you can’t go back. I bought a carpet knee kicker for stretching out the turf to remove the wrinkles and bubbles.

Brandi was a big help with the turf. I’ve never done any carpet work, so I’m amazed at the level of flatness we achieved. I’m pretty sure neither of us has a future career as a carpet installer though. I had some good carpet tape for the edges, that we ran out and the light duty stuff I picked up from Menards was useless, so I ended up buying more of the good carpet tape from Amazon.

I filled the sandbags and installed the side netting.

To help protect the ceiling from sky balls and prevent anything from going through the heating ducts, I screwed OSB over the duct and 2 layers of old puzzle mats. I also bought a 10×12′ mesh tarp from Harbor Freight and mounted it a couple of joists in front of the enclosure and draped it across and over the back.

I’m curious to see how the tarp holds up, though hopefully it rarely gets hit by a golf ball. If it works, it was a cheap solution.

To protect the edges of the turf and hide the base mats, I built a border out of 2x4s ripped down the middle and stained it.

Everything I mentioned was $3,800 and brings the total to $5,650. The third post in this series covers the other electronics and everything else.

Building a Basement Golf Simulator: The PC

I’m putting a golf simulator in our basement, so this will be part of a series of posts about different aspects of the build and process.

When planning out the project, my first thought was to buy a gaming laptop for ease and portability. I have no need to move the computer around the house though and they’re very expensive. So I briefly looked at buying a pre-built gaming desktop, which can still be expensive. Building my own would save a ton of money. I hadn’t built a computer or even owned a Windows machine in close to 20 years and I was eager to dive in.

I found a starting parts list Reddit and swapped out a few things. Here’s what I ended up getting:

Total cost, with Black Friday sales, was just shy of $1,850.

I actually managed to put together a working computer! The only mistake I made was not connecting an extra cable from the power supply to the motherboard, which provides more juice for the CPU and memory. It may have been easier to connect all of the cables before installing the graphics card, but it may have caused other issues.

Then it was time to install the operating system. I downloaded an ISO of Windows 11 Home from Microsoft and created a boot drive on a USB stick with balenaEtcher on a Mac. I’ve used balena many times to create boot drives for installing Raspberry Pi operating systems, but Windows was not happy. During installation it was giving the error “A media driver your computer needs is missing.” I turned to Google and found out a Windows boot device is special and balena doesn’t do whatever is required. I used WinDiskWriter to create a new boot drive, which then launched a working Windows install.

At one point an Internet connection was required and the drivers for the WiFi adapter weren’t installed yet. I still don’t have the Ethernet in our house connected, so I had to share my MacBook’s Internet connection from WiFi through a USB Ethernet device.

After several reboots and various Windows updates, it’s a working PC. I’m pretty happy with how it went. The stand came in a few days later and was easy to assemble.

Time to get everything else setup and get some golf balls!

The second post in this series covers my sim environment and the third post covers the other electronics and everything else.