I’ve been keeping my Ryobi cordless 18v tools on some shelves on a wall next to a drain pipe.

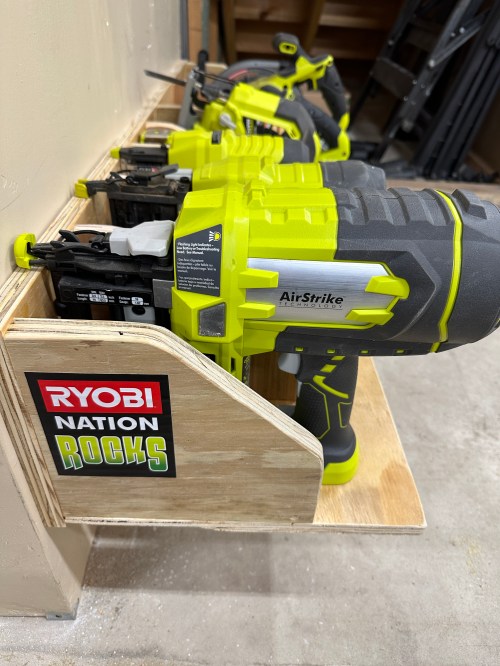
As you can see, I outgrew the area. I also had several sanders in the drawers of my sanding cart and even more tools in a box on the floor.

Look at that picture again. Wouldn’t that wall be a great place for cordless tool storage? It’s not in a weird location, is further away from the big tools that make all the dust, and in reach while working at the assembly table.
I took down the vise shelf, chopped and cleaned the plywood, and installed it on the wall entering the shop.

After taking down the nail bins I took the opportunity to spread them out on the backer board since I have more vertical space in the new location. Then I moved the nail bins around the corner, under the rest of my bin storage.

I had a blank canvas.

Before building anything I had to figure out tool arrangement, so I marked out space on the floor to match the area of the wall.

After gathering all of my tools I messed around with layouts and tool groupings.


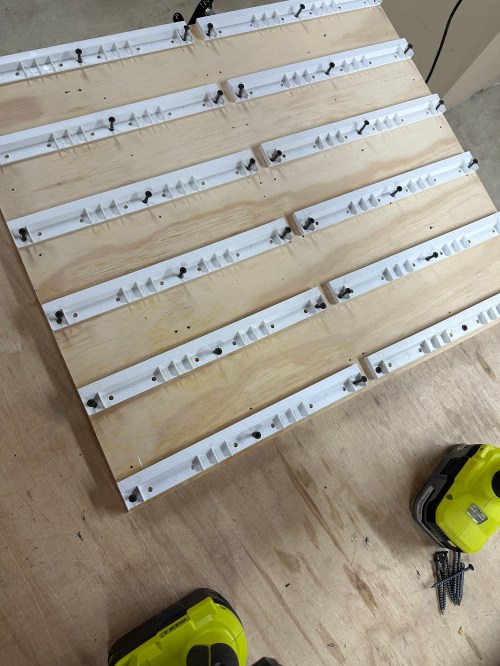
When I had something I liked, I started making shelves one row at a time.
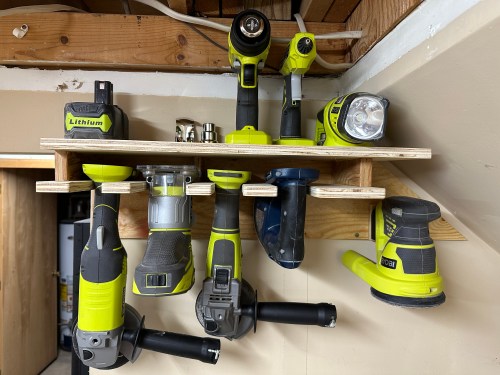


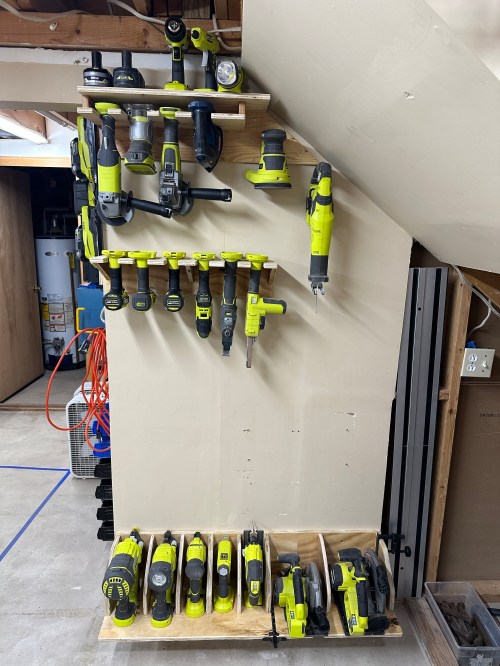

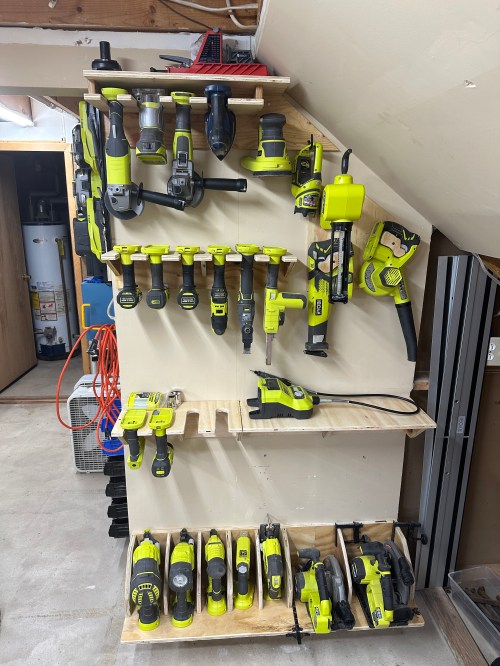

As you may have noticed from the photos, I kept changing things as I went, and there were a lot of iterations I didn’t get pictures of. When I was about 80% done with everything I remembered I had the rotary tool and my Armor Tool Auto-Jig Pocket Hole System stored in the drill press press cabinet. I definitely wanted both tools out in the open where I’ll be more likely to use them. All of the changes were worth it; every tool has a place and I love it. I’ve been wanting something like this for years.
As I was building, it was so handy to turn around and grab a tool or a battery that was already in its place. No more walking over to the other area and reaching around the corner. Little things like the magnetic strip for bits and accessories make a big difference too. Another bonus is this project used a bunch of odd scraps I had in my wood collection.
Are you a Ryobi fan? What are your favorite tools?