DIY Camera Mount 

I’m usually very good at keeping parts, but for some reason, a couple of months ago, I threw away all of the mounting brackets for an old Dropcam. Sure enough, I moved the camera to the garage and had no way to mount it. It had been sitting on my vise shelf ever since.

While cleaning out the closet in my office this weekend I came across an old cell phone car mount. Took apart one of the elbow joints, removed the big suction cup from the bottom, and screwed the whole thing directly into the wall using a longer screw and an anchor. It squeeze around the camera for a solid hold, but I looped the cable around the bracket just in case the arm springs fail at some point, so it won’t go crashing to the floor.

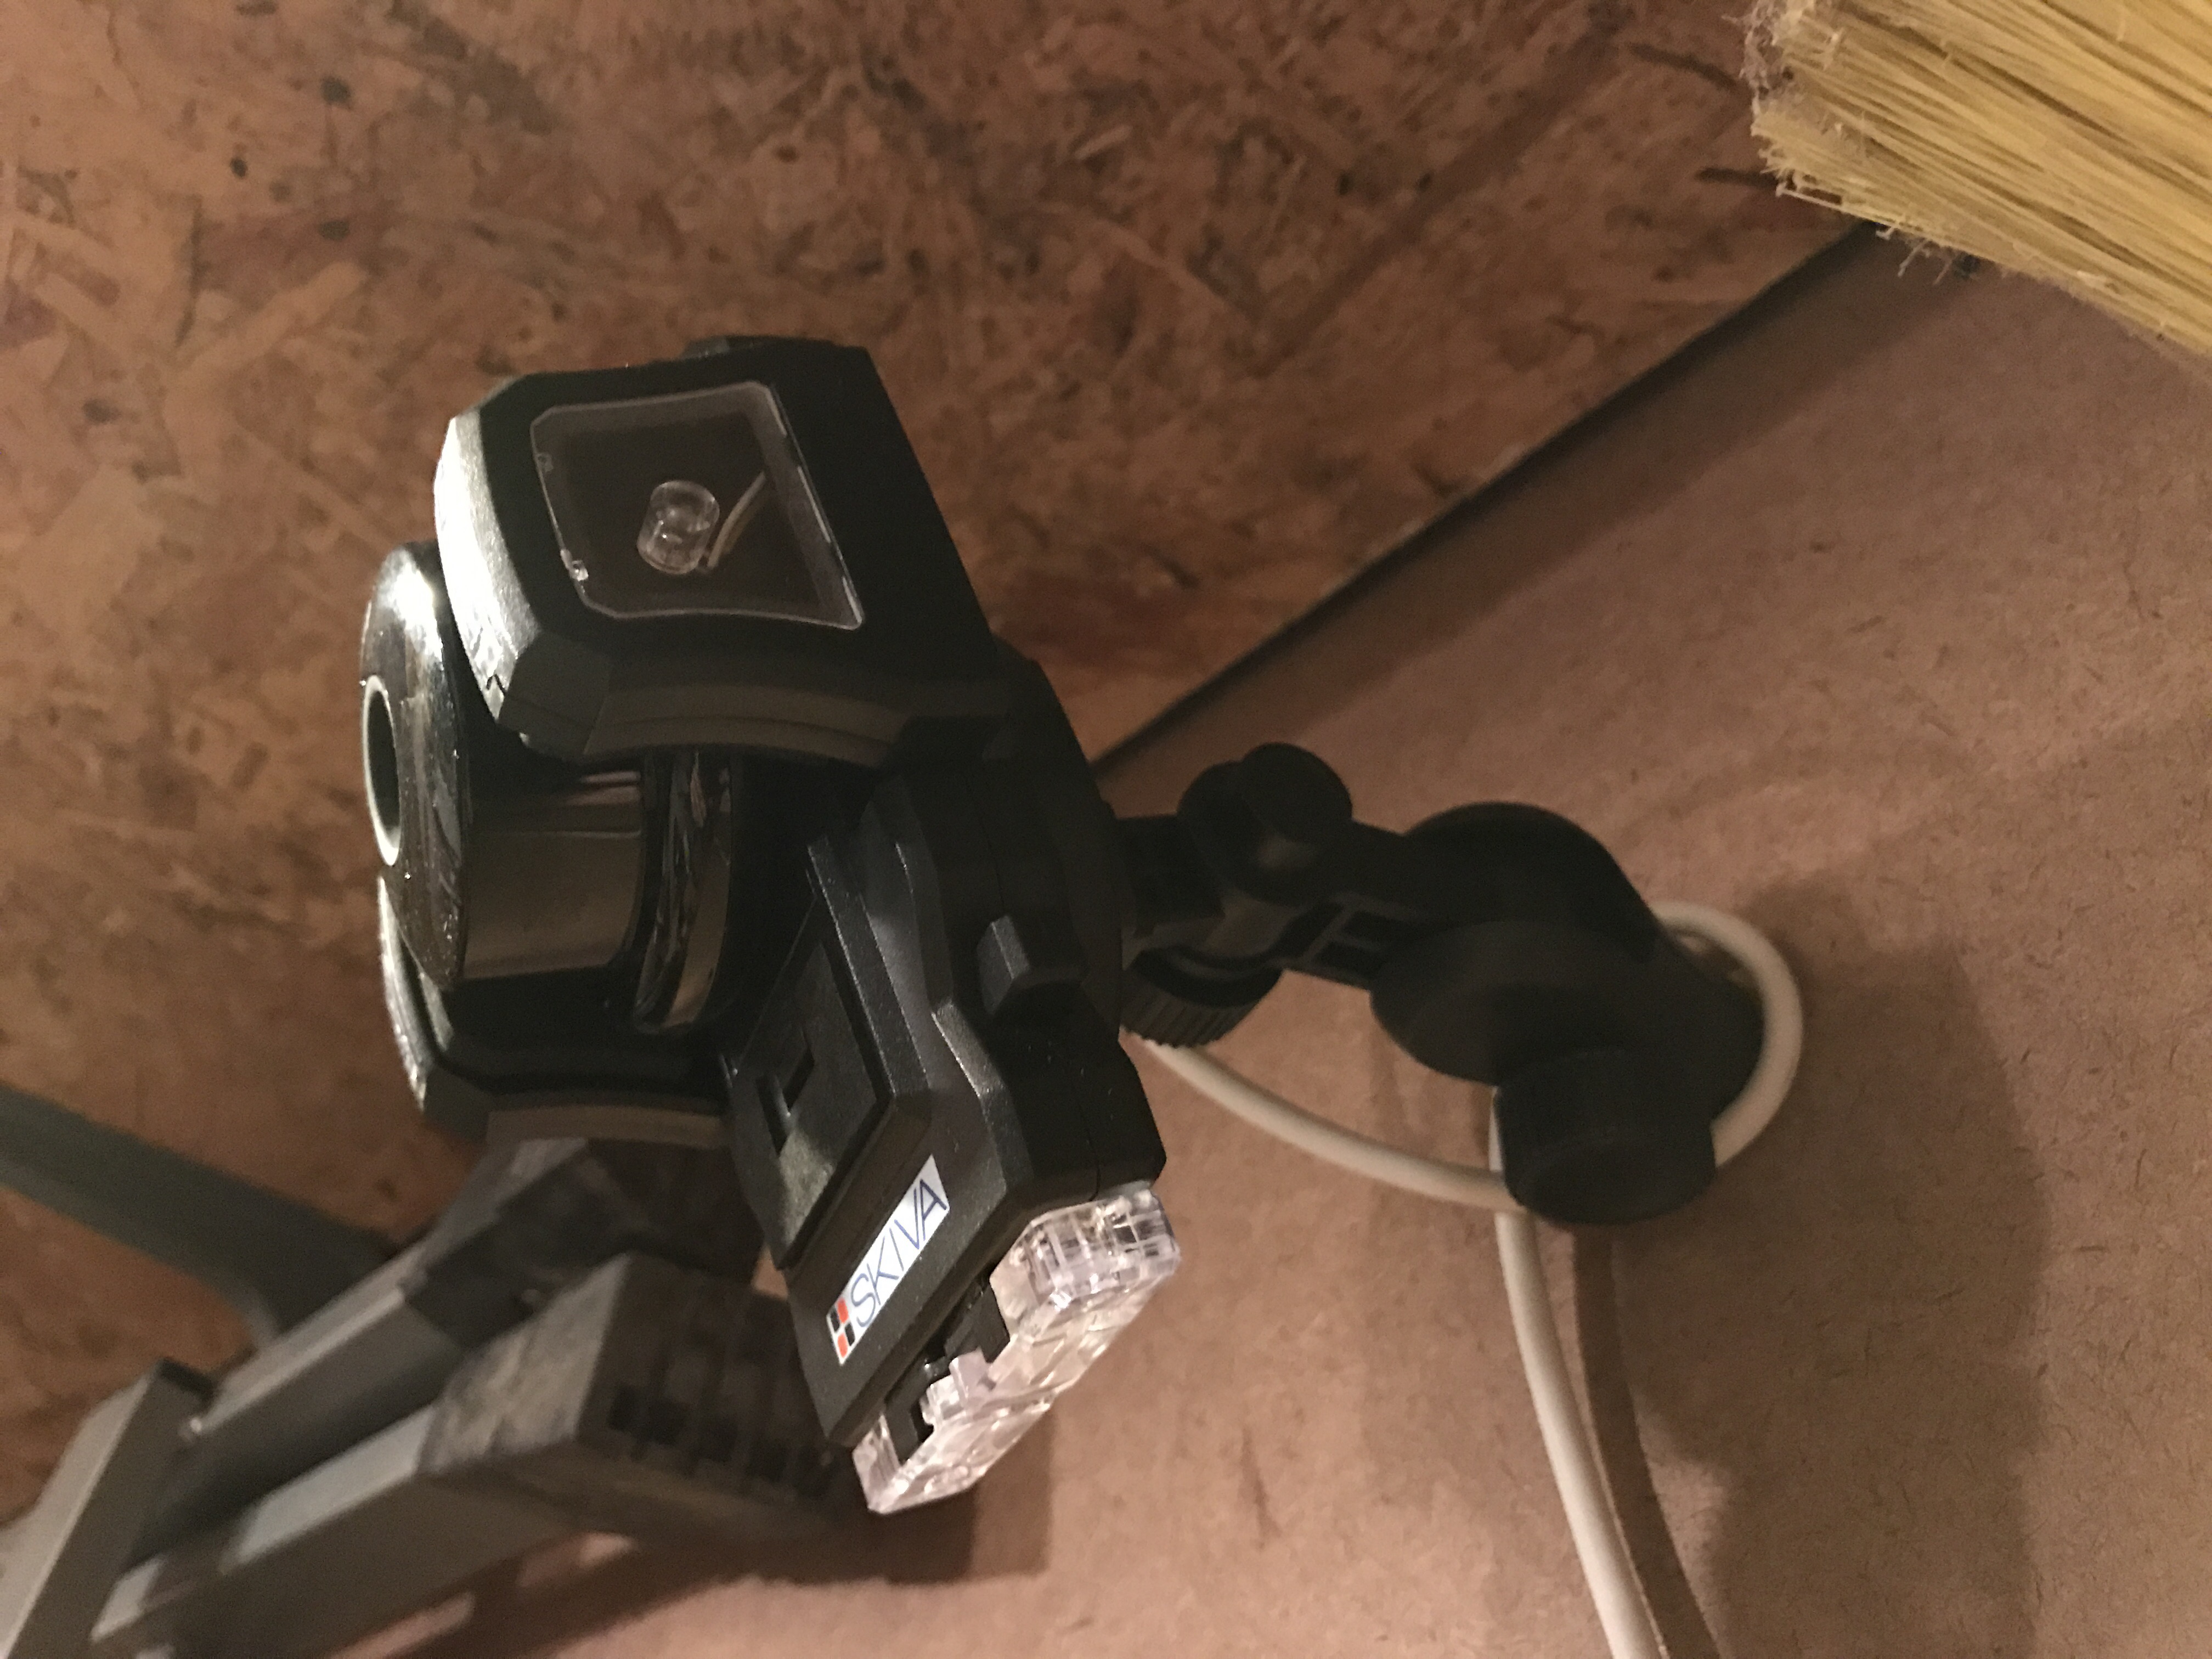
Getting it up high provides a better view as well.

Improving Twilight

Last week I posted a picture, Twilight Golf, and a couple of days later changed the picture. I had been messing around with different filters in Camera+ and found one that added some definition to the trees. It only took a few seconds to try the filters and I think it was really worth it.

As a comparison, here is the original iPhone picture:

Overall it’s pretty shitty. You can’t see the awesome clouds and there is no definition in the trees. Not at all what I was looking for out. I always have HDR enabled on my iPhone, which gives a better picture 95% of the time for me. Here’s the HDR image:

Huge improvement! You just have to hold the camera steady a bit longer than normal and the iPhone snaps off 3 images (under and over exposed) then combines them. Finally, by using the Clarity Scene filter in the Camera+ app I was able to get this:

Best one yet and not bad for someone who knows very little about taking pictures.. I’m sure a photo expert could get something better in Photoshop after a couple of minutes, but I’ll stick with the filters in Instagram and Camera+.