I prefer to walk golf courses. It’s great exercise, gives me time prepare for shots as well as reflect, and it’s faster than riding. I bought a Clicgear 3.0 three wheel cart in 2011 and with some minor fixes over the years it’s worked great.
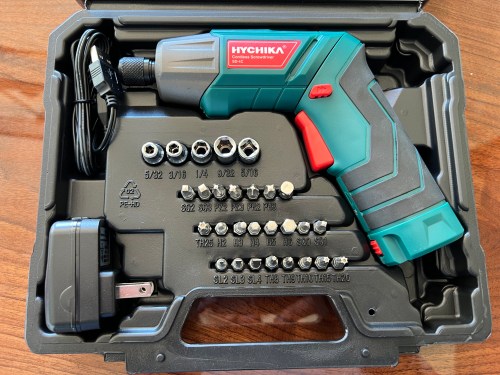
I’m not getting any younger and I want to keep walking as long as I can, so I’ve thought about a motorized push cart. Then I came across the Club Booster V2 by Alphard (save $50!), which converts your own push cart into a motorized one. The reviews were awesome so I ordered a refurb unit for $647. Here’s my first test after assembly.
I was impressed, but the dragging front wheel while turning didn’t work very well, so I quickly ordered the Swivel Conversion Kit for $89. The kit replaced the front wheel with an axle where the original back wheels mounted to make it a four wheel cart with a swivel front. It makes a huge difference for maneuverability and stability.
By the time I finished my first nine holes I felt very comfortable controlling it. I’ve played two 18 hole rounds and this upgraded cart let’s me play faster and leaves me fresher for the back nine. I’m surprised how much energy I save not having to push the cart. I’m thinking about doing a detailed review post.
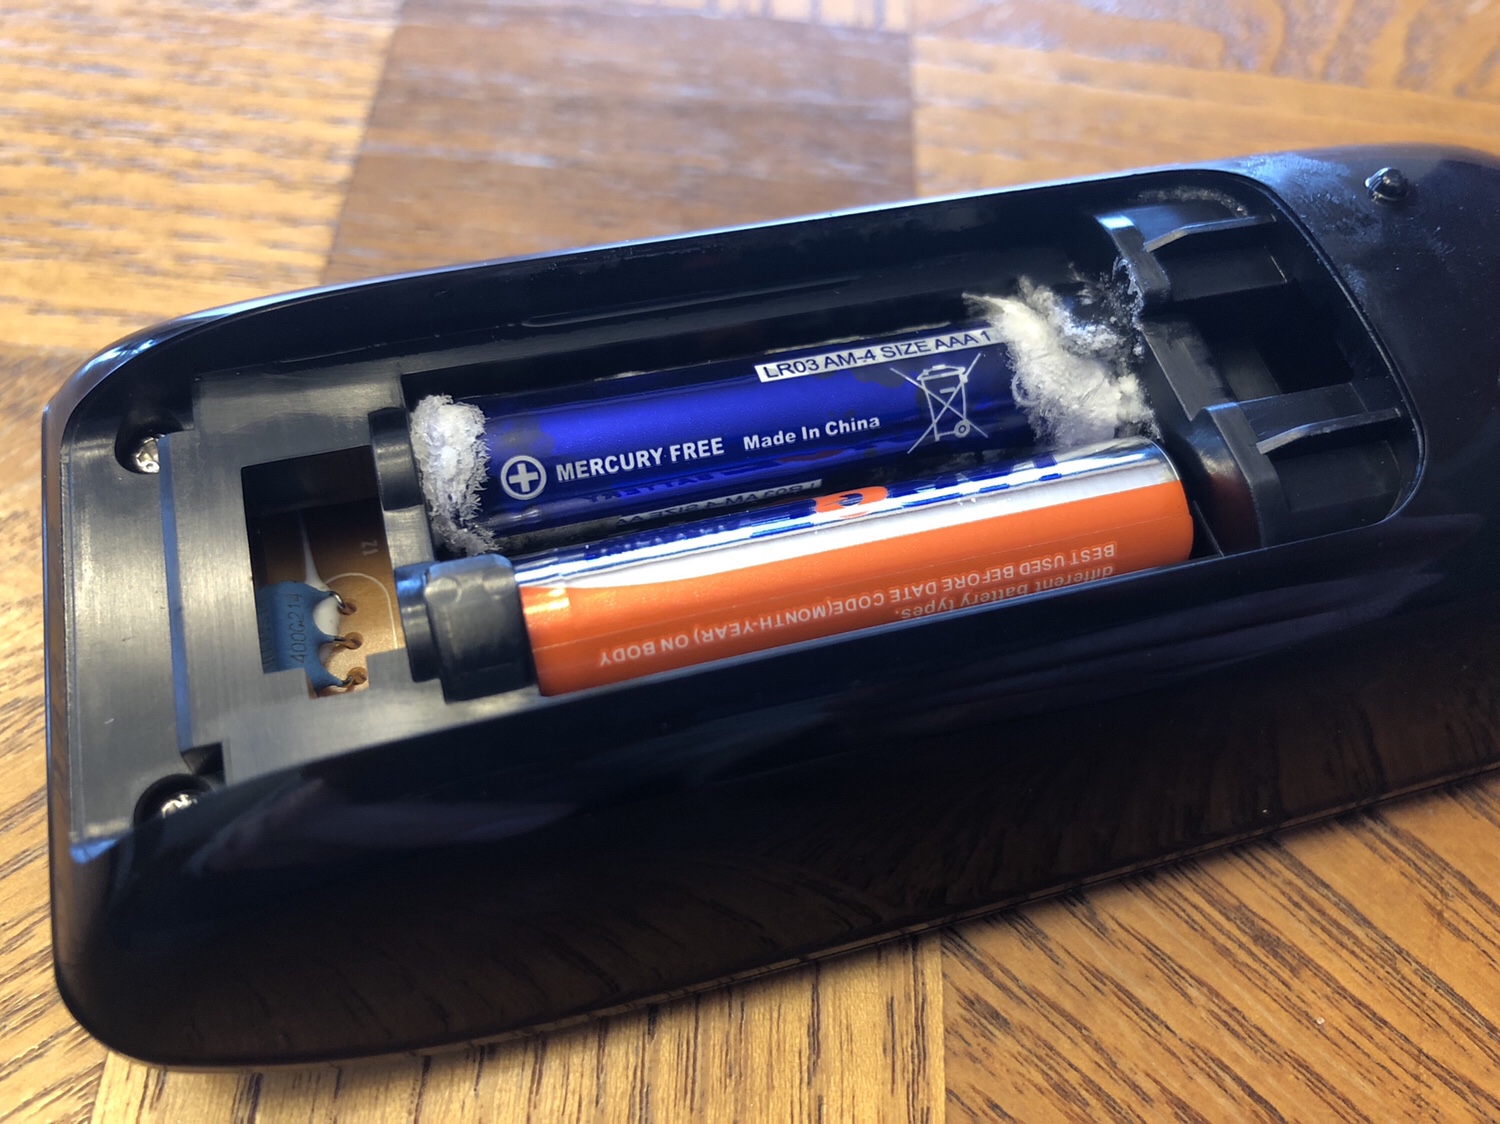
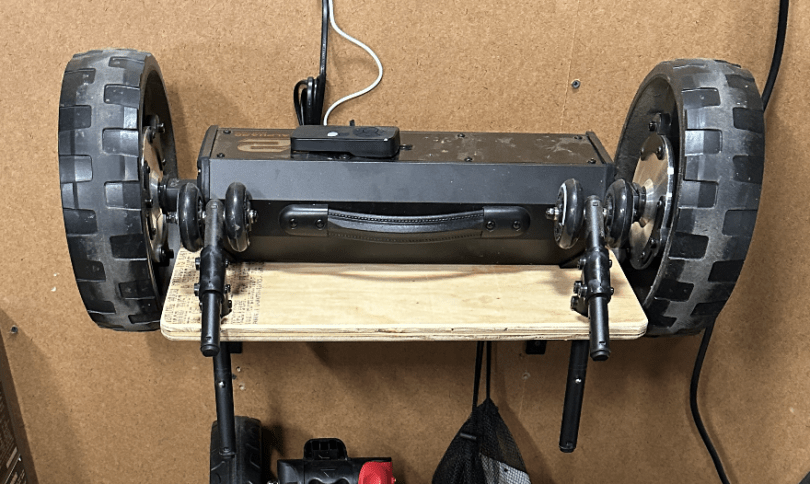
There were two problems though. The parts took up too much floor space in the garage and looked messy. I also forgot to take the wheelie bars for the first round I played.

I needed some type of rack to keep things organized, help me remember to grab everything, and make changing easy. I thought about having slots for the axle or something to prevent the unit from falling to the floor. After cutting a piece of plywood and laying things out, I realized a simple shelf with holes for the wheelie bars is all I needed.

Just what I needed. I love a quick build.
With a motor this is a vehicle for my golf clubs, so it needed a name. I’ve been struggling to think of anything, so I asked ChatGPT.

Those are some good ones and I chuckled. Brandi’s idea was to call it R2-D2, but I don’t like reusing a specific name. I like the style, so I settled on CB-V2 since the unit is like my own droid.