
Breaking in the New Passport
My Dad got an old Craftsman 351.233831 Planer (manual) from one of his friends for $75 after it stopped working.

When turning it on the motor would hum for a second and then the breaker (or power strip) would trip. He left the machine with me to fix. The motor shaft wouldn’t turn at all so I had to take a bunch of the machine apart (and cut the belt off) to get the motor out. I ended up using a screwdriver and hammer against the fan to free up the motor. It didn’t want to move, but slowly some hardened gunk broke up and the shaft was spinning. Since I had it in pieces I cleaned out the gear box and applied new grease to the gears.
That’s not what the title of this post is about. Since I had the machine I thought it would be nice to build some dust collection for it; these machines create one hell of a mess. Here’s a step by step of the dust collection build.
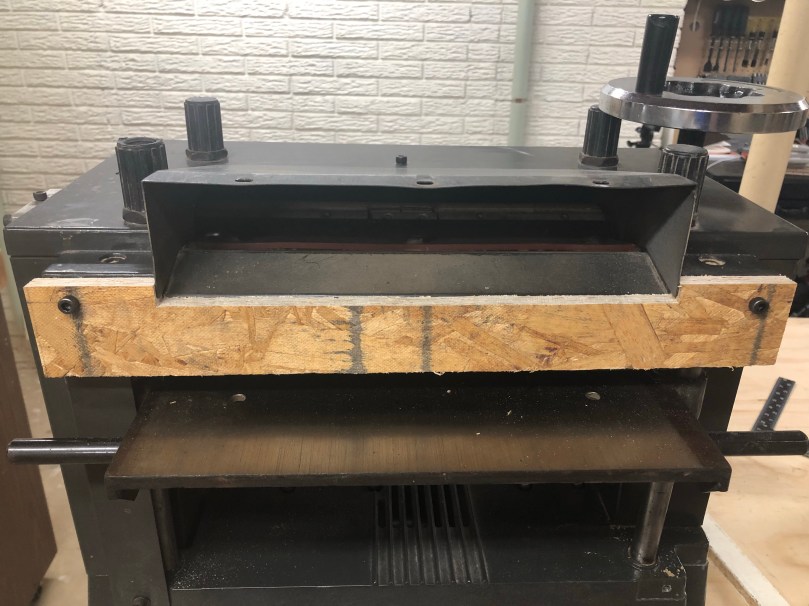
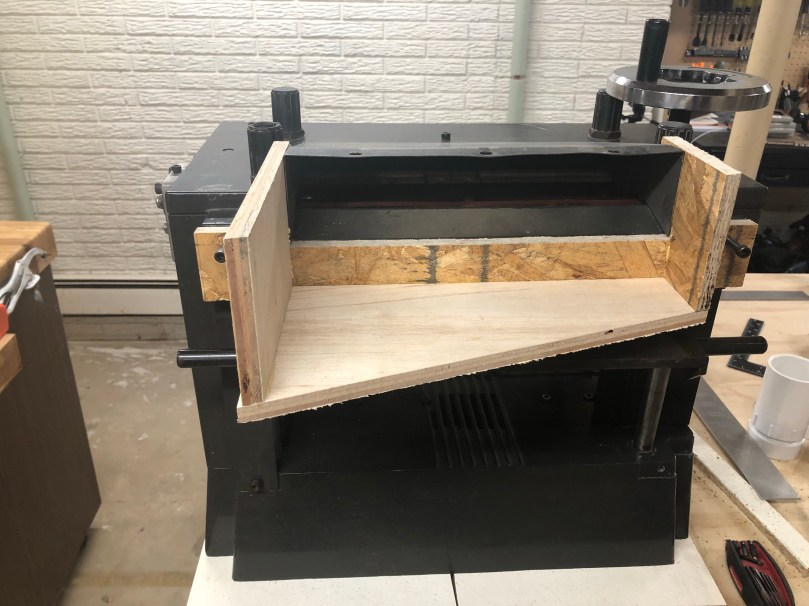
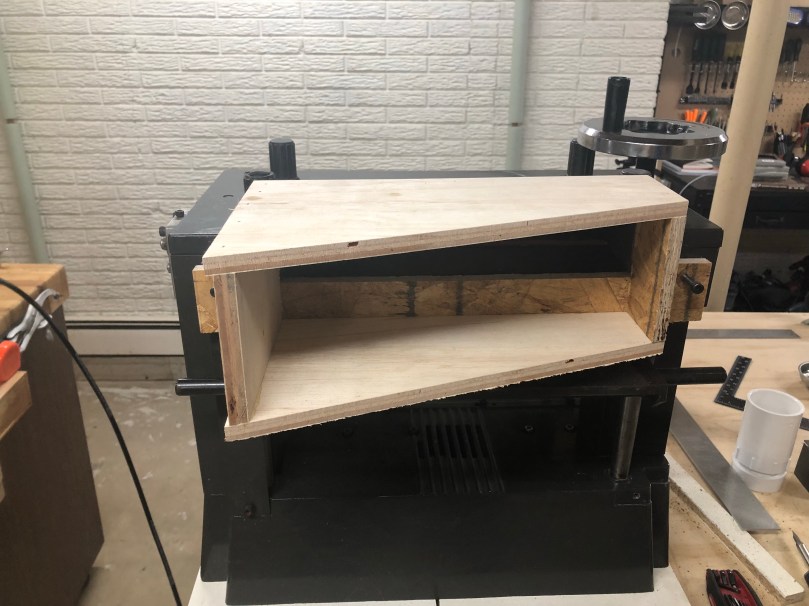


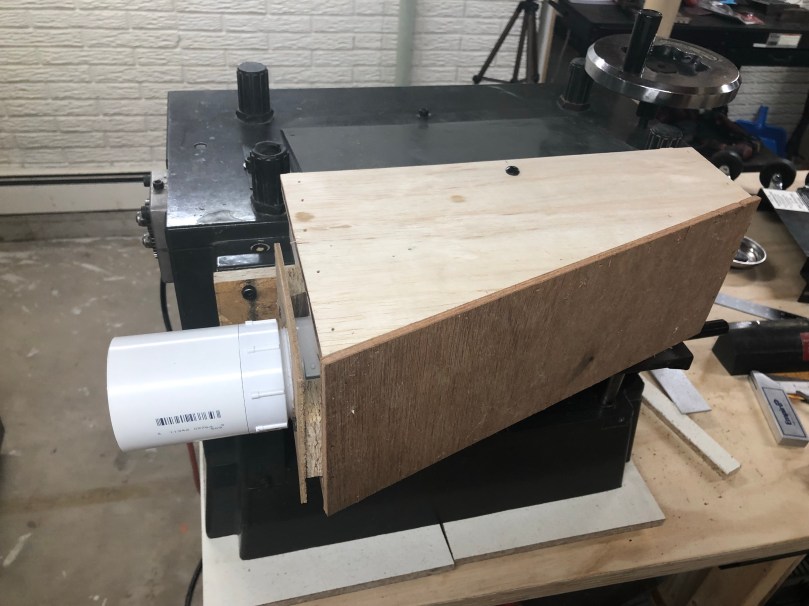
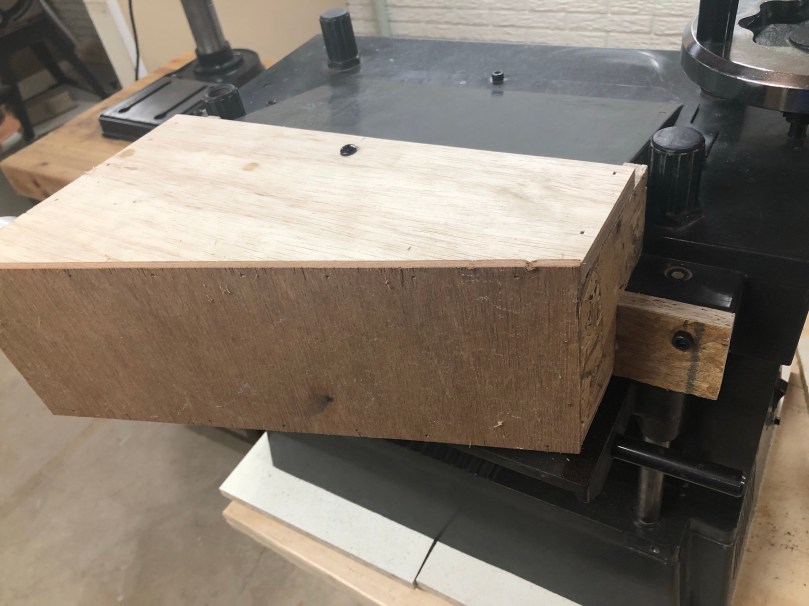

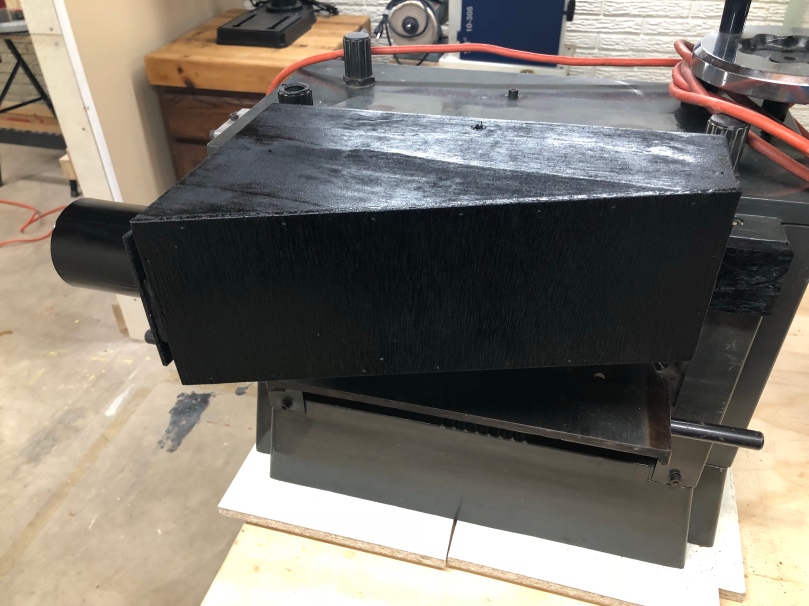
I think it turned out pretty good and the paint is a nice touch. I might have to paint the one on my Delta dust collector.
After putting the new belt on and testing it out I noticed the feed rollers were in really bad shape so ordered a new set. The machine is an absolute beast, so I mounted it on one of the Harbor Freight stands, made a plywood base for the bottom, and put on some castors.
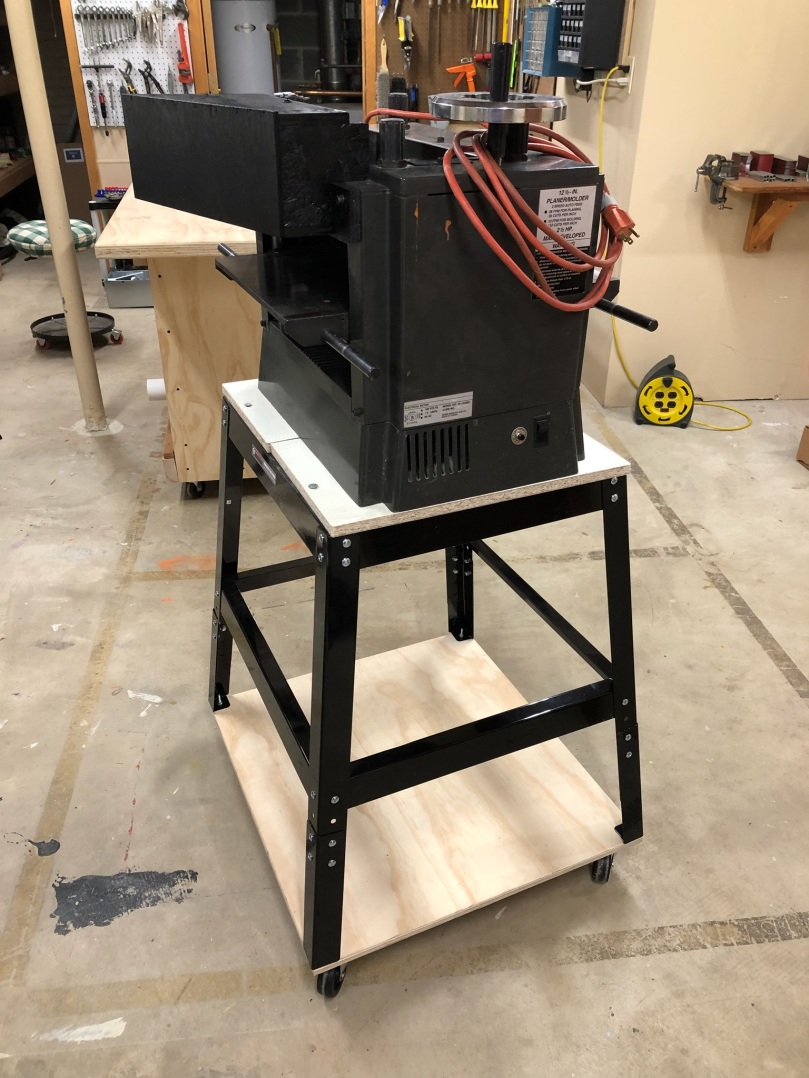
I still need to figure out how to replace the feed rollers and will swap out some of the knives that are nicked up. Then it should be running like a brand new planer! It’s cool to see my Dad getting excited about a new hobby; he already has a bunch of pallets collected to tear apart.


Not long ago I pulled out the original TV remote to change some settings. When it wasn’t working, I found a bunch of battery acid had leaked. Good reminder to remove the batteries from items you’re not using.

It may be late, but Mom never misses a year.
I recently mentioned I was considering cancelling my subscription to HackerBoxes. Turns out the owner of the company made that decision much easier with the way he treats customers. Box #0030 is my last one.
The HB owner came up with some crazy conspiracy theory that all of his most active customers were trying to run him out of business. He started attacking us and censored us from helping other people in the community. You can see what the owner says in this deleted subreddit thread (also on the Internet Archive in case that page gets removed).
He also jumped into the comments on one of my unboxing videos and started making a bunch of incorrect assumptions about me and attacking me. It was so outrageous I thought it was a YouTube troll and I blocked the account soon after the 2nd comment came through so other HB customers to see the garbage this person was saying. Later that night I found out it was the owner! I wish I had saved those comments.
If you’re a HB subscriber or thinking to start you can decide for yourself if it’s a company you want to support. I won’t be giving my money to someone who treats customers like this. It’s disappointing because the concept is sound, I learned a lot, and there were some fun projects. If HB embraced and appreciated their community it could be an awesome way for people to learn about electronics.
The community has moved over HardWareFlare. Discord info is there as well, which is very active.
I’ve restarted my subscription to AdaBox and I suggest you check them out. Adafruit actually cares about people. Their next box (8) will be all about building robots. Another subscription electronics service I’m enjoying is Boldport Club, which comes once a month.

My lease is up in a few weeks and I’ll be out of the country for a week, so there is no chance I’m getting the oil changed. Hopefully I won’t have to gas up again either.

Last year I made an overhead camera rig and wasn’t in love with it. It was hard to adjust and unless I was doing a really close shot, the base of the rig was always in the video frame.
When I saw an old swing arm desk lamp at an estate sale I knew I could make something better. Here it is…

It was a very simple build…
Without the base, I’m already in love with how much extra space I have on the desk and how I can move the clamp all the way to the back of the desk with the arm against the wall.
Quick unboxing video for the latest HackerBox.
Official box contents from the Instructable:
It’s disappointing that HackerBoxes resold us a popular kit that you can get for $15-20. I’ve seen these LED cubes many times online and while they do look awesome, I never bought one because I didn’t think I’d have the patience to put one together. I guess I’ll get the chance now.
I’ll probably try to do a time-lapse of this assembly, which is going to take a long time.


