In 2017 and 2018 I posted about my favorite purchases for the year. It was a fun way to look back, so I’m not sure why I stopped. Time to bring it back.
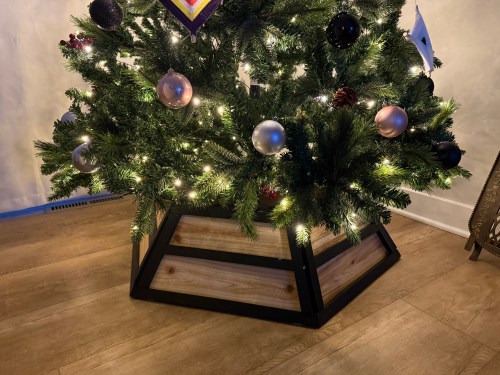
Obviously my favorite thing this year was planning, designing, and having our own house built. We moved in on August 15th (and the 16th, 17th, and 18th LOL!) and we absolutely love it. I even made a cardboard model of the floor plan during a winter power outage.


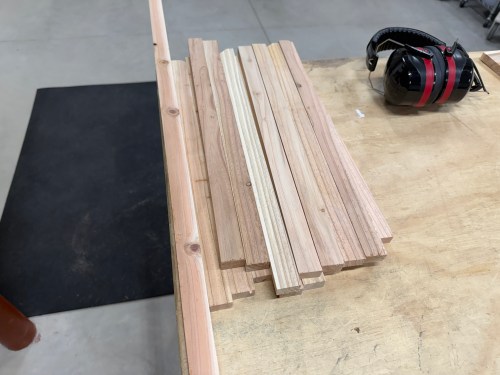
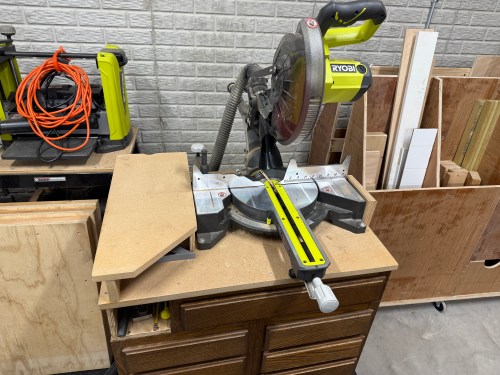
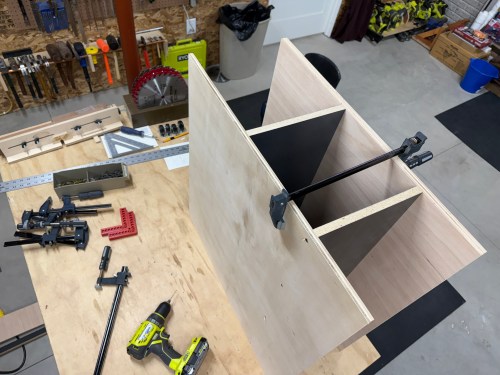
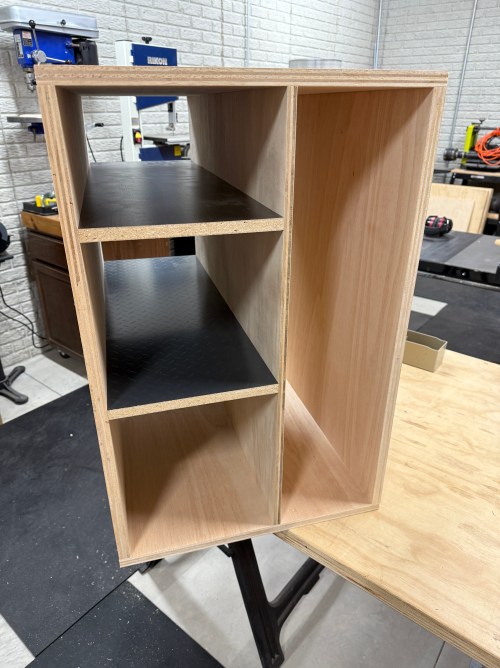
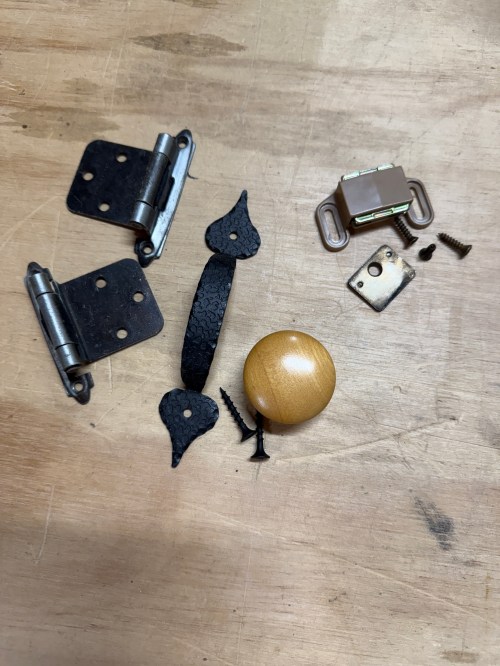
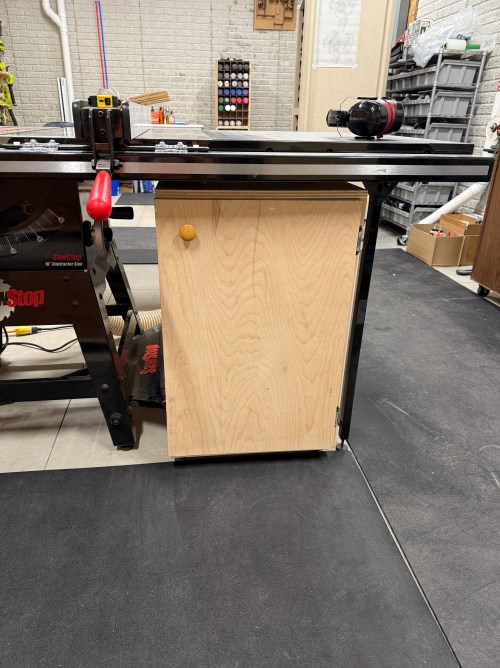
During the move, I decided not to move my old table saw and finally pulled the trigger on a SawStop. I bought their Contractor Saw with the 36″ T-glide fence assembly, mobile base, and cast iron wings. This tool is amazing. It’s a huge step up in safety, power, functionality, and effectiveness. I built the cabinet under the wing and will be making a large outfeed table.

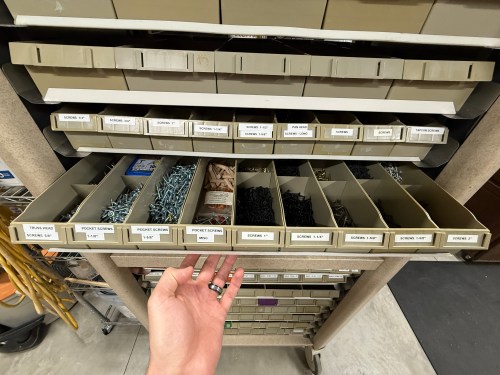
I have to mention the Facebook Marketplace find I made during the week of our move (great timing). An industrial surplus company was selling medication carts for $100. I had to borrow a truck and drive almost an hour roundtrip to pick it up, but this thing has become an integral part of my shop’s hardware store. It’s double-sided and has 200 bins in three different sizes, plus dividers. The casters are large and roll effortlessly for a cart that weighs a ton with everything I’ve loaded in it. I have plenty of room to store more stuff now.


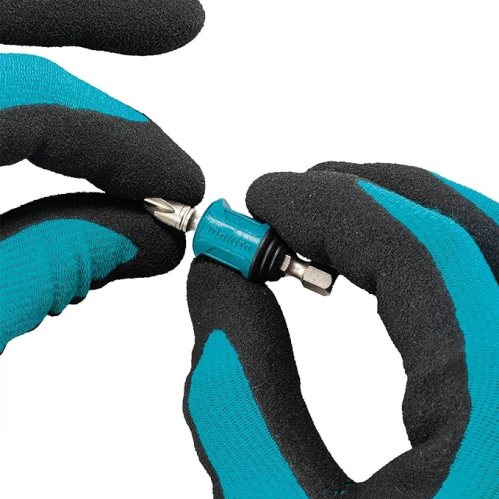
A cheap tool that makes a big improvement is this Makita magnet for an impact driver (Amazon). No more dropping screws from the top of a ladder!
I’ve been wearing Allbirds since 2019. This summer I bought a pair of the Tree Flyer 2 (Amazon) and wore them walking around Chicago for several days. They might be the most comfortable pair of shoes I’ve ever owned. I bought a second pair for the gym when the tongue completely tore out of my Nike trainers. The best thing is, each pair was only $64! I love the unique boxy angled soles.

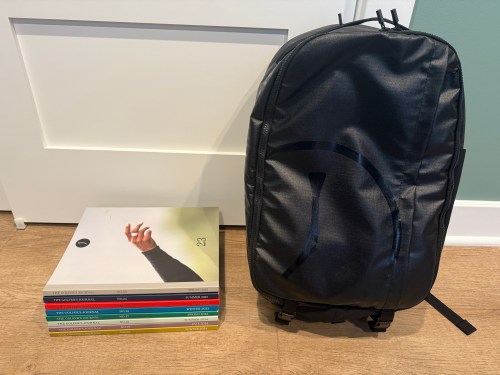
If you’re a golfer, or need a gift for the golfer in your life, check out a subscription to The Golfer’s Journal. I actually started mine in 2023. The Golfer’s Journal has amazing photography and the stories are always unique. Issues only come out quarterly, but I enjoy reading them more than Golf Digest who regurgitate the same golf tips or club reviews every month. I subscribe to their premium membership and my first yearly gift was the best backpack I’ve even owned. My second gift arrived yesterday and it’s an awesome duffle bag, which will be great for weekend trips.

My goto snack on the golf course is an Uncrustable. When packed in my cooler, it’s thawed by the time I eat it and still a little cold. This summer I bought a sandwich press to make my own (Amazon).

I gave my golf bag an upgrade with this valuables pouch (Amazon). It’s doesn’t take up much space and is great for storing everything when I’m off and on the course.

You need a soap dispenser tube kit (Amazon) for your kitchen sink. Seriously, go order one before you forget. I used to refill our dispenser bottle about every month and just went almost four months on a partial jug of dishsoap from Sam’s Club. This kit also eliminates the problem of overfilling the bottle that comes with the dispenser, which I seemed to do several times a year.

What are some of your favorite buys this year?