
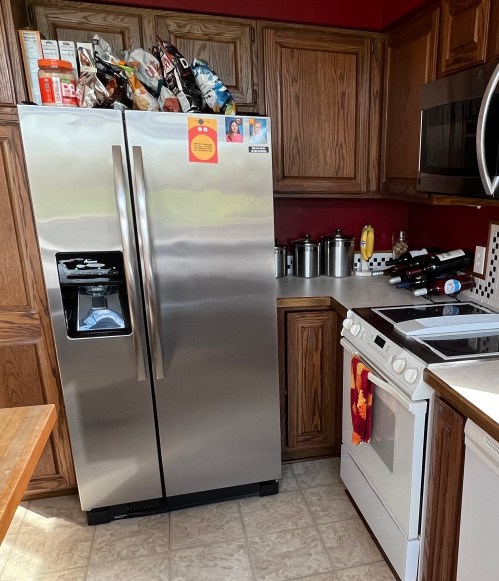
After moving the fridge, the corner space was ready for a makeover
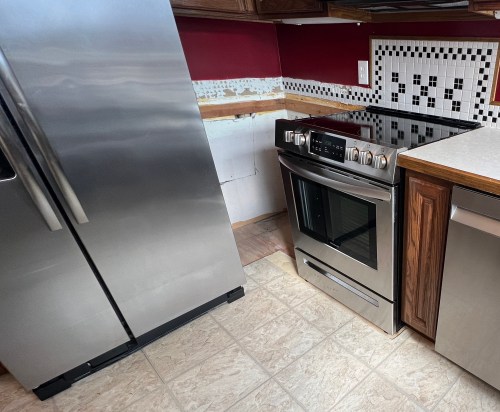

I removed the rest of the backsplash tiles around the room. Luckily I didn’t have to be too careful with that process because the walls will all be covered up there.

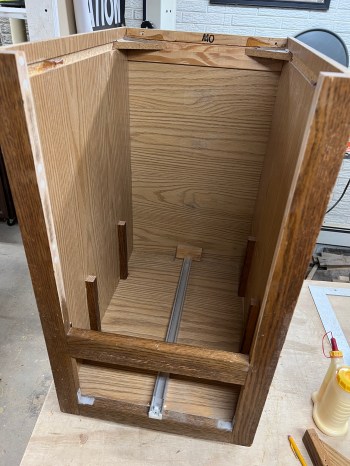
Then I built an open shelf cabinet.

I’m repurposing the counter and drawer cabinet from the desk, so I put them out to get a feel for the spacing.

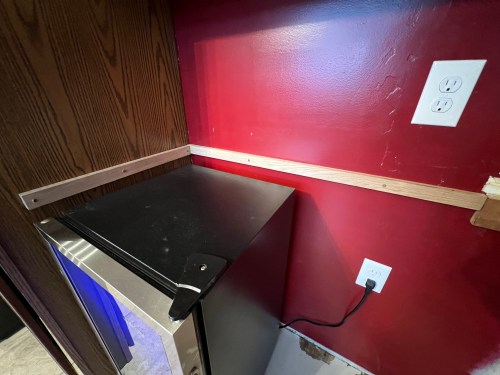
I made a bunch of measurements and got to chopping up the countertops. Then I removed several layers of old flooring across the area. I placed some new counter supports along the wall where the fridge had been, and adjusted the one on the right wall, which was pretty far out of level.

Next I worked on modifying the cabinet. I added extra support under the cabinet, removed three of the drawer slides, cut out the cross members, and added pieces to hold up a cover that’ll go over the remaining drawer. I also cut new pieces to extend the face frame higher since this cabinet is too short.
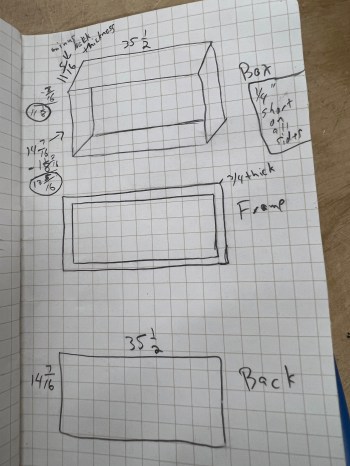
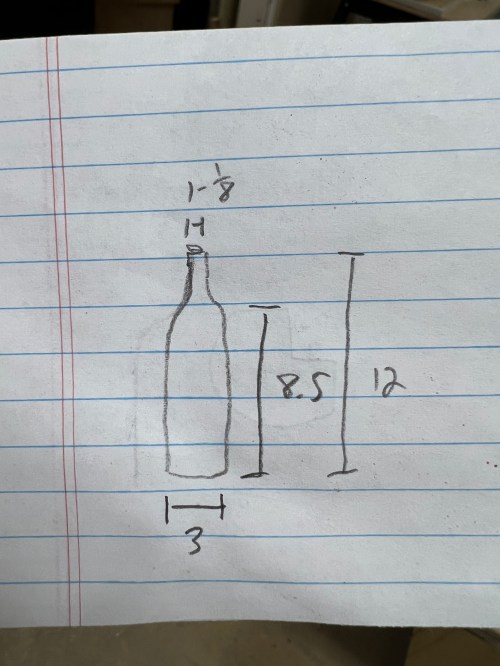
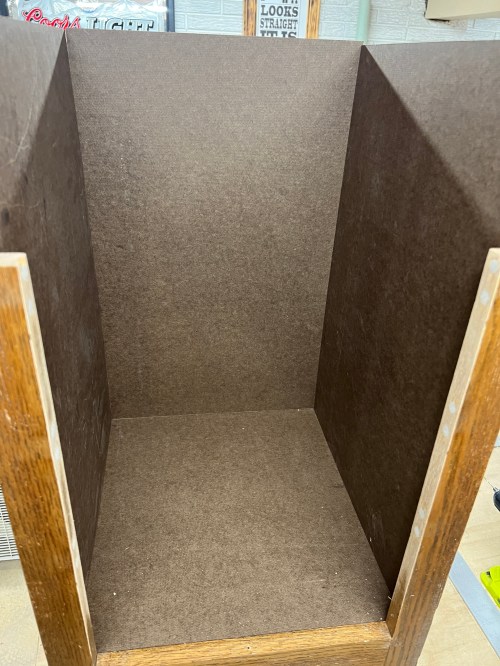
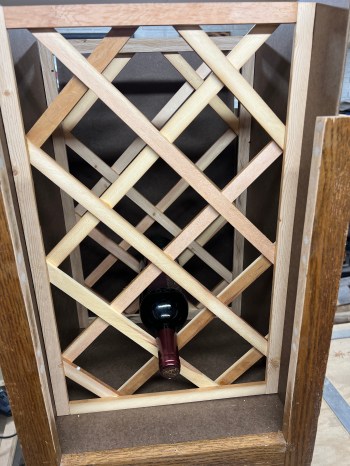
I measured a wine bottle and cut hardboard to box in an area that’ll be a wine rack.
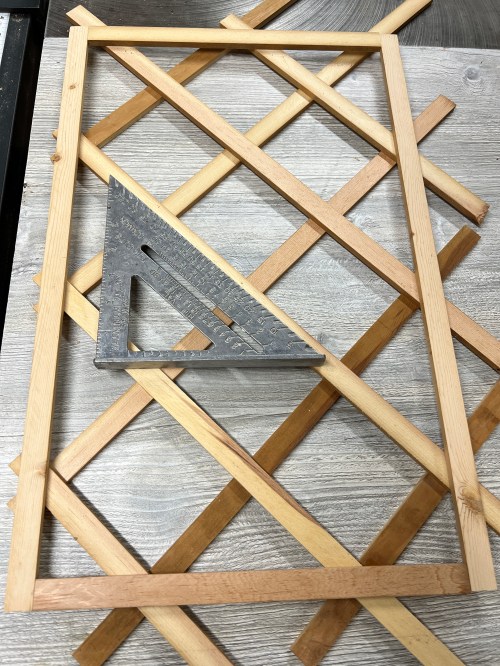
Then I cut a bunch of 1/4″ thick by 3/4″ wide strips. It took some thinking to figure out how to get going, but making a 3-1/2″ square block to act as my spacer was the key, because that’s how large I wanted the lattice openings. I used glue and pin nails for assembly and then made a second lattice.

I cut strips for face frames and used a 45° to help with placement, making sure to maximize the number of full diamonds available while keeping things centered. This will give us space for nine bottles, which is more than sufficient. I made sure it would work with both lattices since they needed to match.

Then I was able to trim the lattice and attach the frame with glue and pin nails again. I used some of the off cuts around the edges so I could attach the frame to the back strips of the lattice as well.

At this point I had to make sure it was going to work. The width was a great fit!
I spray painted these pieces since it would be much harder to paint them when everything was put together. Everything needed several coats.

The cupboard is going right in front of the new outlet I installed, so I cut access holes.

I cut pieces to extend the face frame higher and made a new left side, since it’ll be somewhat visible next to the beverage fridge. I started securing all the different pieces in place. Then I used wood filler on gaps and nail heads.

After sanding I hauled the unit upstairs and had make a few minor mods to get it to fit. Then I installed the two cabinets and the two counter pieces. I guess I didn’t have the drawer in when I took this picture.
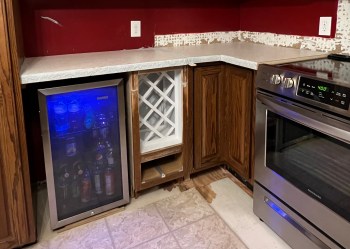
I’m so glad I was able to use the counter and cabinet from the desk. This was a lot of work, but it’s a huge improvement to the usability of our kitchen.

Very nice
LikeLike
[…] needed to do something with the counters, especially after merging a couple. I had seen some cool videos about covering countertops with epoxy and love the rock face edge that […]
LikeLike
[…] Cabinet and Counter Changes […]
LikeLike
[…] between coats we fit some of the extra boards inside the open-shelf cupboard I’d made and sprayed those with three coats of poly. It was a beautiful day in the 50s with a slight breeze […]
LikeLike
[…] Cabinet and Counter Changes […]
LikeLike